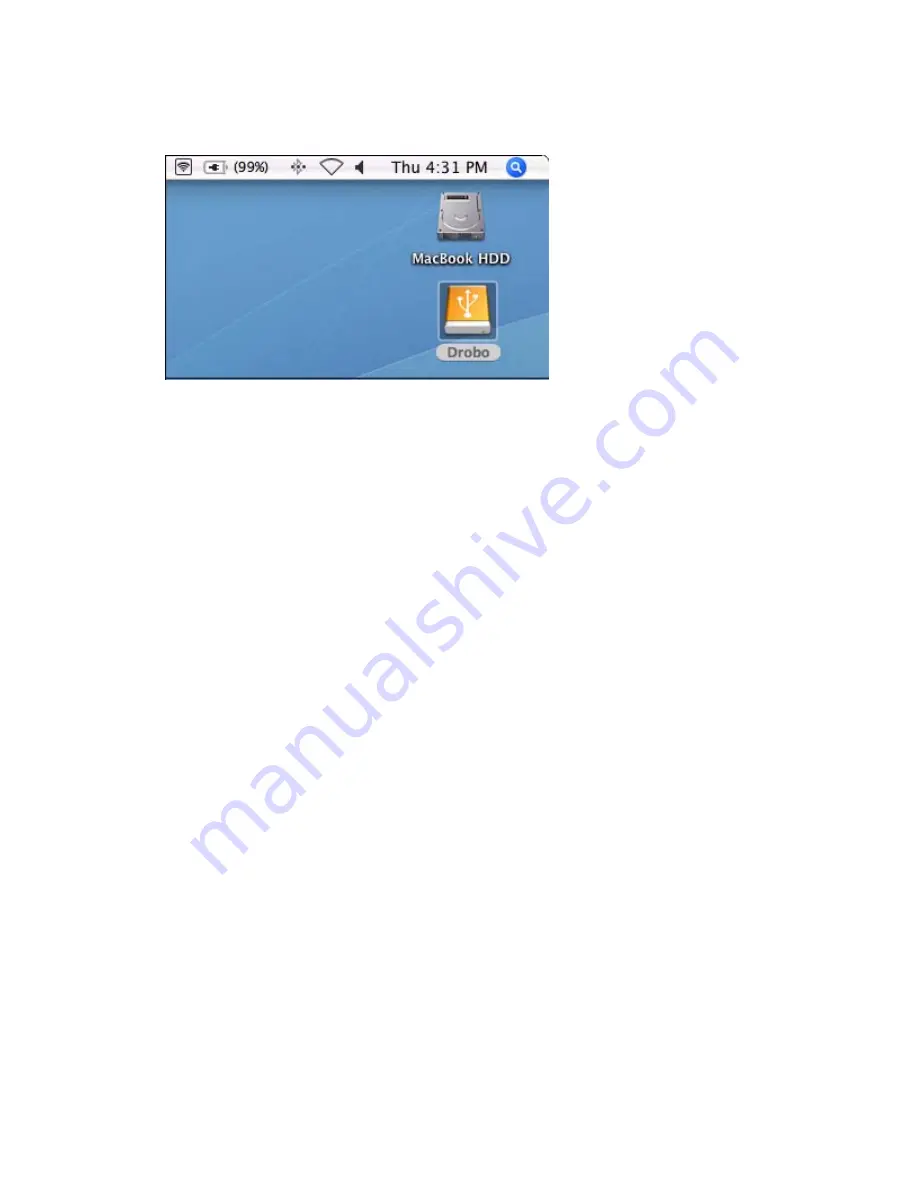
8
8. In less than a minute, Drobo will complete the formatting job, and the
Drobo icon will appear on your desktop and be ready for use.
Tip:
Once Drobo has been formatted, you do not need to perform this format
procedure again for any other drive you add or replace in Drobo. Drobo takes
care of that for you. Any new capacity created by adding a new hard drive will be
available within seconds.
Warning:
The Erase command erases all data on only new hard drives added to
Drobo.
To Start Drobo Dashboard and Then Format Drobo:
1. If you want to start the Drobo Dashboard from the Doc, do the following, or
skip to Step 2 to start it from the Applications Folder.
y
Find the Drobo icon in your dock.
y
Click on the icon to open the Dashboard.
y
Continue at Step 3.
2. To start the Dashboard from the Applications Folder, do the following.
y
Go to your Applications Folder.
y
Click on the Drobo folder.
y
Select Drobo Dashboard to open the Dashboard.
y
Continue at Step 3.
3. Click on
Advanced Controls
.
4. Click on
Tools
.
5. Click the
Format
button to view the format
Format Options dialog box.


