background image


13

No Drobo Connected


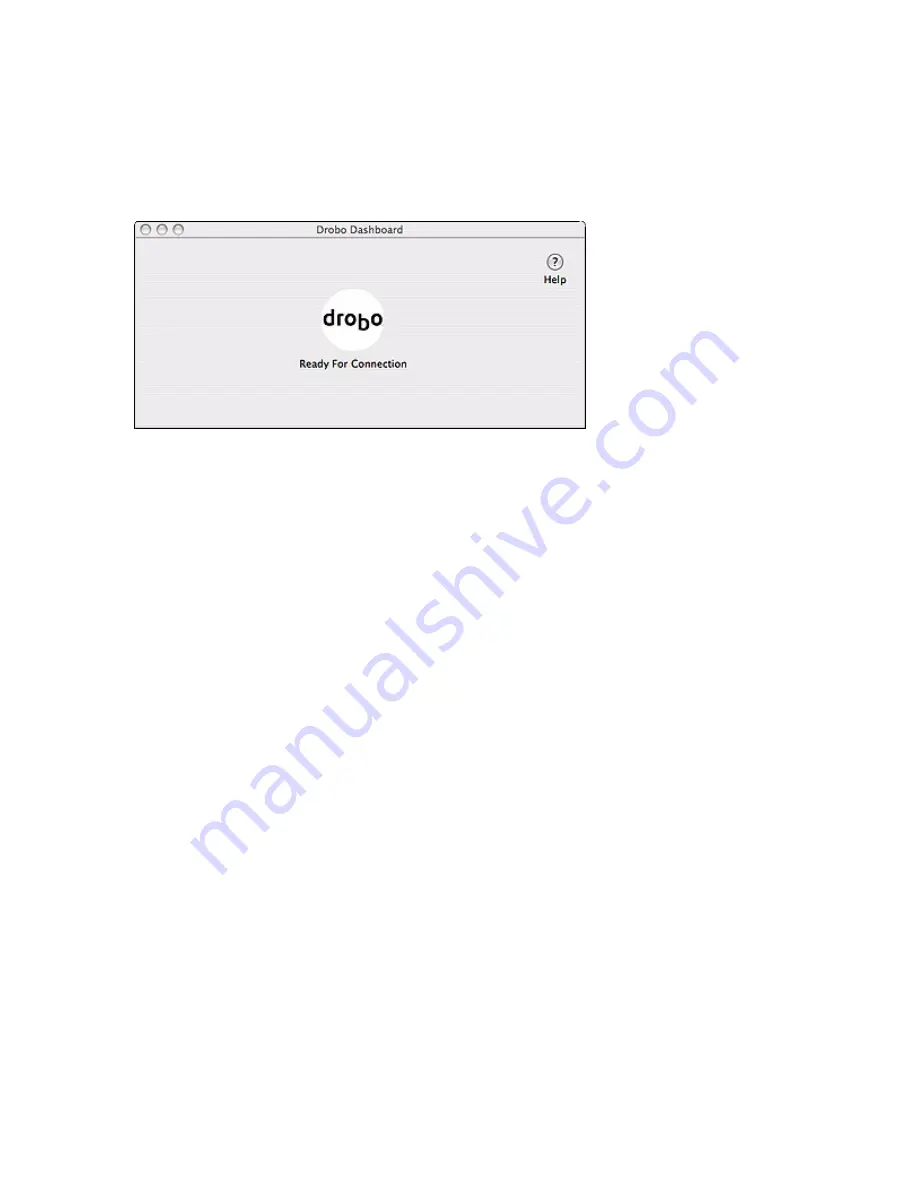
If the Drobo Dashboard appears with a message saying "Ready For Connection,"


then check that that USB cable is securely connecting your Mac to Drobo, and 
also that Drobo is connected to its power source.


If the USB cable is connected and Drobo has power, but Drobo Dashboard is not 
recognizing Drobo, eject Drobo to put it into Standby. You can do this by 
dragging the Drobo icon from your desktop to the Trash, or by using the Mac OS 
Safe Eject Utility. Once the power indicator on Drobo turns orange, disconnect 
the power and then reconnect it to restart Drobo.


Related Topics 

Troubleshooting


Summary of Contents for Storage system

Page 1: ... provides the only effortless safe and expandable repository for all of your digital assets Drobo connects easily to your Mac via USB 2 0 and appears like one large external USB Drive to OS X requiring no configuration to use Many of the key features delivered to enhance your user experience include ...

Page 2: ...hile Drobo does much of the work for you there are still a few items that you will need to understand to take full advantage of its rich feature set Take some time familiarize yourself with your Drobo Related Topics Getting Started ...

Page 3: ...ives to Drobo any pre existing data on those drives will be erased To add a hard drive 1 While holding the hard drive flat horizontal flip it so its connector is at the bottom 2 Point the connector end away from you 3 Slide the hard drive into the desired data bay with the connector end entering first until the drive latch locks it in place 4 You are now ready to Connect Drobo to your Mac Connecti...

Page 4: ...es Do one of the following to Begin the Format Process y If Drobo Dashboard is running it will automatically show you the Drobo Format dialog box In this case continue below at To Format Drobo Using the Drobo Dashboard y If your Mac detects your unformatted Drobo the Disk Insertion dialog box will appear In this case you may continue at To Format Drobo Using the Mac OS Disk Utility y If Drobo Dash...

Page 5: ...nnecting Drobo to only a Mac then select the HFS radio button y If you plan on connecting Drobo to a Mac and on some occasions to a computer running Microsoft Windows or to a NAS appliance other than Airport Extreme then select the FAT32 radio button 4 Click Format to begin formatting 5 When formatting is finished click OK and Drobo is ready for use The Drobo icon will appear on your desktop ...

Page 6: ...ility 1 If your Mac detects your unformatted Drobo the Disk Insertion dialog box will appear 2 Click Initialize to launch the Disk Utility application If the application does not appear it can be started from Applications Utilities Disk Utility ...

Page 7: ...the button bar at the top of the right panel select the Erase 4 From the Volume Format drop down list accept Mac OS Extended Journaled unless you have a specific need for a different option 5 In the Name text box type a name for your Drobo for example Drobo 6 Click the Erase button to view the Erase warning message 7 Click Erase to wipe clean the new drives in Drobo ...

Page 8: ...on only new hard drives added to Drobo To Start Drobo Dashboard and Then Format Drobo 1 If you want to start the Drobo Dashboard from the Doc do the following or skip to Step 2 to start it from the Applications Folder y Find the Drobo icon in your dock y Click on the icon to open the Dashboard y Continue at Step 3 2 To start the Dashboard from the Applications Folder do the following y Go to your ...

Page 9: ... on connecting Drobo to a Mac and on some occasions to a computer running Microsoft Windows or to a NAS appliance other than Airport Extreme then select the FAT32 radio button 7 Click Format to begin formatting 8 When formatting is complete click OK and Drobo is ready for use and the Drobo icon will appear on your desktop ...

Page 10: ...10 Related Topics My Mac Says Drobo has 2 Terabytes of Capacity Adding New Capacity to My Drobo Launching the Drobo Dashboard Basic Drobo Dashboard ...

Page 11: ... drives become available every year so when you have added capacity that exceeds 2 TB Drobo will create an additional disk for your Mac It will be an additional virtual hard drive for your Mac where both virtual drives become the total capacity in Drobo If you want to know the current used capacity on your Drobo you can get a quick idea with a glance at the capacity meter on the front As a monitor...

Page 12: ...ity will be To remove a hard drive Warning Do not remove a hard drive when you see blinking green and yellow lights This indicates that Drobo is moving data between hard drives for data protection so removing a hard drive during this process could result in data loss 1 Press the data bay latch to the left to eject the hard drive 2 Carefully remove the hard drive Warning Hard drives in Drobo will r...

Page 13: ...to its power source If the USB cable is connected and Drobo has power but Drobo Dashboard is not recognizing Drobo eject Drobo to put it into Standby You can do this by dragging the Drobo icon from your desktop to the Trash or by using the Mac OS Safe Eject Utility Once the power indicator on Drobo turns orange disconnect the power and then reconnect it to restart Drobo Related Topics Troubleshoot...

Page 14: ...getting full Add a hard drive or replace the existing one with a greater capacity hard drive Red Protected space is critically low or data protection against single drive failure is no longer available Add a hard drive or replace the existing one with a greater capacity hard drive ASAP Blinking Green and Yellow Drobo is protecting your data by duplicating and spreading it across all of the availab...

Page 15: ...eed further assistance refer to the User s Guide Tip When removing or replacing hard drives make sure you remove or replace them one at a time time and never remove a drive when the data bay indicators are blinking green and yellow Related Topics Adding New Capacity to My Drobo Launching the Drobo Dashboard Basic Drobo Dashboard Advanced Drobo Dashboard ...

Page 16: ...properly put Drobo into Standby before removing a set of drives from your Drobo can cause loss of data Note In the event that Drobo is almost full and all drives in Drobo are the same capacity you will need to replace two drives in order to increase the overall amount of protected capacity Replacing just one drive will not increase your overall protected capacity Remember to replace one drive at a...

Page 17: ...17 Clear Hard Drives ...

Page 18: ...ower from your Drobo 2 Locate the Clear Hard Drives pinhole in the back of your Drobo 3 Find a thin firm piece of metal like a straightened paper clip 4 Insert the metal into the hole to press the button 5 While holding down the button connect the power back to your Drobo 6 Continue to hold down the button until the power indicator starts blinking green approximately 30 seconds 7 Now you are ready...

Page 19: ...vanced Controls Panel Warning Failure to properly eject Drobo from your Mac can cause loss of data This standby operation should take only a few seconds Once Drobo is in Standby Mode all lights will turn off except for the power indicator which will turn orange Only then can you safely disconnect Drobo from your Mac or disconnect the power from your Drobo Warning Always properly put Drobo into Sta...

Page 20: ...he most popular drive manufacturer drives on the market However in the event that we should discover any particular issue with a specific brand of drive these will be listed on the support website www drobo com support aspx Tip To assist you in determining what size drive you need to add in order to reach a specific capacity use Drobolator an online Drobo simulator that lets you drag and drop driv...

Page 21: ... not visible you can still monitor the status and capacity of the system There are three ways to start the Drobo Dashboard y from the Applications folder y from the dock and y from the Menu Bar To start the Drobo Dashboard from the Applications Folder 1 Go to your Applications folder 2 Click on the Drobo Dashboard folder 3 Select Drobo Dashboard to open the Dashboard To start the Drobo Dashboard f...

Page 22: ...22 Related Topics Basic Drobo Dashboard Advanced Drobo Dashboard ...

Page 23: ...e Mac will show up as separate disk drives Storage Capacity Shows Drobo s total available capacity Used Capacity Portion of the total capacity currently in use Free Capacity Portion of the total capacity available for use How is my storage being used Click to access a bar graph showing the breakdown of how your storage capacity is being used Advanced Controls Click to access Drobo s Advanced Contr...

Page 24: ...est because there is not enough capacity to protect data in this space is there is a single drive failure This space can be accessed as more capacity is added to Drobo Used for protection Space utilized by Drobo for protection of your data Overhead Space used for Drobo overhead Related Topics Launching the Drobo Dashboard Advanced Drobo Dashboard ...

Page 25: ...ill provide a system status which normally will display I am Healthy In the rare event that a drive has failed or been removed a Data At Risk status will be displayed in red letters while Drobo relays your data into a protected state Storage Capacity This is the numerical representation of the pie chart found on the basic dashboard Data Protection Messages that appear in this area inform you about...

Page 26: ...ive or replace an existing drive with one of larger capacity Warning Add a new drive now or replace a drive with one that has more capacity or you may lose data Drobo Suggests Shows different status messages and instructions when you need to perform a task Show Me How Click to view a short instructional video about how to perform the task described in the Drobo Suggests area Tools Tab You can open...

Page 27: ...obo the Drobo Dashboard is reporting on This is useful when multiple Drobos are connected to the same Mac The data bay indicator lights will blink green and red for several seconds Register Opens a web browser and takes you directly to the Drobo product registration website Tip Register your Drobo to gain access to special offers and customer support Drobo to send alert on all useful information S...

Page 28: ...28 Launching the Drobo Dashboard Basic Drobo Dashboard ...

Page 29: ...n your Disk Utility to see if Drobo is recognized y Has a hard drive failed When a hard drive fails it has a blinking red light in the data bay indicator Replace the failed hard drive with a healthy hard drive y Did you remove a hard drive that shouldn t have been removed Re insert the drive you removed and wait until all the lights stop blinking green and yellow before you try to remove it again ...

Page 30: ...30 Visit the Data Robotics Incorporated website at www drobo com Or contact Customer Support at support drobo com ...

Reviews: