


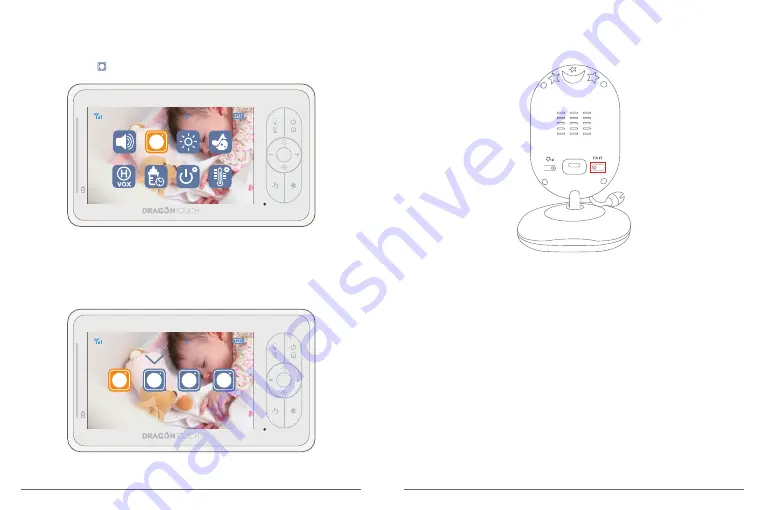
3. Camera Control
• Add (Pair) a Camera
①
Press
Menu
Button and the menu bar will pop up. Press the “
+
”
Right
Button or “
-
”
Left
Button until Camera icon is highlighted.
③
Press and hold the
PAIR
key behind the Camera Unit for at least 3 seconds.
Then the connection is successful.
Note:
A Camera Unit can only be registered to one Monitor Unit at any one time.
OK
4.3” LCD
CAM-1
28°C
②
Press
OK
Button to enter to the interface. Camera 1 is the default setting. Press the “
+
”
Right
Button or “
-
”
Left
Button to select the desired CAM, and press the
OK
Button to
start searching for a Camera Unit.
OK
4.3” LCD
1
CAM-1
28°C
3
4
2
12
13
• View and Scan Camera
These two functions are only useful if you have more than 1 Camera Unit paired. Scan
camera function automatically cycles through your paired camera channels to display each
camera for 20 seconds.
Press
OK
Button to select the desired Camera Unit to view or select to Scan the cameras.
When under Scan mode the screen will display the video from different paired cameras in
a loop of
SCAN1 / SCAN2 / SCAN3 / SCAN4
, changing every 20 seconds.
Summary of Contents for DT40
Page 1: ...USER MANUAL Dragon Touch DT40 Babay Monitor...
Page 2: ...CONTENTS V1 1 81 100 01 20 21 40 61 80 41 60 101 120...
Page 58: ...Dragon Touch DT40 FQA 102 103 103 106 111 120 120 101...
Page 59: ...1 3 1m 2 3 3 4 AC 5 6 7 8 9 10 11 12 13 AC 14 15 16 1 102 103 DT40 DT40 PAIR 4 1 2 3 5 6 8 7 9...
Page 61: ...106 107 1 3 3 LED LED LED 2 USB USB USB DC 2 LED LCD 5...
Page 62: ...108 109 4 5 LED LED LED...
Page 63: ...DRAGON TOUCH DT40 1 110 111 OK 3 2 OK 4 3 LCD CAM 1 28 C OK OK 4 3 LCD CAM 1 28 C...


