A3-AG/N3-AG AGRICULTURE KIT 2.0
User Manual
©
2019 DJI All Rights Reserved.
21
DJI Radar Module (Altitude Stabilization / Prediction)
The radar module uses microwave technology. In an optimal operating environment, the aircraft
can fly at a constant distance to ensure even spraying. If three radar modules are mounted to the
forward, rear, and downward positions of the aircraft, the forward and rear radar modules can
predict the distance between the aircraft and surfaces to activate terrain follow.
Installation and Connection
1. If using a single radar module, mount it to the downward position of the aircraft to use for
altitude stabilization, and connect it to the radar port on the AMU II.
2. If using three radar modules, mount them to the forward, rear, and downward positions of
the aircraft to use them for altitude prediction in the front and rear directions and altitude
stabilization in the downward direction. Connect the three radar modules in order, and connect
to the radar port on the AMU II.
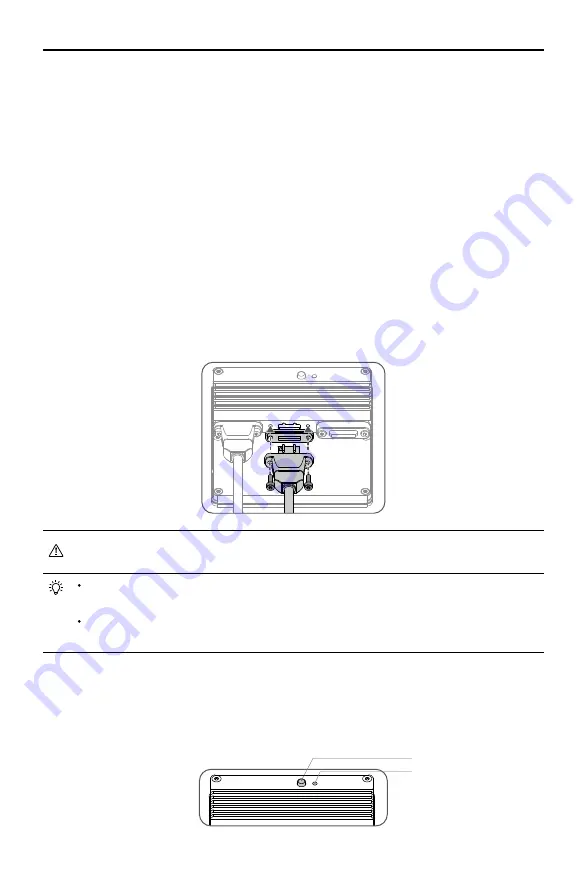
3. When connecting the cable to the radar module, attach the rubber pad included in the
package to the radar cable plug, and connect the cable to the 4-pin port on the radar module.
Tighten the two M2×6 screws.
Make sure that the surface of the radar module that can transmit and receive microwaves
is facing outward and is unobstructed.
Use the radar mounting base to secure the radar module as follows: Place the radar
module into the mounting base, mount the washers, and tighten the M3×8 screw.
If a port is not in use, mount the rubber pads and protective covers to protect them
from dust and water.
Configuration
Set the operating mode for the radar module according to the position it is mounted to.
1. Power off the module. Press and hold the mode button on the module, and power it on.
Release the button after the status indicator glows solid white.
Mode Button
Status Indicator


