7
Lock Program
You can lock selected programs for restricted view.
1
. Select the preferred program then press the YELLOW button. A lock shaped
symbol is displayed. The program is now marked as locked.
2.
Repeat the previous step to select more programs.
3.
To confirm and exit the menu, press the EXIT button.
4.
Press the YELLOW button to disable the locked program.
5.
To view the locked program, you will be required to enter either the default
password '000000' or your last set password.
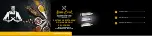
4.1.2 EPG (Electronic program guide)
The EPG is an on-screen TV guide that shows
scheduled programs seven days in advance for
every tuned channel. Press the EPG button on
the remote control to access the guide. You can
use the UP/DOWN key to select the preferred
program. If there is more than one page of
information, use the BLUE button for page up and
the YELLOW button for page down
4.1.3 Sort
Sort your channels from the following options:
[Default]
– Keeps the original order.
[Encrypt] -
Sort the channels in encrypt mode.
[Service Name] -
Sort the channels in
alphabetical order
.
[Service ID] -
Sort the channels according to the
service id.
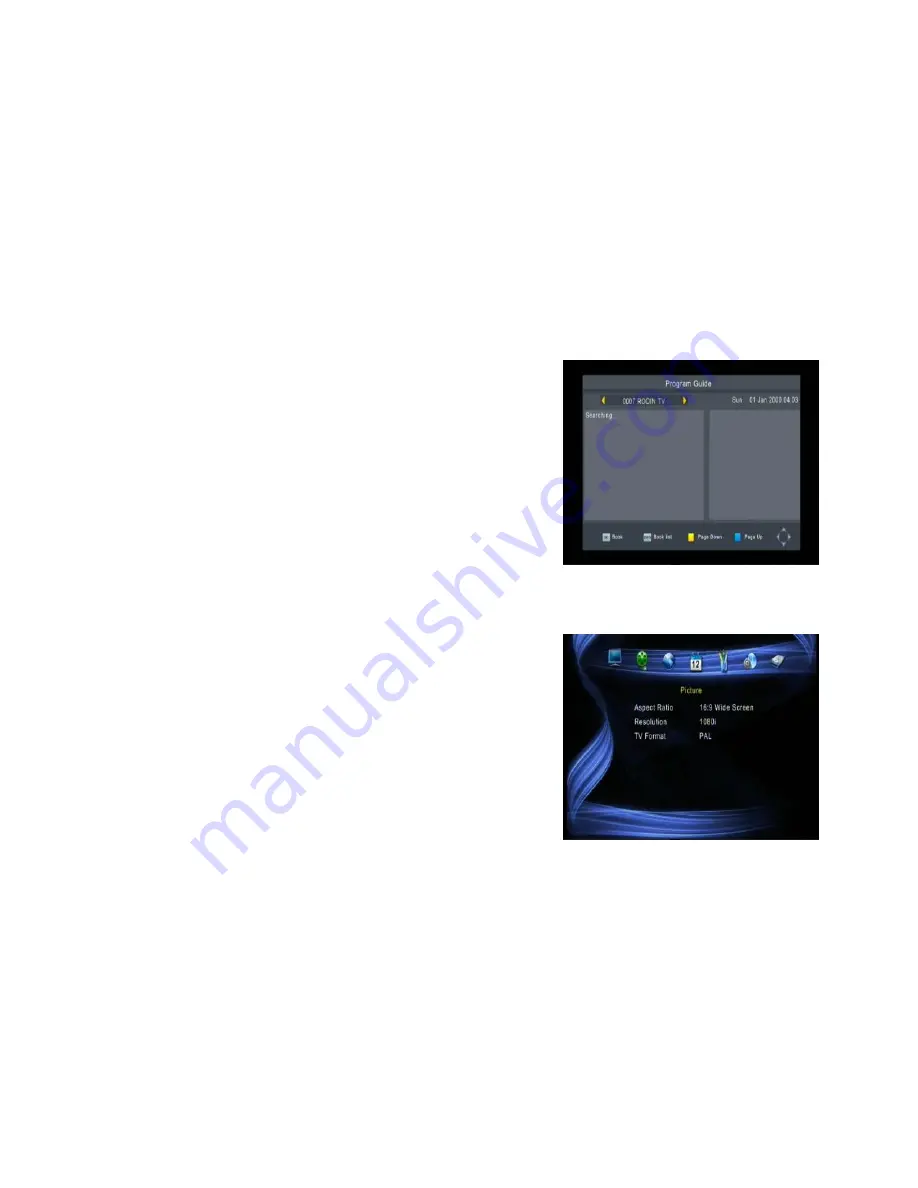
4.2 Video Setting
To access the menu, press MENU then select [Picture]. The menu provides
options to adjust the video settings. Press UP/DOWN to select an option and
press RIGHT/LEFT to adjust that setting. Press EXIT to exit the menu.
4.2.1 Aspect Ratio
You must set the display format to 4:3 Pan Scan, 4:3 Letter Box, 16:9 Wide
Screen or Auto to get the maximum display when watching TV.
Summary of Contents for satBox-mini S7030PVR
Page 1: ...S7030PVR User Manual...
Page 19: ...16...