Elite Setup Guide- Thermal Printer
4
Step 1
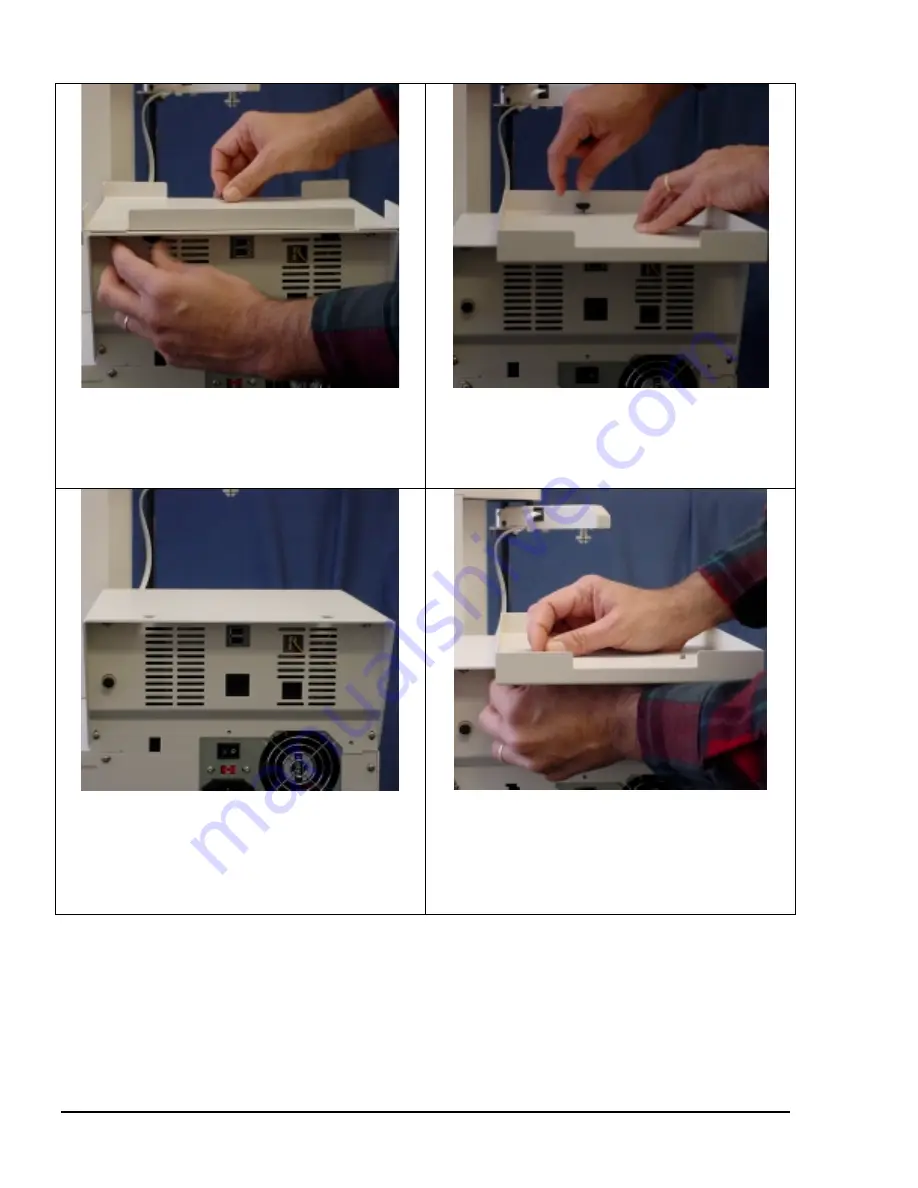
If your unit was shipped with the Inkjet Tray attached, remove the
InkJet Printer tray and keep the mounting hardware.
If your unit was shipped without the Inkjet Printer Tray, Proceed to
Step 3A
Step 3A
Locate the Thermal Tray and place it onto the Elite unit
Using the hardware removed from the inkjet tray, install the
FRONT thumb screws to secure the Thermal Tray. (Note: Snug
the screws, but allow the tray to move for final adjustment)
Step 2
View of unit without InkJet Printer Tray
Step 3B
Using the hardware removed from the inkjet tray, install the
REAR thumb screws to secure the Thermal Tray. (Note:
Snug the screws, but allow the tray to move for final
adjustment)


