


Page 4.18
105-453B January 2007
4. Using the Menus
Digital Projection
LIGHTNING 35HD-T, 40HD-T
User Manual
Notes
The buttons of the
Main menu
are always visible at the bottom
of the display.
To go back to a previous menu
option that is no longer visible,
call up the menu again using
the appropriate Main menu
button.
The
Image position
controls
are useful for multiple projector
applications, where the images
need to be tiled.
The
Image position
controls
affect how the selected video
image is positioned on the
DMD.
DO NOT use these controls
to change the position of the
whole image on the projection
screen.
To change the position of the
whole image on the projection
screen, use the Move and
Zoom controls in the
Lens
menu
.
Note that in subsequent
adjustments to the
Input
adjust
controls the image will
be limited to the edges of the
DMD.
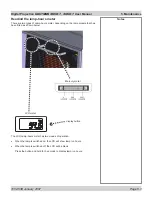
Image menu...
Advanced image setup...
Image position
Controls
Image position adjust
Centre
image
Menu
buttons...
Shutter
open
Shutter
close
Image
orientation
Image
position
Gamma
Input
preset
Test
Patterns
Input
Adjust
Image position
Press the
IMAGE POSITION
button on the
Advanced image menu
:
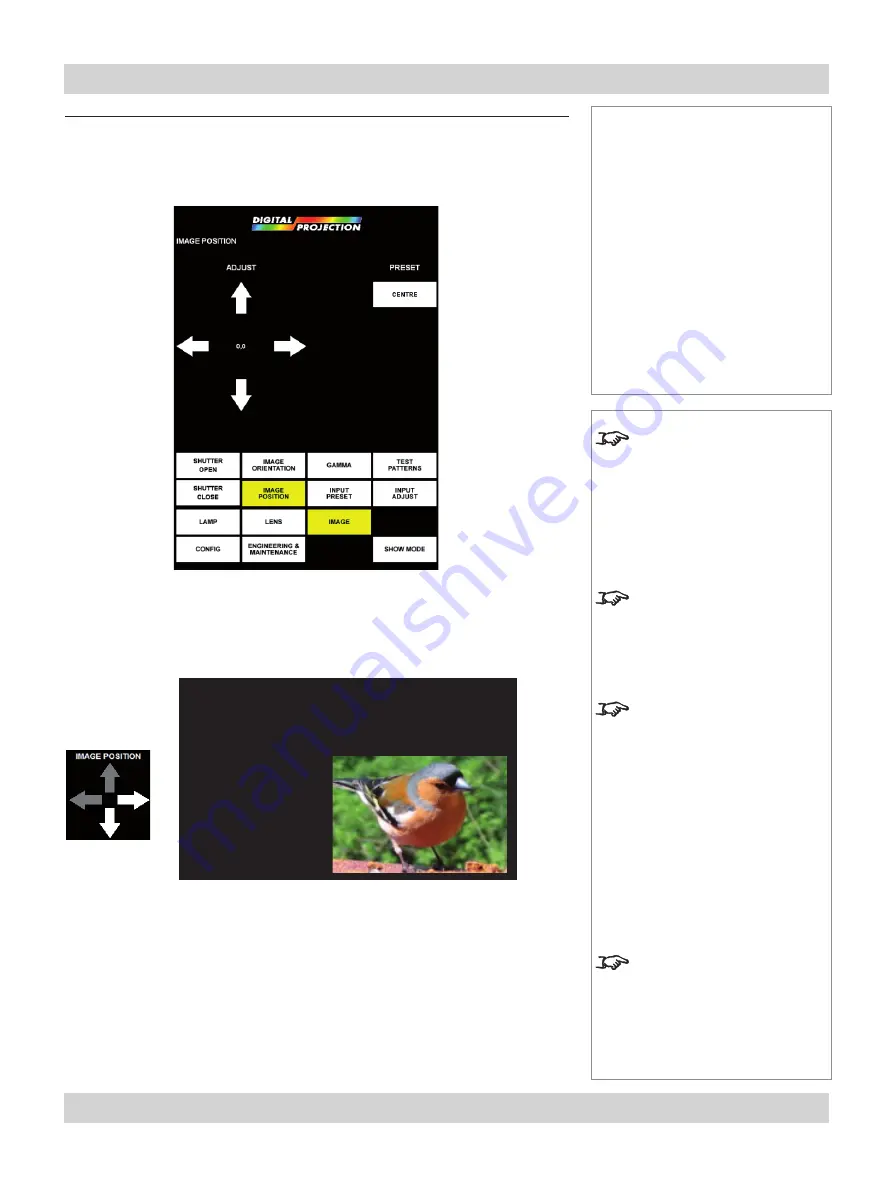
Press the arrow heads to reposition the selected portion of the video image on the
DMD, as shown below.
Image
position moved
down and right
OR
Press the CENTRE button, to centre the image on the DMD.
Advanced image setup, continued
DMD


