


Page 4.16
105-453B January 2007
4. Using the Menus
Digital Projection
LIGHTNING 35HD-T, 40HD-T
User Manual
Notes
The
Input adjust
controls allow
you to select which portion
of the video image is to be
displayed.
These controls DO NOT change
the position or size of the whole
image on the projection screen.
To change the position or size
of the whole image on the
projection screen, use the Move
and Zoom controls in the
Lens
menu
.
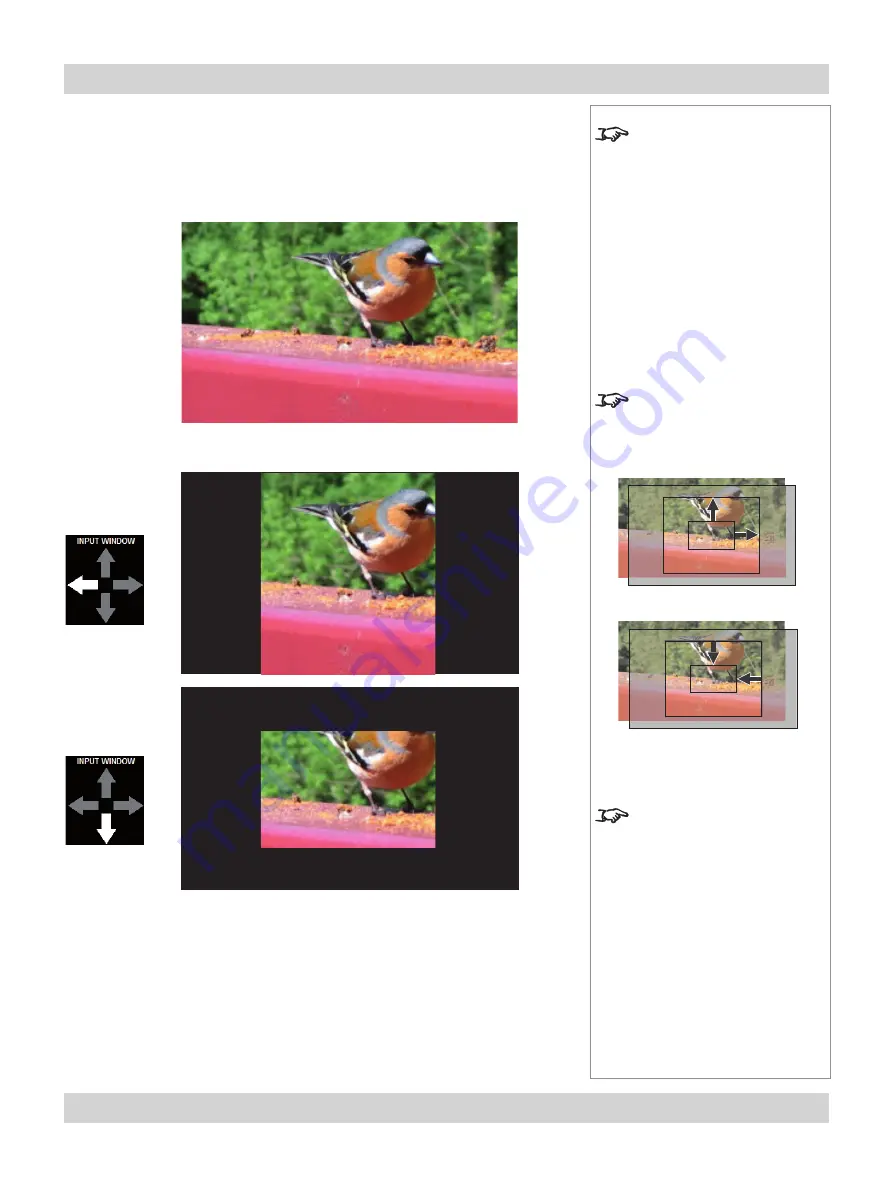
Note how the
Input window
controls change the size of the
window, not the image
Input preset
(see previous
page) sets the limit of what can
be displayed on screen. The
Input window
controls then
work inside those limits.
IMAGE
IMAGE
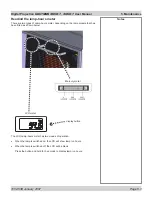
Input window
Press the arrow heads to select a portion of the video image to be displayed, hiding
or revealing more or less of the image, as shown on the next page.
Example
The original
image
Input window:
width reduced
Input window:
height reduced


