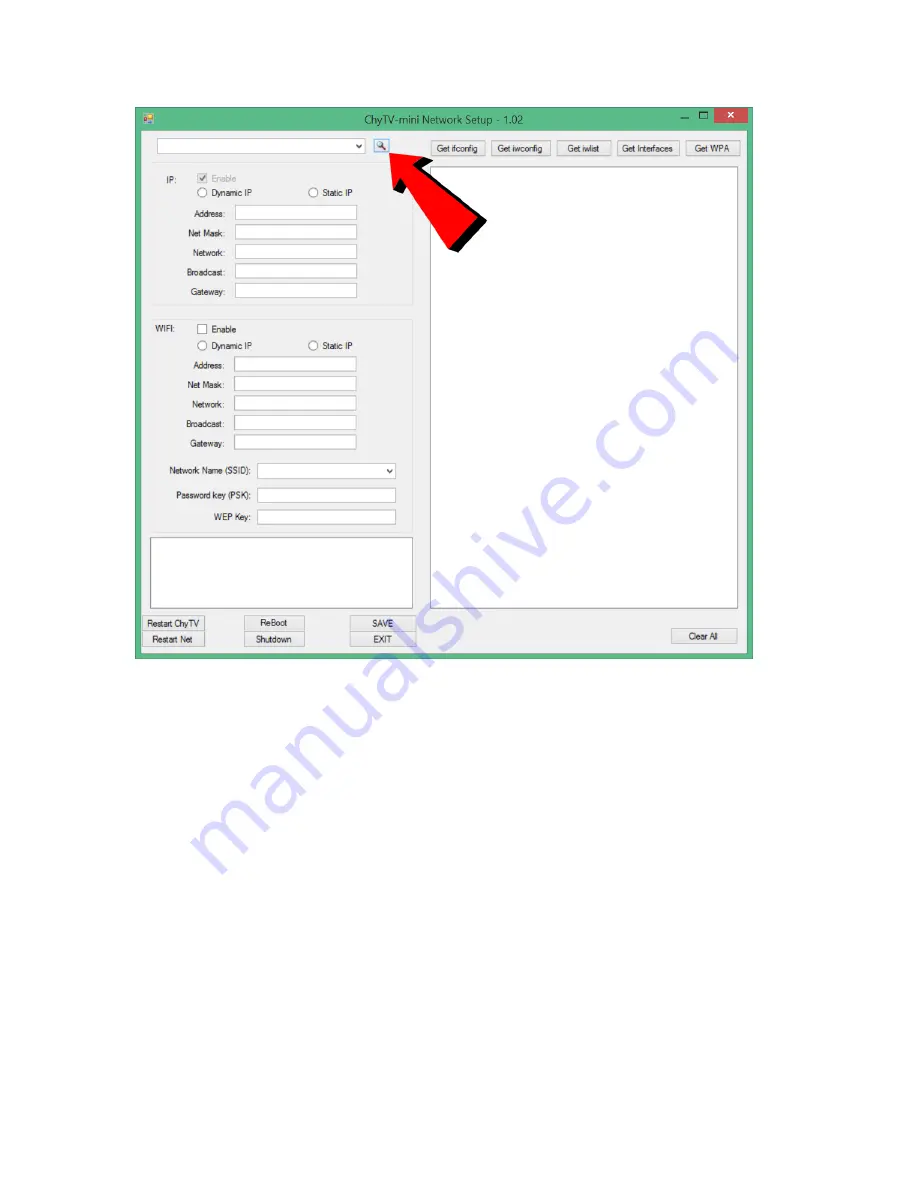
3. Select IP Address from drop-down box. The ChyTV-mini should connect and show
some diagnostics in the lower left window.
4.
Select “Get iwlist”. This will collect information about the available Wireless networks
in the area.
5.
Check the “Wi-Fi Enable” box. Check “Dynamic” or “Static” IP. If static, enter correct
parameters as provided by IT department.
6.
From “Network Name (SSID)” drop-down box, select desired network to connect to.
7.
Enter the network’s password in the “Password key (PSK)” field.
8.
Select “Save”.
9.
Select “Reboot”.
The Wi-Fi should now be enabled. Both wired and Wi-Fi addresses will be displayed in
the “Gray” screen. This Wi-Fi address can now be used in ChyTV Tools 2 and any other
utility that connects to the device.


