LX-DANTE
User’s Guide
v1.00
In case the
User Account Control
window prompts you to authorize the driver
installation, click on OK.
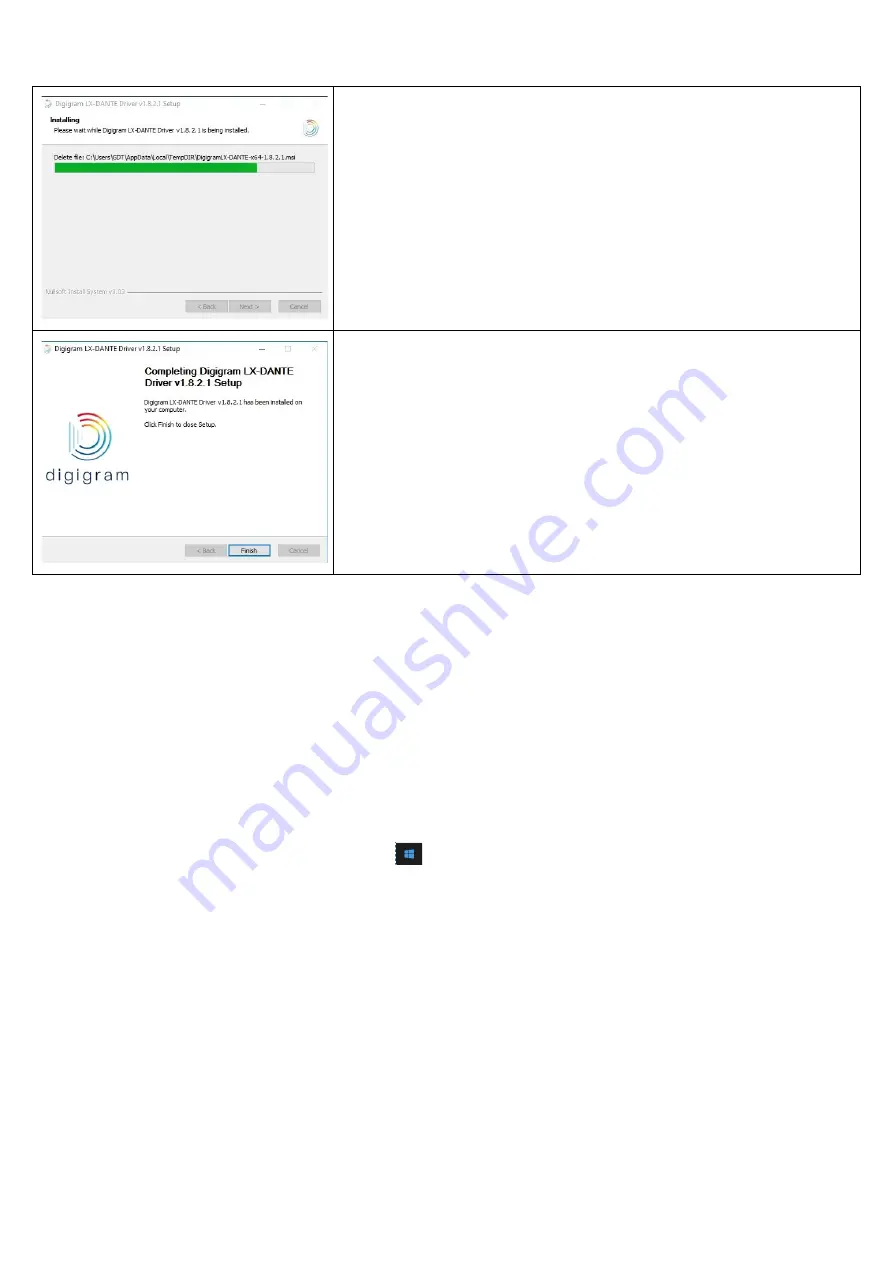
Driver files are then installed on the computer.
In case the
“Digital Signature Not Found”
message appears because a
non-Microsoft software is about to be installed, click on Continue.
Click
Finish
to complete the driver installation.
7.2 Removing the driver
Open the
Windows Control Panel
and double-click on the
Add/Remove Software
icon or
Programs and Features
icon, depending on
the Windows flavour.
● Select “Digigram LX-DANTE Runtime …”, and Change/Remove.
● Select Remove in the LX-DANTE Runtime window.
● Follow the instructions to finish to remove the driver.
8 HOW TO CHECK THE INSTALLATION
● Open the Windows “Device Manager” window as follows.
Under Windows 10, right click on the Windows start icon
, and select “Device Manager”.
● Click on the [+] or [>] mark next to "Sound, video and game controllers."
● Confirm that the "Digigram LX-DANTE Card" appears in the list.
● Start an ASIO capable software application
● From this application, select “ASIO” for the type of supported driver
● Select LX-DANTE card
● You can then select the input channels (LX-DANTE Rx1 to LX-DANTE Rx128), and the output channels (LX-DANTE Tx1 to LX-DANTE
Tx128).
9 SELECTING THE ASIO PARAMETERS
The size of the buffers used by the ASIO driver, and the size of the buffers used by the LX-DANTE card have an impact on the latency, but
also on the audio quality. While the higher buffer size reduces load to the computer CPU but produces latency during recording/playback,
the smaller buffer size may result in noise typically due to the sound cutting off.
Make sure to set the buffer size to an appropriate value depending on the performance of your computer, and the amount of processing of
your software application.
The buffer sizes can be selected as follows:
● From your ASIO capable software application, go to the menu that allows selecting the ASIO devices.
● Click on the “ASIO configuration”
8


