LX-DANTE
User’s Guide
v1.00
- Look for the device name ending in the last six characters of its MAC address, or:
- After selecting a device at random, use the Identify feature in the Dante Controller (see below) to check which card it is.
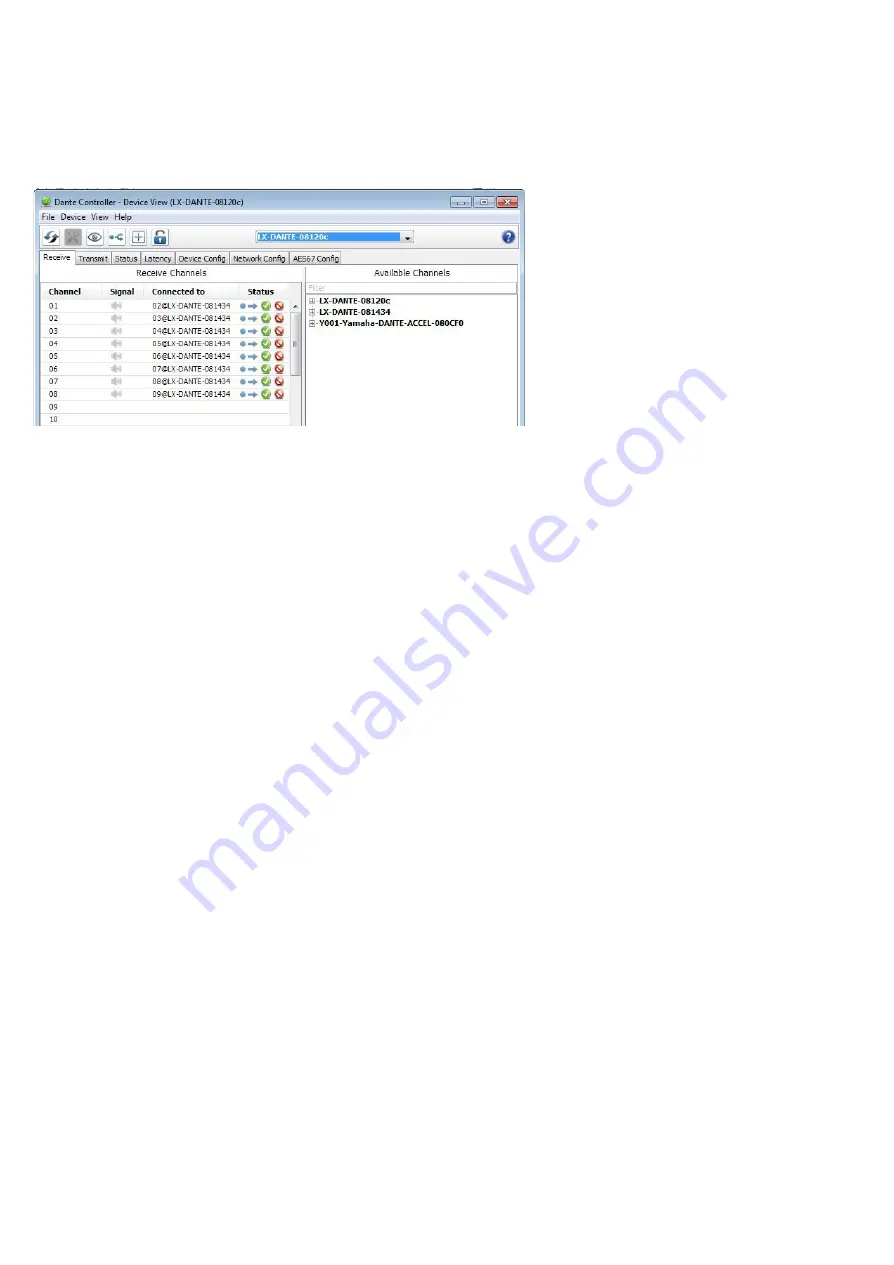
Device View Window
The Device View has five tabs: Receive, Transmit, Status, Device Config and Network Config. The Receive tab for a configured
LX-DANTE card is shown below.
Identifying Individual LX-DANTE cards
When there are multiple computers with LX-DANTE card in your network, you can use the Identify feature to know which card is which.
Once you have selected a particular card within Device View in the Dante Controller, you can click on the Identify icon in the Device View
toolbar. This will cause all of the LEDs on the LX-DANTE card to flash green for about ten seconds.
Changing the Device Name
By default the device name for the LX-DANTE card is ****- nnnnnn, where **** is the name of the card and nnnnnn is a unique
alphanumeric identifier consisting of the last six digits of the MAC address. This is the name the card will have when you first use it. It is
possible to replace the LX-DANTE card default device name with a custom, user-defined name. To do this open Device View in the Dante
Controller, select the card you wish to modify in the Device View, and change the Device Name in the Device Config tab. If you rename a
device, you must re-establish any existing audio routing to and from the re-named device using its new name. Please refer to the Dante
Controller User Guide for more information on renaming devices.
Changing Channel Labels
To change channel labels in Dante Controller:
●
Open the Device View for the relevant device.
●
Click the Receive or Transmit tab (depending on which channel labels you want to edit).
●
Double-click the channel label.
●
Enter a new value. Tx (transmit) labels must be specific to that device.
Changing the Sample Rate
Audio routing can only be set up between devices that are operating at the same sample rate. It is possible to set the sample rate to any
one of the following values: 44.1, 48, 88.2, 96, 176.4, and 192 kHz. To do this, open Device View in the Dante Controller, select the card
you wish to modify in the Device View, and change the sample rate in the Device Config tab. Pull-up/pull-down (+4.1667, +0.1, - 0.1, and
-4.0 %) is also supported. Please refer to the Dante Controller User Guide for more information on changing sample rates.
Setting the Latency
To adjust the latency setting, open a Device View for the selected device in Dante Controller, and select the Device Config tab. This allows
several device settings to be viewed and modified. It shows the current receive latency setting and allows the user to change the operating
receive latency for the selected device.
The allowed values are:
●
0.15ms (150 microseconds) - a suitable setting for a network containing a single network switch
●
0.25ms - a suitable setting for a network containing 3 network switches
●
0.5ms - a suitable setting for a network containing where the signal path may encompass up to five network switches
●
1.0ms - a suitable setting for a network containing where the signal path may encompass up to ten network switches
●
5.0ms – a safe value for a network of almost any conceivable size
NOTE
Even if you set values suited for your network, various factors may cause some noises. If a value other than the current setting is selected
a message will be displayed warning the user that the effect of changing the latency is that any existing audio routing to the device will be
temporarily suspended, resulting in some loss of audio data. If you wish to make the change select Yes button; otherwise select No.
13


