background image

7

Sample Rate Function

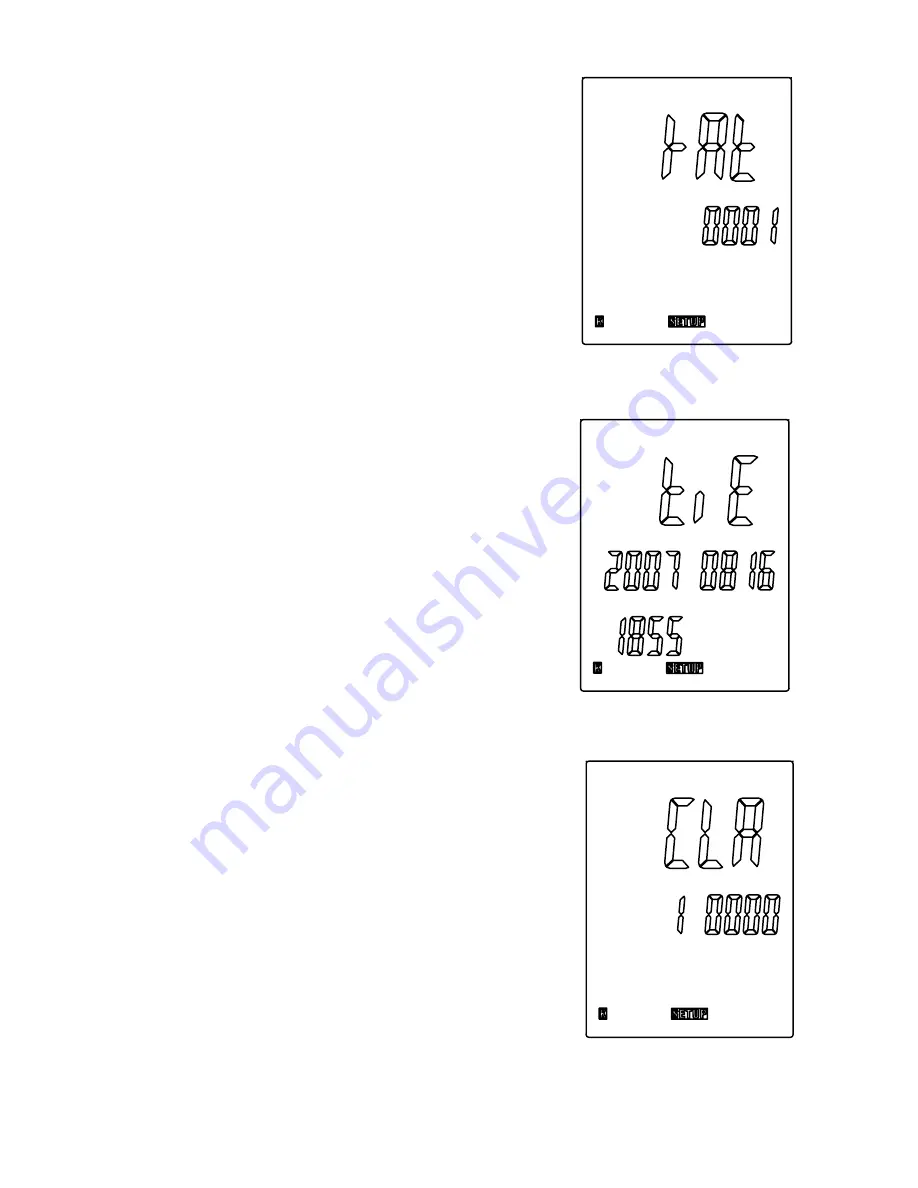
The secondary display shows the sample rate of 

the temperature data recording. When the meter is 

powered on, the default sample rate is 1 second. 

The secondary display shows “00 01” in minutes, 

then seconds (Fig. 2). 
1.   Press 

°C/°F/K

 button until the value you wish to 

change is flashing.

2.   Press 

 or 

Rec

/

 button until the setting you 

want to use appears on the display.

3.   Press 

Enter 

button to store the new setting into 

memory.

Time Setting Function

1.  While in Setup mode, scroll to the 

time

 setting 

option screen. The primary display shows the 

year; the secondary display shows the month 

and the day; and the tertiary display shows the 

hour and minute. In Fig. 3, the display shows the 

date and time “2007-08-16 18:55”. If no adjust-

ment is needed, press 

Enter

 button to exit time 

setting.

2.  Set the time. The adjust order is year, month, 

day, hour, minute. Press 

°C/°F/K

 button until the 

value you wish to change is flashing.

3.   Press 

 or 

Rec

/

 button until the setting you 

want to use appears on the display.

4.   Press 

Enter

 button to store the new setting into 

memory.

Clear Memory Operation

Immediately after turning on the meter, the first 

value shown is the number of data logging sample 

points remaining (from 10,000 to 0). Once the mem-

ory is full, the first value shown will be “FULL” 

rather than a number. At this point, you are no lon-

ger able to record until the memory is cleared. 
1.  Press and hold 

Setup

 button for three seconds to 

enter the Setup mode. While in Setup mode, the 

display shows the 

SETUP

 icon.

2.  Use the 

 and 

Rec

/

 buttons to scroll to the 

CLR 

memory

 option screen. The screen indicates the 

number of sample points remaining (Fig. 4).

Fig. 2

Fig. 3

Fig. 4

Summary of Contents for 20250-20

Page 1: ...anual THE STANDARD IN PRECISION MEASUREMENT Professional Thermocouple Thermometer with Four Type K Inputs Data Logging and Optional Infrared Wand with NIST Traceable Calibration Model 20250 20 Enter R...

Page 2: ...contact your instrument supplier immediately 1 Meter 2 Four type K flexible probes 3 USB cable 4 Software 5 Carrying case 6 One 9 V battery 7 User manual 8 NIST traceable calibration report with data...

Page 3: ...4 2 LCD 3 Enter button 4 Up button 5 Rec button 6 C F K button 7 HOLD button 8 DIF T1 T2 T3 T4 button 9 Power on off button 10 MAX MIN button 11 Setup Backlight button 12 IR input Optional infrared wa...

Page 4: ...rared IR TEMP icon requires Optional IR wand sku number 20250 24 7 SETUP mode icon 8 Offset icon 9 Auto power off icon 10 Low battery icon 11 T2 or T4 temperature display 12 MAX MIN AVG icons 13 Secon...

Page 5: ...ton to turn on the backlight Press it again to turn off the backlight Press Setup Backlight button and hold for three seconds to enter or exit the Setup mode See Changing Setup Options 7 Press or Rec...

Page 6: ...t to change this setting 3 Press or Rec button until the setting you want to use appears on the display 4 Press Enter button to store the new setting into memory Note Setup is disabled in the Max Min...

Page 7: ...f no adjust ment is needed press Enter button to exit time setting 2 Set the time The adjust order is year month day hour minute Press C F K button until the value you wish to change is flashing 3 Pre...

Page 8: ...powered off Displaying Temperatures 1 Press C F K button to switch between Celsius C Fahrenheit F and Kelvin K temperature scales 2 Hold or attach the thermocouple s to the measurement location The te...

Page 9: ...with 0 sample points remaining the first value shown will be FULL rather than a number Or if you try to record the REC icon will flash five times and disappear At this point you are no longer able to...

Page 10: ...ta List tab to open the list of measurements recorded Select File icon from the menu bar and save data to desired location on your PC Note Data will be saved in an Excel format that will include all s...

Page 11: ...bove 14 F 10 C 11 F 6 C below 14 F 10 C Auto power off Unit shuts off automatically after 20 minutes to conserve battery life Operating temperature 32 to 122 F 0 to 50 C Storage temperature 14 to 122...

Page 12: ...ery Replacement When the battery power falls low the low battery icon will appear on the screen Replace the 9 V battery in the rear battery compartment by remov ing the cover Ensure that the cover is...

Reviews: