


9
User_Manual_RP3001k.doc
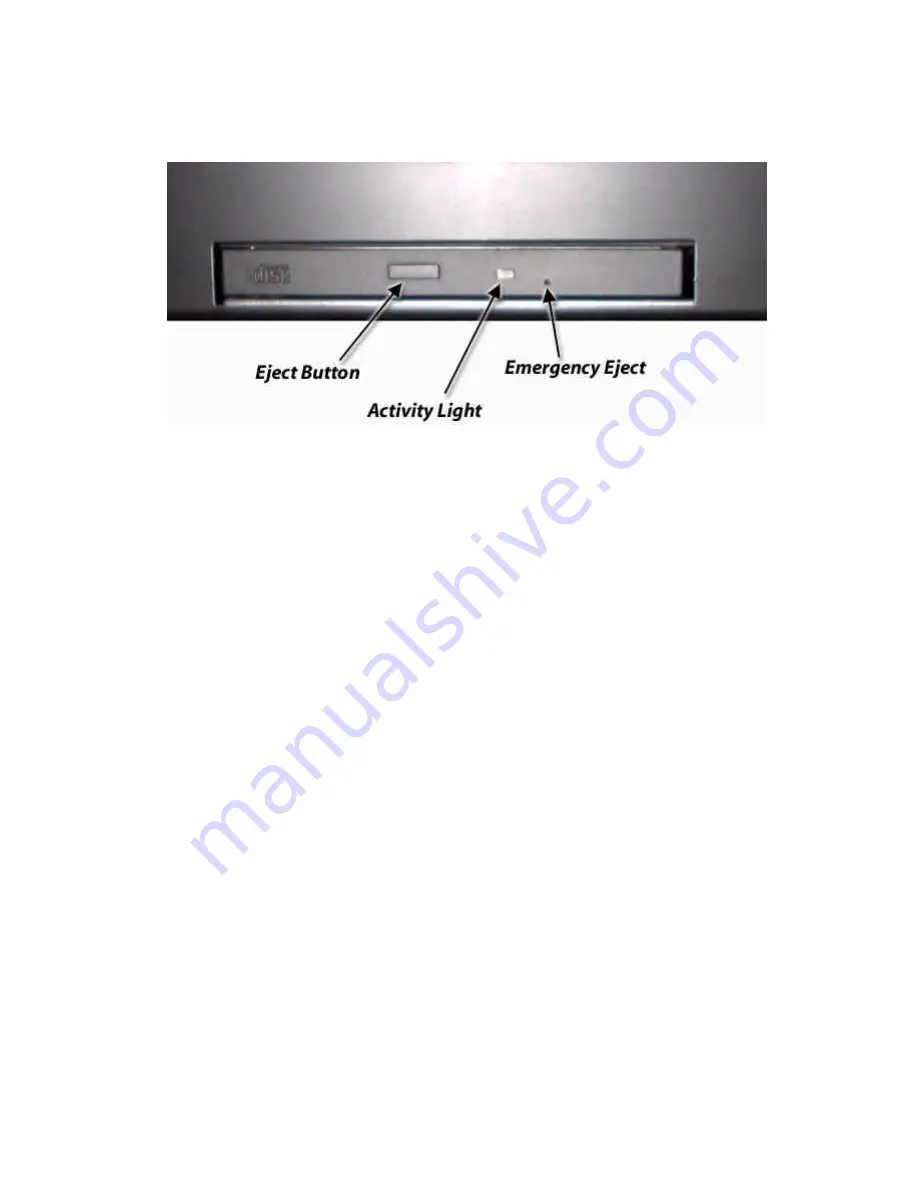
CD-ROM
The CD-ROM is located on the right side of the DF-1710 in landscape orientation, and on the bottom when it’s
in portrait orientation. Press the Eject Button to open the disc tray (the eject button will only operate when the
DF-1710 is powered on and it is not currently scanning or loading images from a CD). The Activity Light will
flash when the CD-ROM drive is accessing files. A paper clip can be inserted into the Emergency Eject hole to
open the tray in the unlikely event that the drive does not respond to the eject button for some reason.
CDs should be securely snapped into the tray’s spindle with the printed side towards you (data side towards
the back of the unit) and the tray gently pushed closed.
When you insert a CD-ROM into the DF-1710’s drive, any media files found on it are copied to a new directory
on the hard drive and a script file is automatically generated (see section 4, CD-ROM Operation, and Section 7,
Script Files). A message will appear on-screen during scanning and file copying. When file copying is complete
the CD-ROM slideshow will start, the tray will automatically open, and the disc may be removed.
Important Note on CD-ROMs: The DF-1710 recognizes only ISO9660-formatted CDs. Non-ISO9660-
formatted CDs may cause the unit to “hang” and require manual ejection of the CD with a paper clip and a re-
boot. Photo CDs supplied by commercial photo processors will always be ISO9660-formatted. If you are
burning your own CDs be sure to select “Hybrid PC/Mac” or other formatting selection in your CD-burning
software to ensure DOS/Linux compatibility. Mac-only CDs (pure HFS formatting) will not work with the DF-
1710.


