48
Walkabout™ 5210 User Guide
Changing Accompanying Note Settings in the Recorder
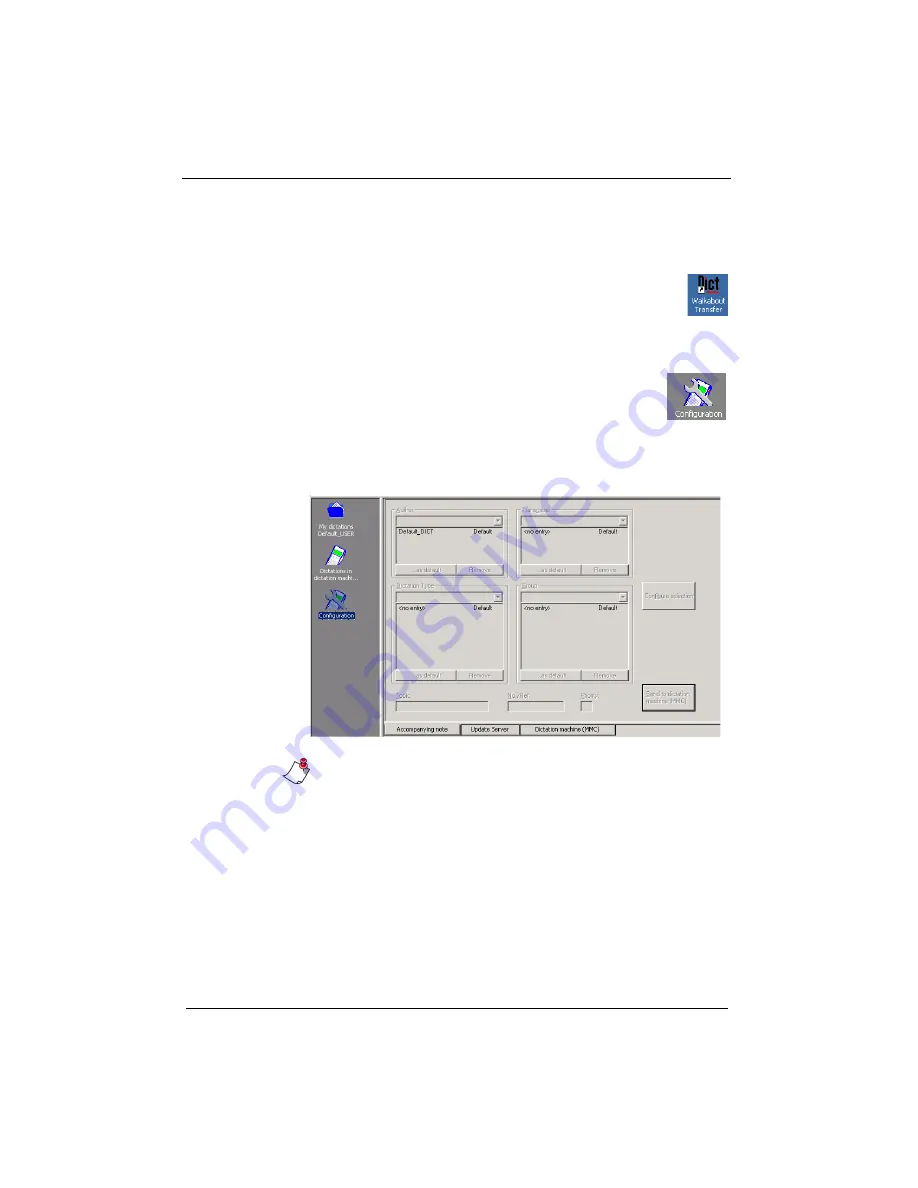
To change the Accompanying note settings:
1. Double-click the
Walkabout Transfer
icon on the
desktop to start the
Walkabout Transfer
program.
2. Connect the recorder to the PC using the USB
cable and turn the recorder on.
3. Click the
Configuration
icon in the left pane, to
see the
Accompanying note
,
Update Server
,
and
Dictation machine
(MMC)
tabs at the
bottom of the screen.
4. Click the
Accompanying note
tab to view and change the
settings of the accompanying note in the recorder.
Note:
All Dictaphone recorders that are equipped with the
clock function provide the dictation files with a time stamp.
The date appears in the Started column of the dictation
directories, but the time is only visible through the
Accompanying Note screen.
5. In the
Transcriber
group box, enter up to three different
typists whose names you want to appear in the recorder’s
list.
6. In the
Dictation Type
group box, enter up to 10 different
dictation types you want to appear in the recorder’s list.
Summary of Contents for Walkabout 5210
Page 2: ...Giving New Meaning to Voice...
Page 3: ...User Guide Walkabout 5210 Digital Recorder Versions 1 1 0 and 1 1 2...
Page 6: ......
Page 11: ...3 About the Walkabout 5210 About the Walkabout 5210 Top Front and Bottom of the Recorder...
Page 12: ...4 Walkabout 5210 User Guide Back and Left sides of the Recorder Screen display detail...
Page 65: ...Giving New Meaning to Voice...


