background image

MENU SETTINGS

-22-

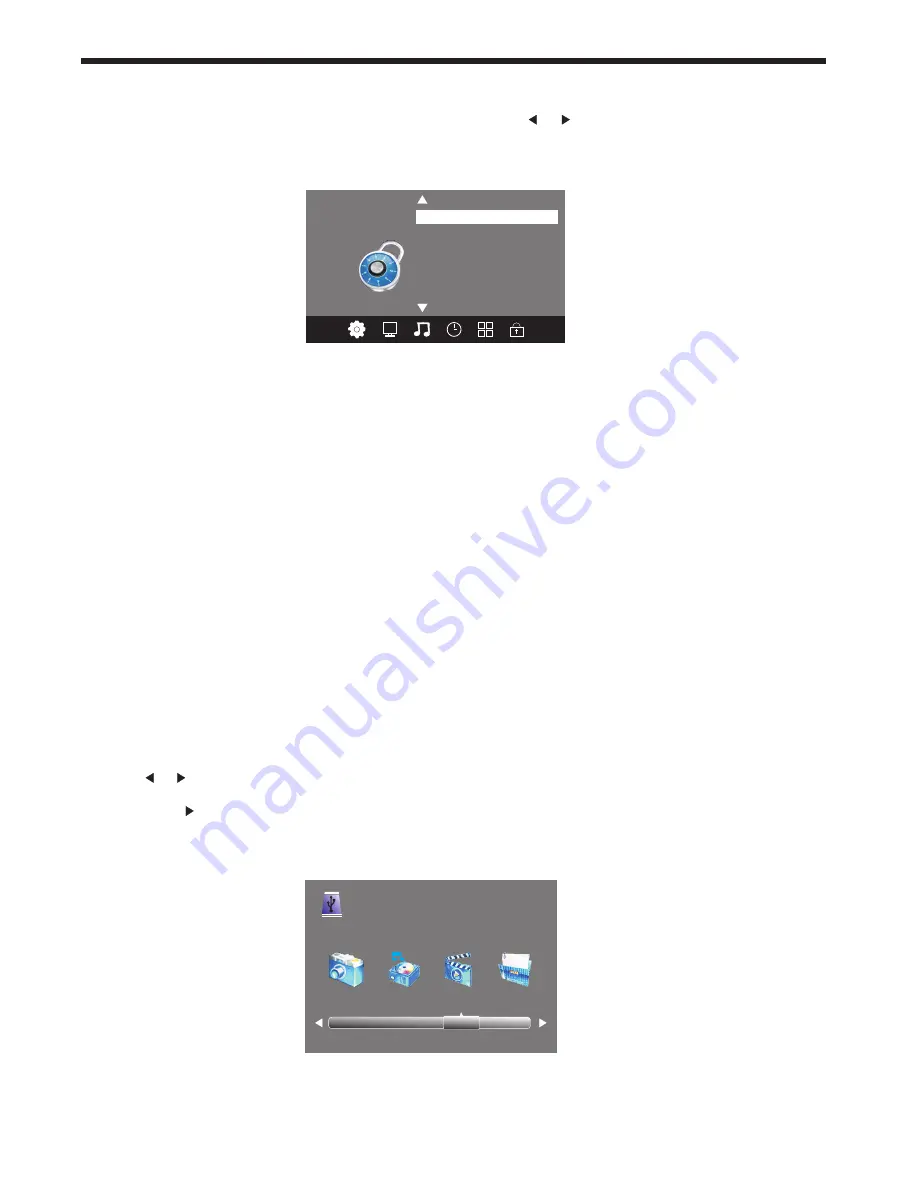
6.LOCK MENU

To enter the LOCK Menu, press the MENU button and then press     or     buttons to select the LOCK Menu. 

The default password is 6666. 

Please set a new password so it is easy to remember. Follow the on screen steps to set your new 

password. 

Set Password

Lock System

LOCK

<                                                >

Block Program

Parental Guidance 

7. USB SOURCE

To enter the USB SOURCE menu, press the Input Source button on the Remote Control, and then select USB.
This is where you will be able to view and play various limited low data-rate USB media files such as JPEG, 
MP3 and AVI formats, or play back recorded DTV programs.

Once the Parental Guidance mode is turned on, you can set viewing restrictions during DTV TV reception only.

Use the     or     buttons on the remote control to select the file playback type (eg. Photo, Music, Movie, 
Text), then press OK. You can preview a selected file by highlighting it using the cursor arrows and pressing 
OK. Press the    Play button on the Remote Control to show it in full-screen size. Press the INFO button to 
bring up a controls tab at the bottom of the screen, allowing easier control of play, pause, stop and repeat 
modes. Press the EXIT button repeatedly to progressively return back to the USB menu. Refer to page 27 for
further details regarding USB play operation.  

To enter the Lock sub-menu options, select Lock System and press OK. You will be required to enter your 4 
digit password (default PIN is 6666), then press OK to select the On mode. Use the Up/Down cursor buttons 
on the Remote to select the areas you wish to adjust for controlled viewing.

Block Program

In this sub-menu you can select one or more TV channels to be blocked from access until your PIN password 
is entered. Each time one of these "blocked" channels is selected, the PIN must be entered before the channel 
can be viewed. 

Parental Guidance 

In this sub-menu you can select from a range of Program Classification levels (eg. G, PG, M etc) that will 
prevent viewing of DTV channels that are broadcasting material with a Classification equal to or above the 
level you have selected. For example, if you select the PG rating, a PG rated TV program will require a PIN to 
be entered for viewing, but a G rated program will be able to be viewed normally..

PHOTO             MUSIC           MOVIE            TEXT

USB 2.0

Summary of Contents for DSLED42UHDYA

Page 1: ......

Page 2: ......

Page 3: ...such as newspapers table cloth curtains etc 15 No naked flame sources such as lighted candles should be placed on or near the apparatus 16 This device is not warranted for use in unreasonably hot cold...

Page 4: ...tention to children Serious injury may result if it falls Do not place your television on an unstable cart stand shelf or table Serious injury to an individual and damage to the television may result...

Page 5: ...lack blue green or red Please note that this does not affect the performance of your product About After Image The extended use of fixed image programme material can cause a permanent after image on t...

Page 6: ...l need to arrange a soft cloth that is large enough to cover the front face of the TV for protection of the LCD screen as well as a Philips head screwdriver to attach the base stand Before proceeding...

Page 7: ...the television where the neck brackets from the desk stand are attached to the TV s body and take away the stand put the stand and screws somewhere safe for future use 3 Use the four M6 screws provide...

Page 8: ...D GREEN POWER ON RED Stand by 3 Keyboard on bottom of TV 4 Main power switch on bottom mid right hand panel of TV This TV is most easily operated using the supplied Remote Control unit but in the even...

Page 9: ...oaxial digital Audio socket provides an output during DTV USB playback and HDMI input operation The format of the digital output is set in the main Sound Menu refer to page 19 for details on setting t...

Page 10: ...uipment In most cases external accessories such as a Blu ray player or gaming console that were previously connected directly to the TV would now be connected to the amplifier via HDMI and a seperate...

Page 11: ...ng up down phase that can be amplified by your sound system It is highly recommended that the TV is first powered up and then when its screen is active you then power up your amplifier When powering d...

Page 12: ...st be assessed by the user on a case by case basis This is also subject to the limitiations of the computer s video card ADJUSTABLE MODES While this TV may support higher resolutions thru either the V...

Page 13: ...mode used as hold key 19 In teletext mode used as index In DTV mode displays the Recorded List 20 Press to stop play in USB mode 21 INFO To display the program information of the DTV show you are watc...

Page 14: ...ng problems or who are not familiar with the transmission language Refer to your local TV guides or internet program lists to determine if Teletext is used in your area SUBTITLE Press this button to s...

Page 15: ...d also how to select and adjust the various Menus that allow you to tailor the operation of the TV to suit your application The following pages marked Menu Settings will cover the usage and settings o...

Page 16: ...l intensity during DTV reception only To obtain more detail regarding the signal quality and strength of a received DTV station refer to the Signal Information option in this Menu DTV Manual Tuning VH...

Page 17: ...e button on the Remote Control to skip this program from future up down manual channel selections and the symbol will show on the right side of the program name Choose the skipped program press the bl...

Page 18: ...cture Mode Standard PICTURE MENU Picture Mode Standard Contrast 50 Brightness 50 Color 50 Sharpness 50 Tint 50 Color Temperature Medium Red 50 Green 50 Blue 30 MENU Screen Auto Adjust Horizontal Pos 5...

Page 19: ...ve this sub menu in the Off position 4 The SPDIF Mode option affects the format of the Coaxial digital audio output from the socket on the rear of the TV Unless you need to force the output format to...

Page 20: ...switching On the HDMI connected player may also switch On the TV from its Standby state This activity may even set the TV to the HDMI input that the external device is connected to again these example...

Page 21: ...heck PVR File System Press the OK Button to start checking the file system of your USB storage or Hard Disk and check the recording speed capability of the connected device Once SUCCESS is shown after...

Page 22: ...a controls tab at the bottom of the screen allowing easier control of play pause stop and repeat modes Press the EXIT button repeatedly to progressively return back to the USB menu Refer to page 27 f...

Page 23: ...he desired reception date Use the down cursor to move thru the available programs for the selected date and time In the Channel mode use the cursor keys to select the desired DTV channel then scroll t...

Page 24: ...ible with the TS file format In order to carry out any kind of recording the TV will oblige you to format the connected USB device to store the recording The High Speed format option is recommended fo...

Page 25: ...ormat Pass Time Shift Size All Speed Checking MENU Check PVR File System SUCCESS Free Record Limit 6 Hr Select Disk C USB Disk Pass Format Pass Time Shift Size All Speed HD support 2048 KB s Time Shif...

Page 26: ...E The format process will take at least 2 minutes depending on the capacity of your USB device Please do not turn off the power or remove the USB device during formatting The High Speed format option...

Page 27: ...ay the media files and folder list or press EXIT to return to the media type selection menu Once you have selected the required media type and drive details you can view the various files and folders...

Page 28: ...trast and brightness volume setup Press Power Stand by key on the remote control is not inserted No colour Normal audio Colour control Picture breaking up Normal audio or weak retune channel check ant...

Page 29: ......

Reviews: