18
7.
Installing the BorderNet 4000 SBC
Once the BorderNet 4000 SBC is installed in the rack, complete the following steps to
ground the BorderNet 4000 SBC and connect it to the network:
1.
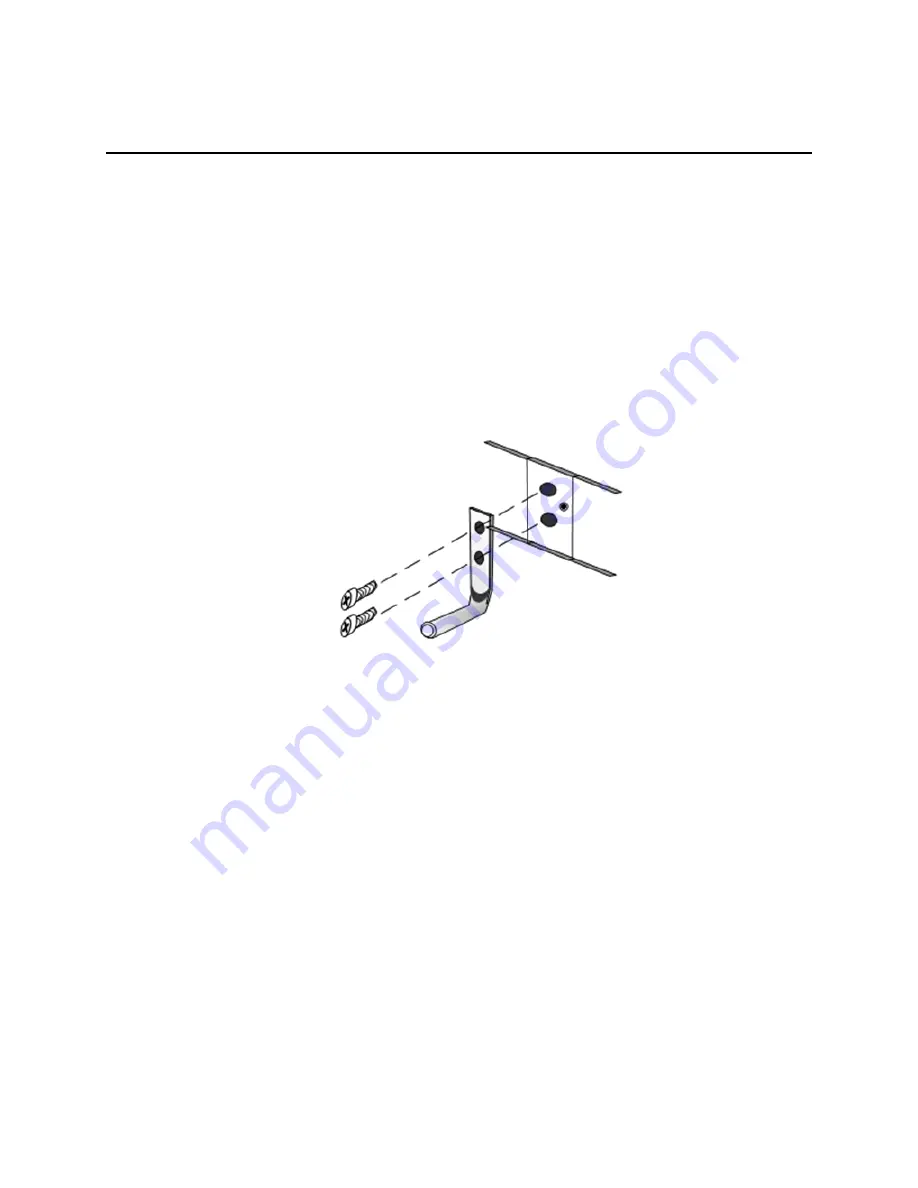
Grounding the BorderNet 4000 SBC DC-powered system.
Grounding the BorderNet 4000 SBC is required because connections can be
susceptible to lightning strike or power cross before a power source is provided for
the device. Do not connect the BorderNet 4000 SBC to a power source until it is
properly grounded.
Use a two-hole #10x5/8 ground lug (Burndy YAV102TC10-90 or equivalent) to
ground the BorderNet 4000 SBC. Crimp the grounding wire to the lug. Remove the
screws that come with the BorderNet 4000 SBC and use them to secure the lug.
Tighten each screw to 10 lbs-in torque.
2.
Connect to a power source.
If you are installing an AC BorderNet 4000 SBC, connect a power cord to the AC
connector on the back of the BorderNet 4000 SBC and plug the cord into an AC
outlet.
To install a DC BorderNet 4000 SBC, use the DC power pigtail cable.
3.
Connect Ethernet cables.
Ethernet configurations including the number of connections and IP addressing are
deployment specific. To initially configure the BorderNet 4000 SBC, connect Eth0 and
refer to the Dialogic® BorderNet™ 4000 Session BorderNet Controller (SBC)
Configuration and Provisioning Guide.
4.
To connect to a 10Base-T, 100Base-T, or 1000Base-T network, use shielded twisted
pair (STP) Category 5 or better Ethernet cables.
MAC address mapping
The MAC addresses listed on the compliance label correspond to the Ethernet interfaces.
Use this table to determine the MAC address for a particular Ethernet interface:


