6
Mouse Installation Section
Before you begin
??
Keep this installation guide for future reference! It contains Important
Troubleshooting Information.
??
Keep your old PS/2 mouse as back-up devices.
Step 1. Installing the Batteries
Battery Warning!
When replace the batteries, use alkaline. You may use other heavy-duty
NiMH batteries, but do not mix then with alkaline. Do not mix used and
new batteries.
This RF wireless mouse uses 2 AAA batteries. To install the batteries, please
follow the steps below:
1. Turn the mouse up side down (refer to Fig-3.1).
2. Remove the batteries cover by moving the opening tabs and pull the battery
cover (the top cover of the mouse) out.
3. There are signs to indicate batteries' positive and negative poles. Follow the
signs to insert the batteries.
4. Replace the battery cover and make sure it is firmly closed.
Step 2. Setting Up The ID Connection
This RF wireless mouse provides 256 identification codes to avoid a wrong
linkage with other (same model) wireless mice. Before you using the wireless
mouse, please set the same ID channels for both receiver and mouse.
Please follow the steps as below to set up:
1.
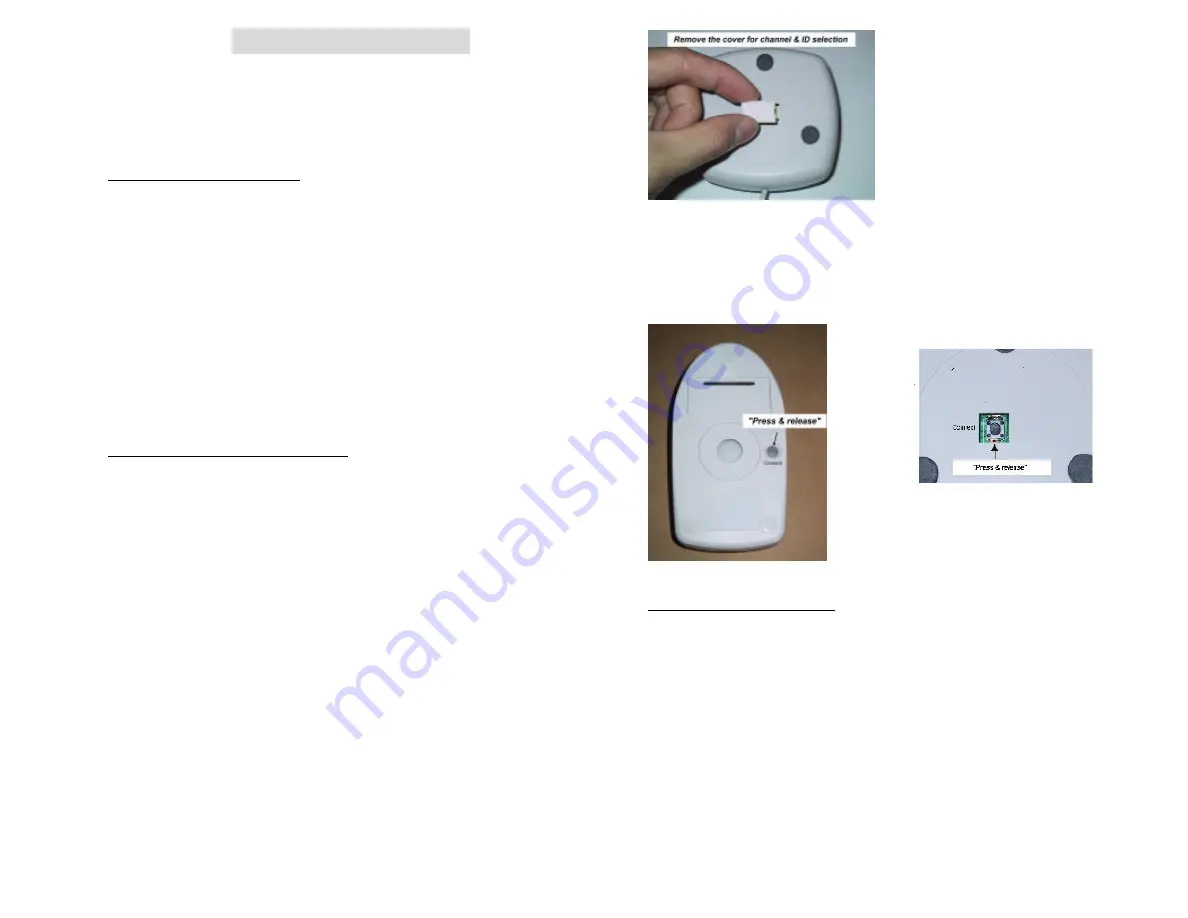
Turn to the bottom of the receiver and you will see a small rectangular hole
(take the cover as Fig-2.1) and a tact switch (ID code selection, refer to
FIG-3.2).
2.
Establish communication between the receiver and the mouse (select
identification codes).
3.
Press and release the connect button on bottom of the wireless mouse.
4.
Right after (within about 5 seconds) the previous step, press and release the
connect button on the receiver (refer to Fig-3.2).
5.
Then the same ID is selected on both of the receiver and the mouse.
6.
Please move the mouse to operate its cursor.
Fig-3.1 Fig-3.2
Step 3.Installing the Software
1. Insert the Auto-Run CD-ROM onto CD-ROM driver, simply locate the
“setup.exe " file inside the “mouse” icon of the CD’s main directory and
double- click on it (setup.exe) to start the installation procedure .
2. The setup program will guide you to complete the installation step by step
After you finish the installation of keyboard and mouse driver, select "Restart"
to reboot your system to activate the multimedia hot keys and wheel scrolling
functions.
Operation
Using the Multimedia Functions
When you install the included software driver, the left, middle, and right buttons
are all definable to perform up to 34 different functions such as AutoScroll,
Backspace, Zoom, Page up, Page down… . F1 … F12, etc.
Fig-2.1


