DS-CAM-88c / DS-CAM-120c / DS-CAM-175c / DS-CAM-320c
TECHNICAL REFERENCE MANUAL
2nd step: Connect camera to PC via Ethernet cable and power/trigger cable. See chapter 4.2.5.
Connections Overview
3rd step: Assigning IP address to camera
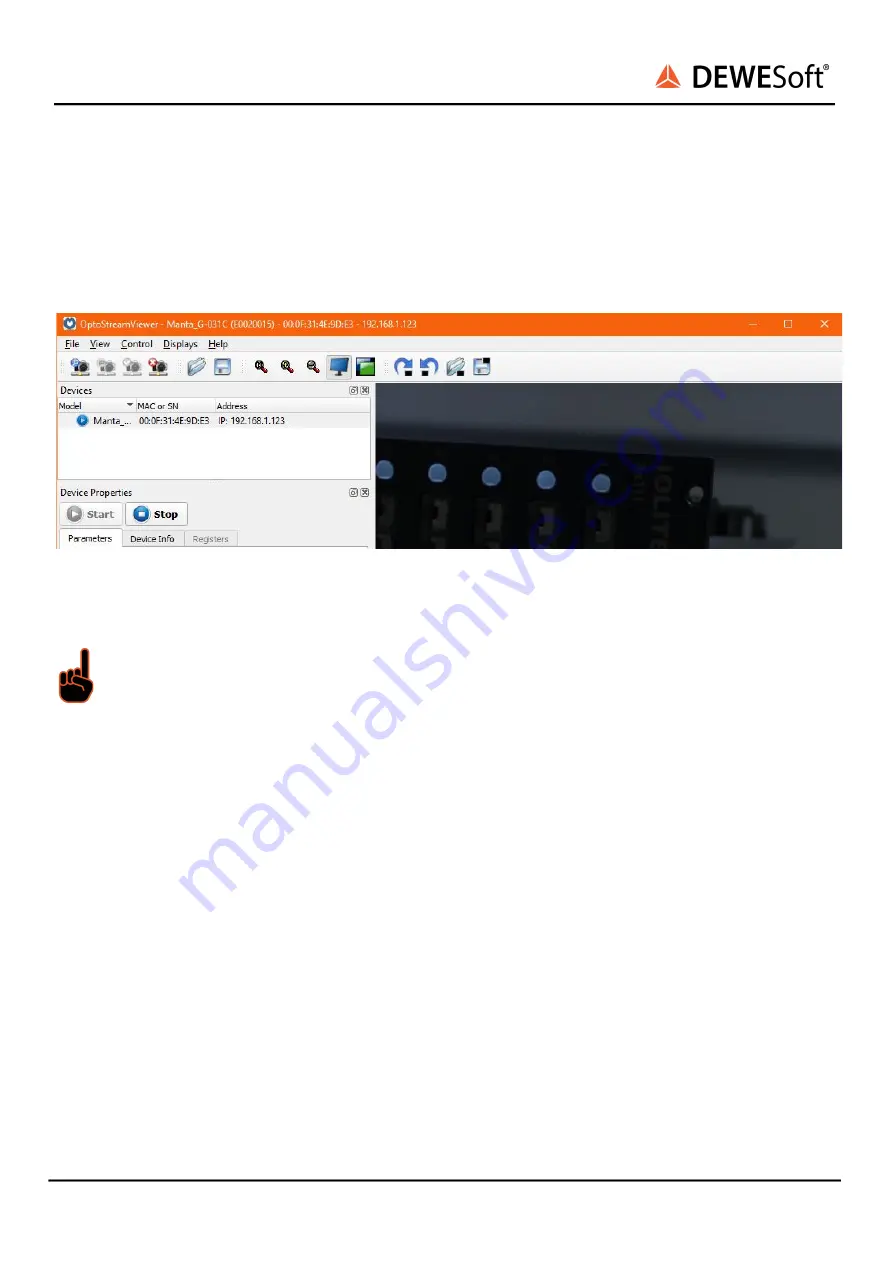
The DS-CAMs supports DHCP, so just set your computer's IP address to automatic and wait until the IP
is assigned. To test if the camera is working you can run OptoStreamViewer. By right-clicking on the
camera model you can also set IP to fix, if you prefer.
Illustration 9: OK, cameras can be used, close the OptoStreamViewer and start DewesoftX®.
Important
You should avoid using OptoStreamViewer and DewesoftX® in parallel.
4th step
To enable the camera in DewesoftX® copy the file “GigECamera.cdv” into the Dewesoft Addons folder,
usually located in “C:\DewesoftX\Bin64\Addons64\GigeCam”.
5th step
Run the "Dewesoft DCOM Registration” to register the plugin.
DS-CAM-88c / DS-CAM-120c / DS-CAM-175c / DS-CAM-320c DS-V20-2
24/40


