9
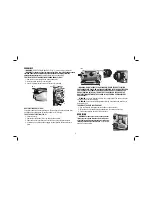
9. Use the magnets on the top of the T-wrench to attract the knife clamp and lift it
off of the cutter head. One of the knives should now be exposed.
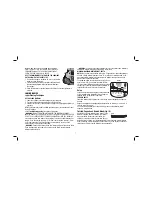
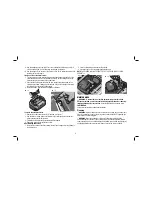
10. Use the magnet (T) on the top of the T-wrench (Fig. 19) to attract the knife. Avoid
touching it with your fingers.
If only one side of the knife is worn:
1. Turn the knife around so that the sharp, unused edge hangs over the end of the
cutter head where it will cut the material. Be sure to set the oblong holes in the
knife over the pins machined on the cutter head.
2. Reset the knife clamp over the knife. Be sure to align the beveled edge on the
clamp with the sharp, cutting edge of the knife. If these are not aligned correctly,
the clamp will not secure the knife properly.
3. Install the screws into the clamp and tighten sufficiently.
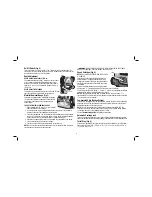
FIG. 16
FIG. 17
R
To access the other two knives:
1. Depress the cutter head lock lever (R) as shown in Figure 17.
2. Use the piece of scrap wood to carefully turn the cutter head until it locks into
place revealing another knife clamp.
3. Follow the same knife change procedure indicated above.
4. Repeat the procedure for the last dull knife.
After installing new knives:
1. Insert the round end of the dust shroud into the fan housing and rotate it down to
lock it into place.
2. Place the three wing nuts back into the shroud.
3. Screw the top cover of the planer back onto the unit.
NOTE:
THE PLANER WILL NOT OPERATE IF THE TOP COVER IS NOT PLACED
CORRECTLY.
FIG. 18
S
FIG. 19
T
MAINTENANCE
WARNING: To reduce the risk of serious personal injury, turn tool off and
disconnect tool from power source before making any adjustments or removing/
installing attachments or accessories.
An accidental start-up can cause injury.
Lubrication
Your power tool requires no additional lubrication.
Cleaning
WARNING:
Blow dirt and dust out of all air vents with clean, dry air at least once
a week. To minimize the risk of eye injury, always wear AS/NZS1337 approved eye
protection when performing this.
WARNING:
Never use solvents or other harsh chemicals for cleaning the
non-metallic parts of the tool. These chemicals may weaken the plastic materials
used in these parts. Use a cloth dampened only with water and mild soap. Never let
any liquid get inside the tool; never immerse any part of the tool into a liquid.
Summary of Contents for DW735-XE
Page 1: ...DW735 XE 330 MM 13 HEAVY DUTY PORTABLE THICKNESS PLANER INSTRUCTION MANUAL ...
Page 2: ......
Page 15: ......


