12
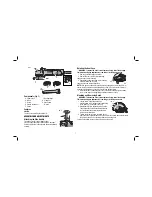
3. Fasten screw to secure the guard on the gear case cover.
You should be unable to rotate the guard by hand when
the screw is fastened. NEVER operate the grinder with a
loose guard.
To remove the guard, loosen the screw until the guard can
be removed.
WARNING:
Do not tighten the screw if the rib of the
guard is not in the groove of the gear case cover or the
guard won't be fastened and it may break during operation.
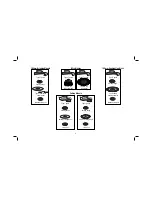
MOUNTING CUTTING WHEELS
WARNING: To reduce the risk of serious
personal injury, turn off and disconnect tool be fore
making any adjustments or removing or in stall ing
ac ces sories.
Before reconnecting the tool, turn the
switch on and off to ensure that the tool is off.
WARNING:
Matching diameter of the backing
flange and the clamp nut must be used for cutting
wheels.
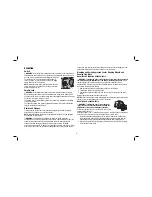
1. Place the unthreaded backing flange on the
spindle with the raised section (pilot) facing up.
The raised section (pilot) on the backing flange
will be against the wheel when the wheel is
installed.
2. Place the wheel on the backing flange, centering
the wheel on the raised section (pilot).
3. Install the threaded clamp nut with the raised section (pilot) facing away from the
wheel.
4. Depress the spindle lock button and tighten the clamp nut with the wrench.
To remove the wheel, grasp and turn while depressing the spindle lock button.
USING CUTTING WHEELS
WARNING:
Do not use edge grinding/cutting wheels for surface grinding
applications because these wheels are not designed for side pressures encountered
with surface grinding. Wheel breakage and injury may result.
1. Allow tool to reach full speed before touching tool to work surface.
2. Apply minimum pressure to work surface, allowing tool to operate at high speed.
The cutting rate is greatest when the tool operates at high speeds.
3. Once a cut is begun and a notch is established n the workpiece, do not change
the angle of the cut. Maintain the angle of the cutting wheel to the work surface.
This will keep you from bending the wheel which could result in wheel breakage
and injury.
4. Remove the tool from work surface before turning tool off. Allow the tool to stop
rotating before setting it down.
MAINTENANCE
WARNING: To reduce the risk of serious personal injury, turn off and unplug
tool be fore making any adjustments or removing or in stall ing ac ces sories.
Carbon Brush Replacement
When brushes become worn, the tool will automatically
stop, preventing damage to the motor. Brush replacement
should be performed by D
E
WALT authorized service
centers or other qualified service personnel. Qualified
service personnel should follow the procedures below
when replacing motor brushes.
WARNING: To reduce the risk of serious personal injury, turn off and disconnect
tool be fore making any adjustments or removing or in stall ing ac ces sories.
Before
reconnecting the tool, turn the switch on and off to ensure that the tool is off.
WARNING:
Only use the DEWALTqualified carbon brush designed for this tool,
consult your local dealer or authorized service center for correct carbon brush. Use of
carbon brush not designed for this tool or not qualified by DEWALT may damage the
tool and may result serious injury!
1. Loose the screws on brush doors and take out the brush doors.
2. Disconnect the brush terminal from connector by pull the terminal out.
3. Pull the torsion springs which to hold the brush holder back your brush arms are
free now.
4. Replace the old carbon brushes by new carbon brush.
Summary of Contents for D28000-XE
Page 1: ...D28000 XE Heavy Duty Small Angle Grinder INSTRUCTION MANUAL ...
Page 2: ......
Page 17: ...15 ...
Page 18: ...16 ...
Page 19: ...17 ...


