Using the microphone
The Devine USB 100 studio microphone is suitable for various studio recording applications. It is designed
for vocal recording, but can be used for instrument recording as well. It has a super-cardioid polar pattern,
which means it captures most sound directly from the front of the microphone and a little from the rear.
Setting up the microphone
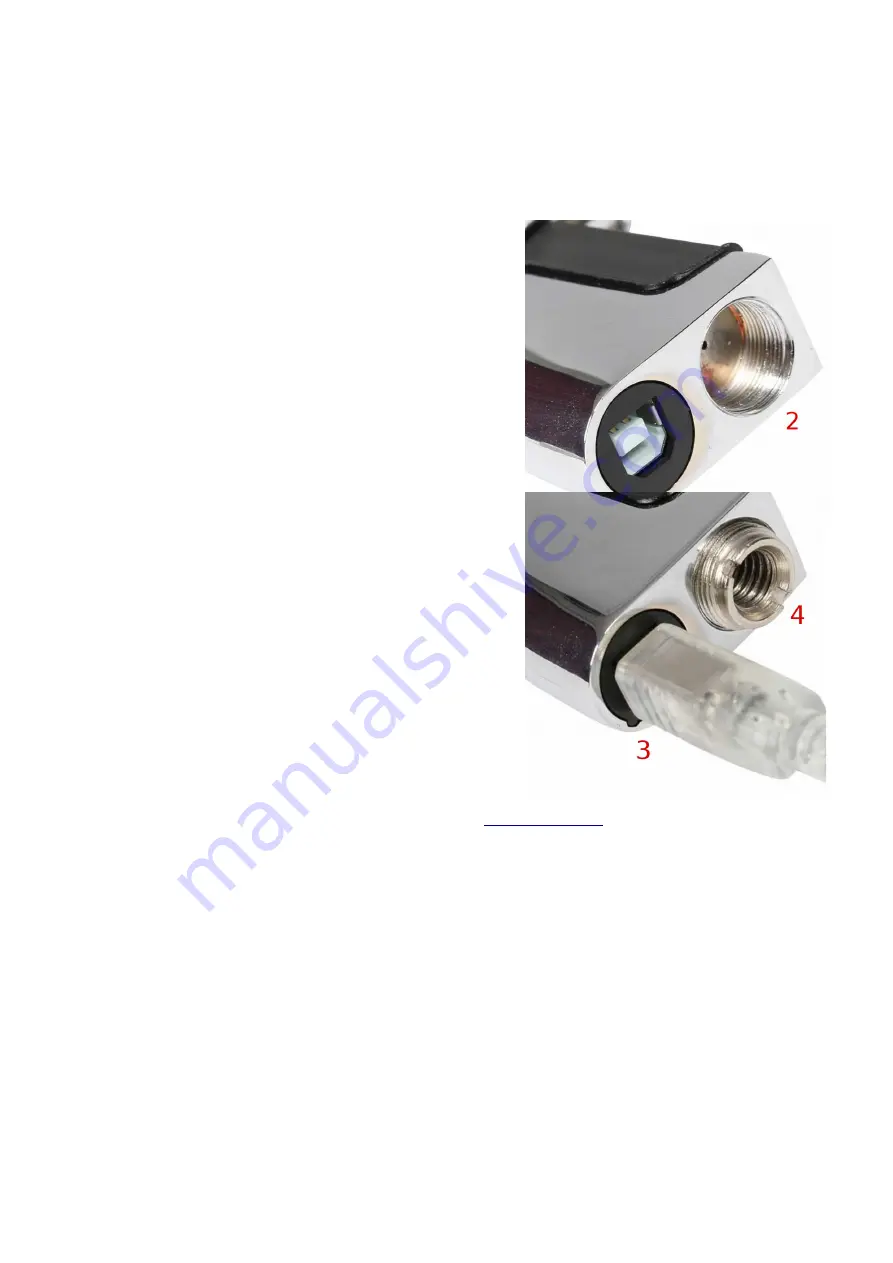
Make sure that the USB 100 is placed on a suitable stand. This
can be a small desktop stand, as well as a large vertical or boom
arm microphone stand. A thread adapter is included to ensure that
the Devine USB 100 can be connected to nearly any microphone
stand (3+4).
Make sure that the microphone is positioned as closely to the
sound source as possible. To ensure optimal sound quality,
the vocalist or musician needs to speak/sing/play directly into the
front of the microphone. This ensures that the recording or live
streaming takes place at an optimal volume, without the addition
of extra boost or gain (which can cause unwanted noise).
Connecting to the computer
The USB 100 can be connected to any Windows or Apple
computer, desktop model or laptop. A software CD is not required
to install the software on your computer.
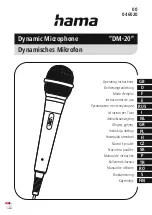
Always use the included cable to connect the microphone to your
computer. The square connector on one end fits perfectly in the
base of the microphone (1+2), and the other end fits into a free
USB port on your computer.
If your computer is turned on and has finished its start-up
procedure, connect the USB 100. When connected, a bright blue
LED will turn on, indicating that there is USB power.
The computer should now recognize the USB 100 as a USB
microphone and can use it for various applications. If your
computer does not recognize the microphone or the required
drivers are not installed:
- ensure that your computer is connected to the internet to
automatically download the required drivers
- (for Windows) try a different driver, for example ASIO4ALL
- (for Mac) Mac computers are usually equipped with Core Audio API handling for audio which will take care
of the installation process
Using the microphone for live broadcasting or recording
As stated earlier in this user manual, the sound source needs to be placed as closely to the microphone as
possible to ensure optimal audio quality. Placing the microphone further away from the source will result in
low-volume recording or amplification, which would need to be artificially boosted. This will also boost the low
self-noise of the microphone itself however (which is present on all microphones). If you ensure that the
source volume is good, unwanted noise as a result of artificial boost will be kept to a minimum.
Most live broadcasting and/or podcasting software can only influence volume. Ensure that peaks in sound
are not present to prevent distortion. When using recording software, start recording a track and test it to
make sure the signal isn't too low or too high. Reduce the microphone volume and/or gain if needed.
All information and illustrations shown in this user manual are subject to change without further notice.
User manual version: 1.0
Creation date + author initials: 10-12-2015 RV Revision date + author initials: -