Summary of Contents for DFT-1945DVBT CUP
Page 1: ...Instruction Manual 22 LCD TV WITH DVB Model NO LED 2251DVBT...
Page 2: ......
Page 23: ......
Page 24: ......
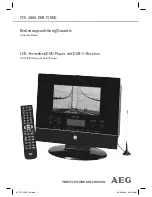
The Denver DFT-1945DVBT CUP is a sleek and modern digital TV with built-in DVD player. Easily set up and navigate with the included Instruction Manual. Download the manual for free from our website and enjoy your new entertainment center hassle-free. Get your copy at manualshive.com.
Page 1: ...Instruction Manual 22 LCD TV WITH DVB Model NO LED 2251DVBT...
Page 2: ......
Page 23: ......
Page 24: ......