


OSD Menu
FAV,SKIP,LOCK
: Select the desired channel with
∧ / ∨
button, and operate with
GREEN,
YELLOW, BLUE
buttons, press the color button again to cancel the operation.
FAV:
Press
GREEN
button on the remote control to set the channel as favorite channel.
SKIP:
Press
YELLOW
button on the remote control to skip the channel.
The channel that is skipped can not be programed when you scan channels with
CH+/-
button.
LOCK:
Press
BLUE
button on the remote control to lock the channel.
You have to enter the password to program the channel that is locked.
MOVE:
Exchange the position of the channel.
Select the channel, and press > button to move,(there will be an arrow after the channel
name, you could cancel the operation by pressing
OK
button or select another channel and
press > button)
Then select the channel you want to be change to, and press
OK
button to exchange.
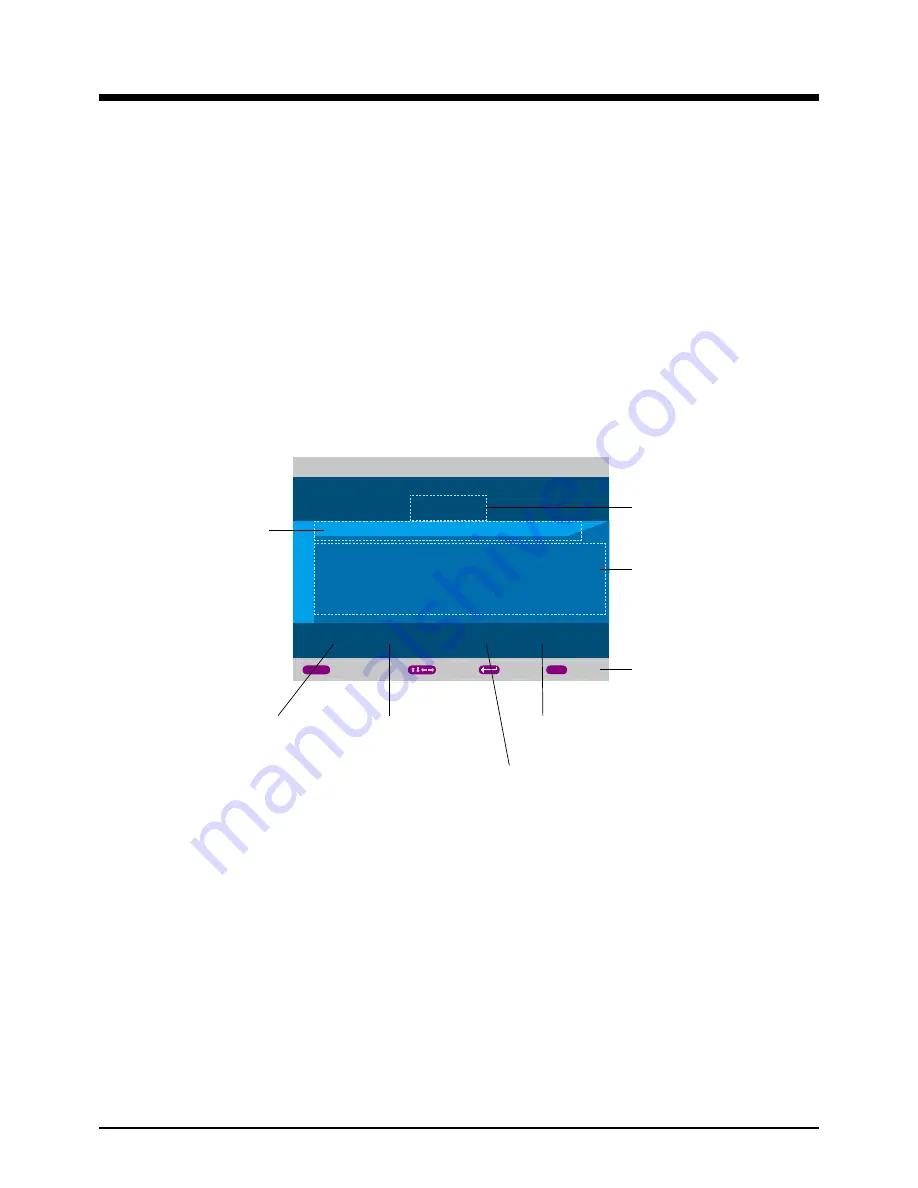
NAME:
Name the channel.
Select the channel, and press
OK
button to enter the EDIT NAME menu.
Channel name
Select character 's
area by number
button on the remote
control
Select the character by
∧ ∨
< >
buttons
on the remote control
and press OK button
to confirm
Empty the
channel name
Select the previous
position of the
channel name
Cancal the name
Confirm the name
EDIT NAME
AB_ _ _ _ _
EMPTY BAK SPC OK CANCEL
0
1 2 3 4 5 6 7 8 9
A B C D E F G H I J K L M N O P Q R S T U V W X Y Z
a b c d e f g h i j k l m n o p q r s t u v w x y z
1 2 3 4 5 6 7 8 9 0 _ [ ]
MOVE
SHORTCUT KEY
BACK
MENU
ENTER
0
~
9
Hints for operation
Name the channel acorrding to the hints of picture above, and select "OK" item, press
OK
button to complete.
14
Summary of Contents for DFT-1945DVBT CUP
Page 1: ...Instruction Manual 22 LCD TV WITH DVB Model NO LED 2251DVBT...
Page 2: ......
Page 23: ......
Page 24: ......