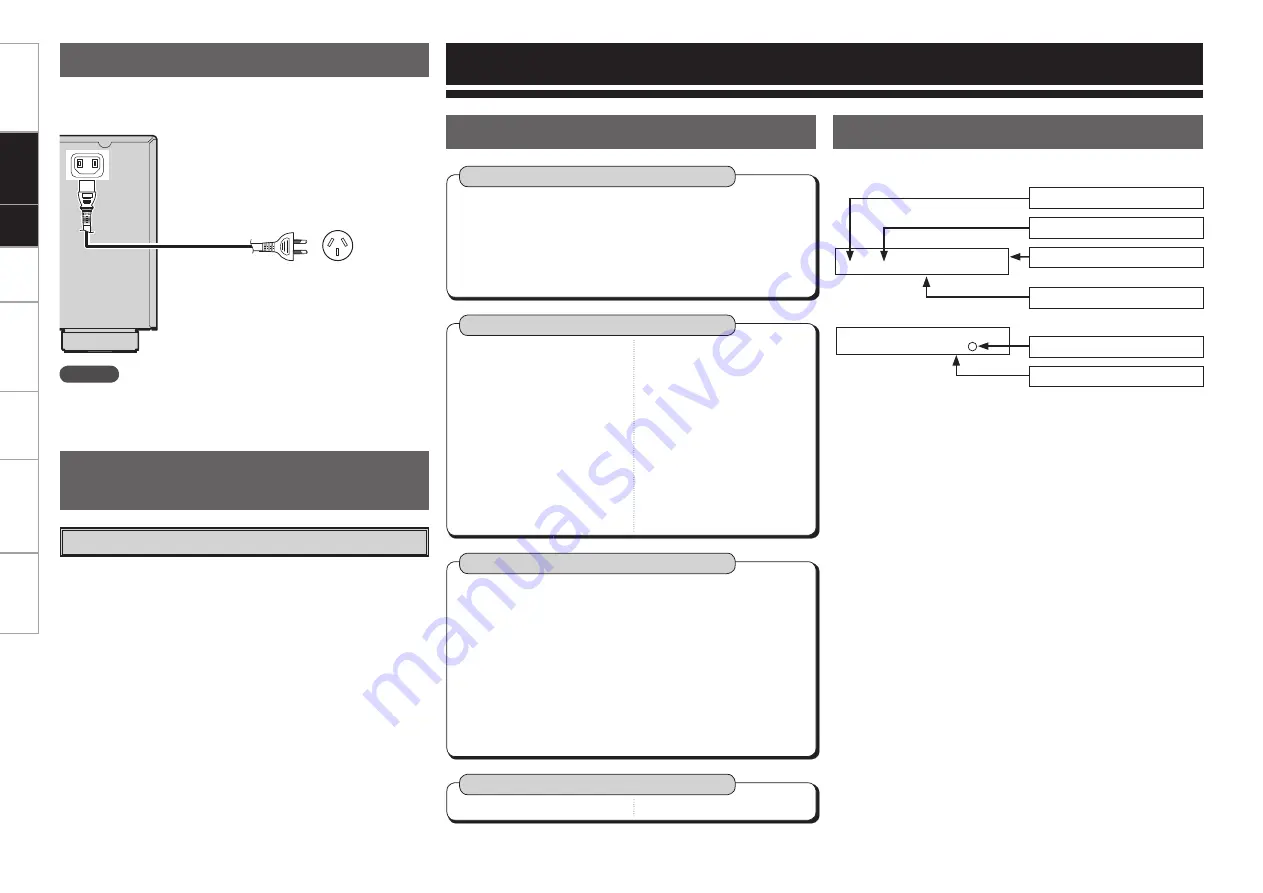
Wait until all connections have been completed before connecting the
power cord.
Connecting the Power Cord
NOTE
Insert the AC plugs securely. Incomplete connections could cause
noise.
To household
power outlet
Power cord
(supplied)
Turning the Power On
(
v
page 30)
Once Connections are
Completed
Getting Started
Connections
Setup
Playback
Remote Control
Multi-Zone
Troubleshooting
Specifi
cations
Auto Setup
(
v
page 15 ~ 17)
n
Auto Setup
• Step 1: Speaker Detection
• Step 2: Measurement
• Step 3: Calculation
• Step 4: Check
• Step 5: Store
System Setup
(
v
page 18 ~ 23)
n
Speaker Setup
(
v
page 19, 20)
• Speaker Confi guration
• Subwoofer Mode Setup
• Distance
• Crossover Frequency
• Test Tone
• Restore
n
Input Setup
(
v
page 21, 22)
• HDMI In Assign
• Digital In Assign
• iPod Assign
• Audio Delay
• EXT. IN Subwoofer Level
• Auto Preset Memory
n
Option Setup
(
v
page 22, 23)
• Volume Control
· Volume Limit
· Power On Level
· Mute Level
• Auto Surround Mode
• Direct Mode Setup
• Remote ID Setup
b
When the setup microphone is connected.
Parameter
(
v
page 25 ~ 29)
n
Surround Parameter
• Mode
• Cinema EQ
• D. Comp
• LFE
• Center Image
• Panorama
• Dimension
• Center Width
• Delay Time
• Effect Level
• Room Size
• SW ATT
• Subwoofer
• Tone Control
• Bass
• Treble
• MultEQ
• Dynamic EQ
• Dynamic Volume
• DV Setting
• RESTORER
• Night Mode
• Default
Information
(
v
page 29)
n
Status
n
Audio Input Signal
Menu Map
Operations
Q
1 7 T . T o n e Y e s <
Press the
o
button to select.
Currently selected line
Some typical examples are described below.
W
1 H D M I 1 : D V D
Item number
Current setting
Currently selected line
Menu number
Examples of Front Display


