RDM Network Scanner User Guide
Maintaining your scanner
©2021 RDM Corporation
Page 28
Maintaining your scanner
Removing the covers
RDM network series scanners have two covers that can be removed in order to clean the image sensor,
replace cartridges, or clear paper jams.
Front cover
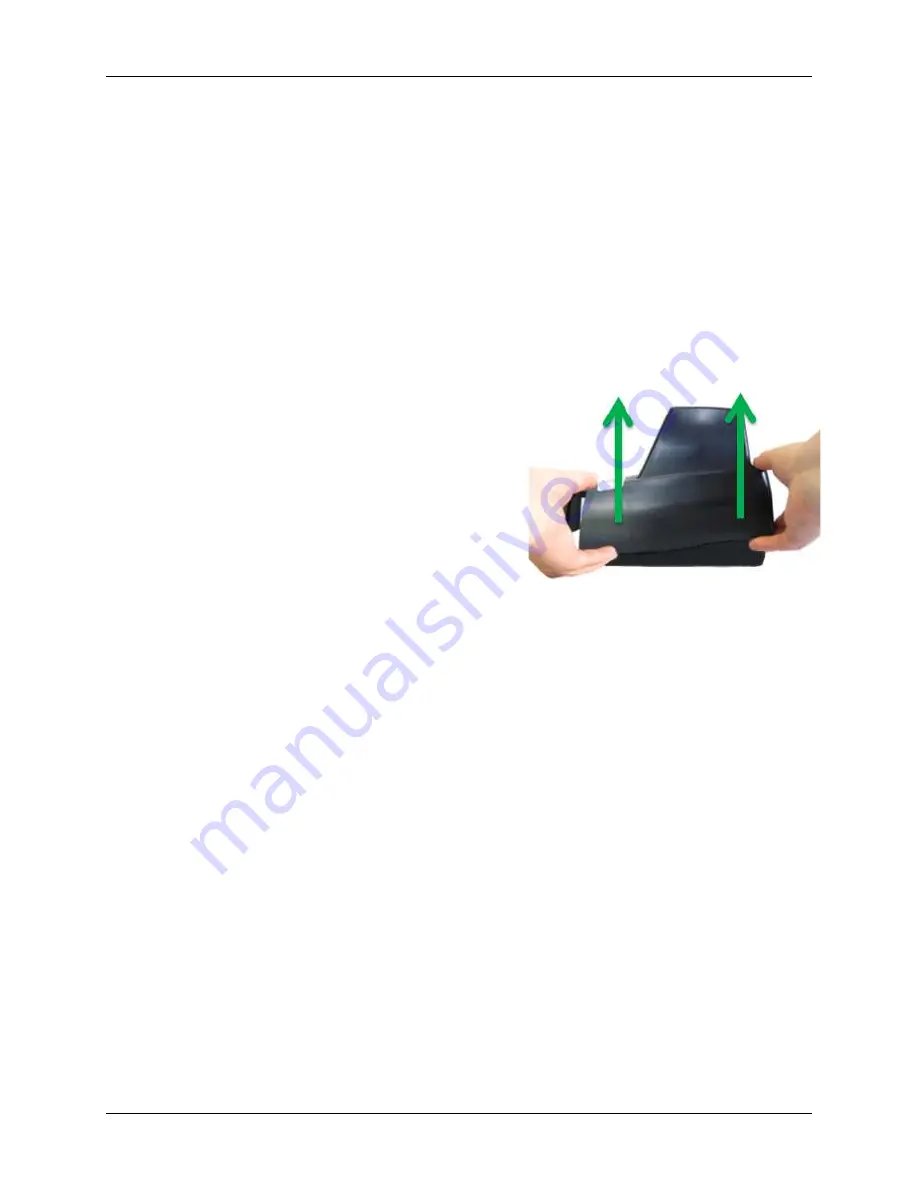
Remove the front cover when you need to clear paper jams,
replace the franker cartridge, or clean the image sensor.
1.
Disconnect the power cord from the scanner.
2.
Pull the insertion extensions forward.
3.
Grasp the front and the back end of the front cover.
4.
Gently pull the cover upwards until it detaches from
the scanner.
To replace the front cover:
Caution:
Before you replace the front cover, make sure the insertion extensions are pulled forward.
Otherwise, you might damage the front cover.
1.
Carefully place the front cover over the scanner assembly. Make sure that the cover overlaps
the assembly correctly by lining it up with the metal posts.
2.
Gently push the cover down until it snaps into place.
Endorsement printer cover
Remove the endorsement printer cover when you need to clear paper jams, to insert or replace the
endorser inkjet printer cartridge, or to clean the image sensor.
1.
Grasp the top of the endorsement printer cover.
2.
Gently pull the cover upwards until it detaches from the scanner.
To replace the endorsement printer cover:
1.
Carefully place the endorsement printer cover over the scanner assembly; make sure that the
cover overlaps the assembly correctly.
2.
Gently push the cover down until it snaps into place.


