15
To remove the drip tray, proceed as follows:
1. Remove the drip tray and coffee grounds container (A11)
(fig. 22);
2. Remove the cup tray (A12) and drip tray grille (A14), then
empty the drip tray and grounds container and wash all
components.
3. Check the condensate tray (A15) (red) and empty if
necessary;
4. Put the drip tray complete with grille and grounds contain-
er back in the appliance.
13.5 Cleaning the inside of the coffee machine
Danger of electric shock!
Before cleaning internal parts, the machine must be turned off
(see section "5. Turning the appliance off") and unplugged from
the mains power supply. Never immerse the machine in water.
1. Check regularly (about once a month) that the inside of the
appliance (accessible after removing the drip tray (A15))
is not dirty. If necessary, remove coffee deposits with the
brush (D5) supplied and a sponge.
2. Remove all residues with a vacuum cleaner (fig. 24).
13.6 Cleaning the water tank
1. Clean the water tank (A17) regularly (about once a month)
and whenever the water softener filter (D7) (if installed) is
replaced with a damp cloth and a little mild washing up liq-
uid. Rinse thoroughly before filling the tank and putting it
back in the appliance;
2. Remove the filter (if installed) and rinse with running
water;
3. Replace the filter (if installed), fill the tank with fresh water
and replace;
4. (Models with water softener filter only) Deliver about
100ml of hot water to reactivate the filter.
13.7 Cleaning the coffee spouts
1. Clean the coffee spouts (A9) regularly with a sponge or
cloth (fig. 25A);
2. Check the holes in the coffee spouts are not blocked. If nec-
essary, remove coffee deposits with a toothpick (fig. 25B).
13.8 Cleaning the pre-ground coffee funnel
Check regularly (about once a month) that the pre-ground
coffee funnel (A4) is not blocked. If necessary, remove coffee
deposits with the brush (D5) supplied.
13.9 Cleaning the infuser
The infuser (A20) must be cleaned at least once a month.
Important!
The infuser cannot be removed when the machine is on.
1. Make sure the machine is correctly turned off (see section
"5. Turning the appliance off");
2. Remove the water tank (A17) (fig. 3);
3. Open the infuser door (A19) (fig. 26) on the right side of
the appliance;
4. Press the two coloured release buttons inwards and at the
same time pull the infuser outwards (fig. 27);
5. Soak the infuser in water for about 5 minutes, then rinse
under the tap;
Important!
RINSE WITH WATER ONLY
NO WASHING UP LIQUID - NO DISH WASHER
Clean the infuser without using washing up liquid as it could
be damaged.
6. Use the brush (D5) to remove any coffee residues left in the
infuser housing, visible through the infuser door;
7. After cleaning, replace the infuser by sliding it onto the
internal support (fig. 28), then push the PUSH symbol fully
in until it clicks into place;
Please note!
If the infuser is difficult to insert, before insertion, adapt it to the
right size by pressing the two levers shown in fig. 29.
8. Once inserted, make sure the two coloured buttons have
snapped out (fig. 30);
9. Close the infuser door;
10. Put the water tank back.
13.10 Cleaning the milk container
To keep the frother efficient, clean the milk container every two
days as described below.
1. Remove the lid (E2);
2. Remove the milk spout (E5) and intake tube (E4) (fig. 31);
3. Turn the froth adjustment dial (E1) anticlockwise to the
"INSERT" position (fig. 31) and pull it off upwards;
4. Wash all the components
thoroughly with hot
water and mild wash-
ing-up liquid.
All com-
ponents are dishwash-
er safe, but must be
placed in the top bas-
ket of the dishwasher.
Make sure there are no
milk residues on the hol-
low and groove under the
dial (fig. 32). If necessary,
scrape the groove with a
toothpick;
5. Rinse inside the froth adjustment dial seat with running
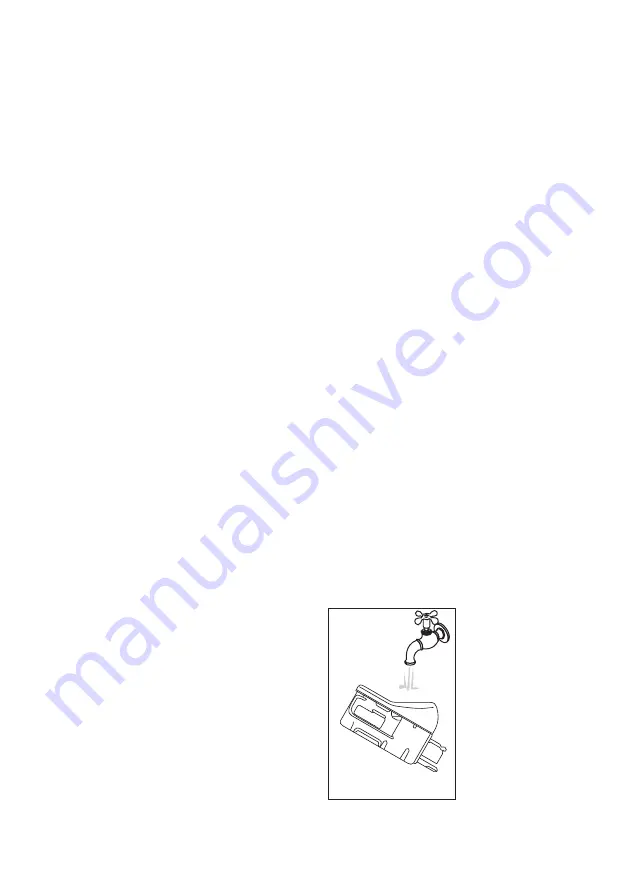
water (fig. 33);
33
Summary of Contents for Dinamica Plus ECAM37X.95
Page 1: ...De Longhi Appliances via Seitz 47 31100 Treviso Italy www delonghi com 5713238071_00 _0718 ...
Page 4: ...3 A A2 A1 A5 A4 A3 A6 A7 A22 A21 B C A8 A9 A12 A17 A18 A11 A10 A14 A15 A13 A16 A20 A19 ...
Page 5: ...4 4 3 3 1 7 6 5 12 9 15 MILK 10 13 1 2 11 16 14 8 ...
Page 6: ...5 25B 25A 27 17 31 30 21 19 28 26 29 P U S H 22 24 P U S H P U S H CLEAN 18 20 23 32 ...


