


Ensure that the correct input source is selected via the
Input Source Select
button.
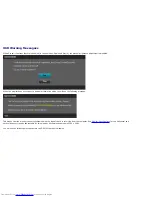
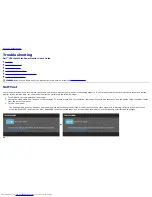
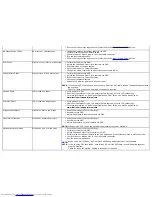
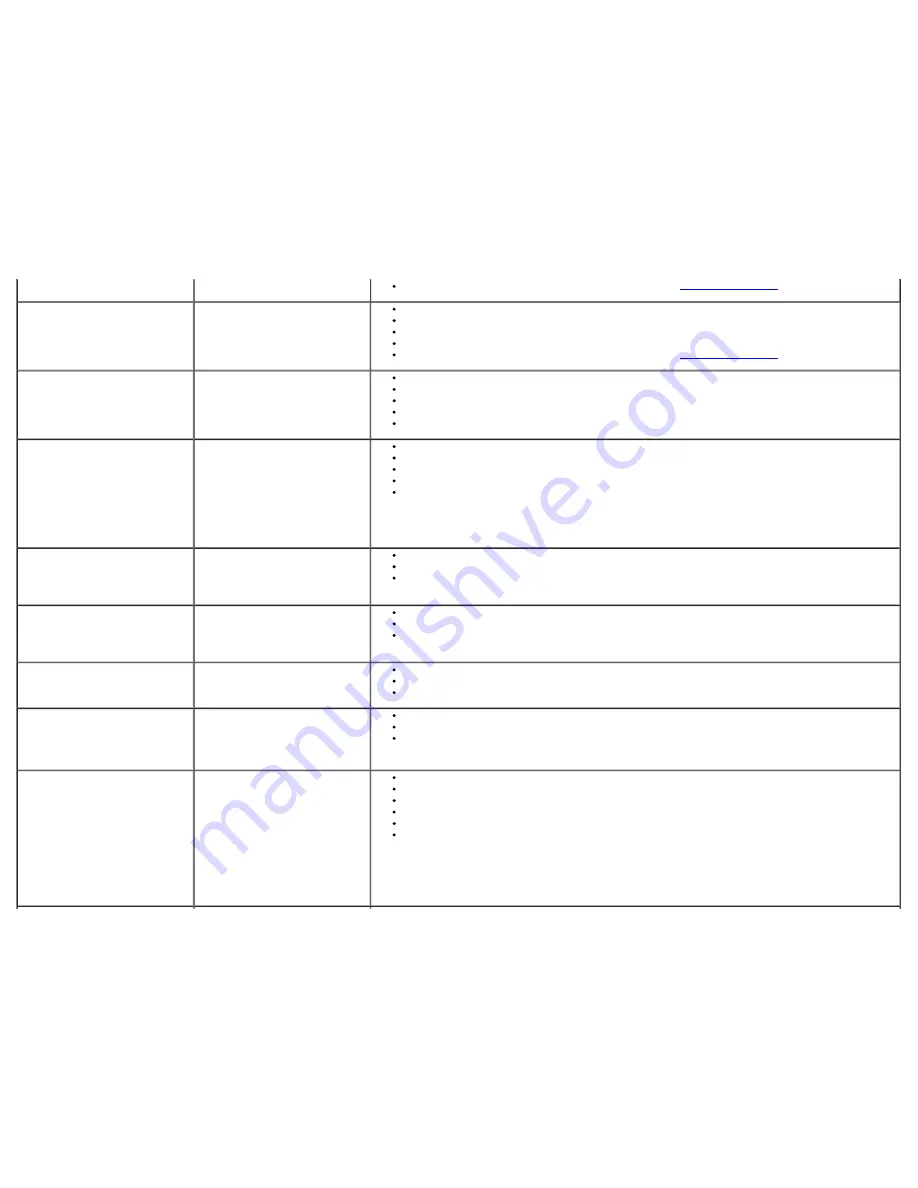
No Video/Power LED on
No picture or no brightness
Increase brightness & contrast controls via OSD.
Perform monitor self-test feature check.
Check for bent or broken pins in the video cable connector.
Run the built-in diagnostics.
Ensure that the correct input source is selected via the
Input Source Select
button.
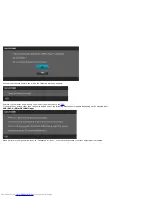
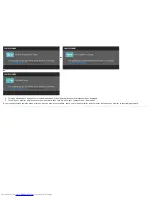
Poor Focus
Picture is fuzzy, blurry, or ghosting
Perform Auto Adjust via OSD.
Adjust the Phase and Pixel Clock controls via OSD.
Eliminate video extension cables.
Reset the monitor to Factory Settings.
Change the video resolution to the correct aspect ratio (16:9).
Shaky/Jittery Video
Wavy picture or fine movement
Perform Auto Adjust via OSD.
Adjust the Phase and Pixel Clock controls via OSD.
Reset the monitor to Factory Settings.
Check environmental factors.
Relocate the monitor and test in another room.
NOTE:
If you’re using DVI connection, ensure that a Dual Link DVI cable is used (Supplied together with
the monitor).
Check for loose connection. Unplug & reconnect if required.
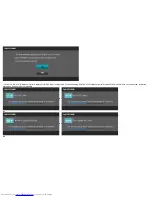
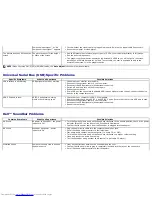
Missing Pixels
LCD screen has spots
Cycle power On-Off.
Pixel that is permanently Off is a natural defect that can occur in LCD technology.
For more information on Dell Monitor Quality and Pixel Policy, see Dell Support site at:
www.dell.com/support/monitors
.
Stuck-on Pixels
LCD screen has bright spots
Cycle power On-Off.
Pixel that is permanently On is a natural defect that can occur in LCD technology.
For more information on Dell Monitor Quality and Pixel Policy, see Dell Support site at:
www.dell.com/support/monitors
.
Brightness Problems
Picture too dim or too bright
Reset the monitor to Factory Settings.
Auto Adjust via OSD.
Adjust brightness & contrast controls via OSD.
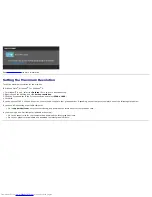
Geometric Distortion
Screen not centered correctly
Reset the monitor to Factory Settings.
Auto Adjust via OSD.
Adjust horizontal & vertical controls via OSD.
NOTE:
When using DVI-D input, the positioning adjustments are not available.
Horizontal/Vertical Lines
Screen has one or more lines
Reset the monitor to Factory Settings.
Perform Auto Adjust via OSD.
Adjust Phase and Pixel Clock controls via OSD.
Perform monitor self-test feature check and determine if these lines are also in self-test mode.
Check for bent or broken pins in the video cable connector.
Run the built-in diagnostics.
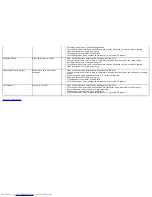
NOTE:
When using DVI-D input, the Pixel Clock and Phase adjustments are not available.
NOTE:
If you’re using DVI connection, ensure that a Dual Link DVI cable is used (Supplied together
with the monitor).
Check for loose connection. Unplug & reconnect if required.
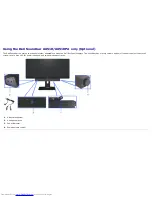
Summary of Contents for UltraSharp U2913WM
Page 5: ...Stand Power Cable varies by countries DisplayPort cable Mini DP to DP DVI DL Cable ...
Page 21: ...Connecting the blue VGA cable Optional Connecting the black DisplayPort or miniDP cable ...
Page 36: ...Gamma Allows you to set the color mode to PC or MAC ...
Page 38: ......
Page 40: ......
Page 44: ...PBP submenu when PBP Off ...
Page 49: ......


