Back to Contents Page
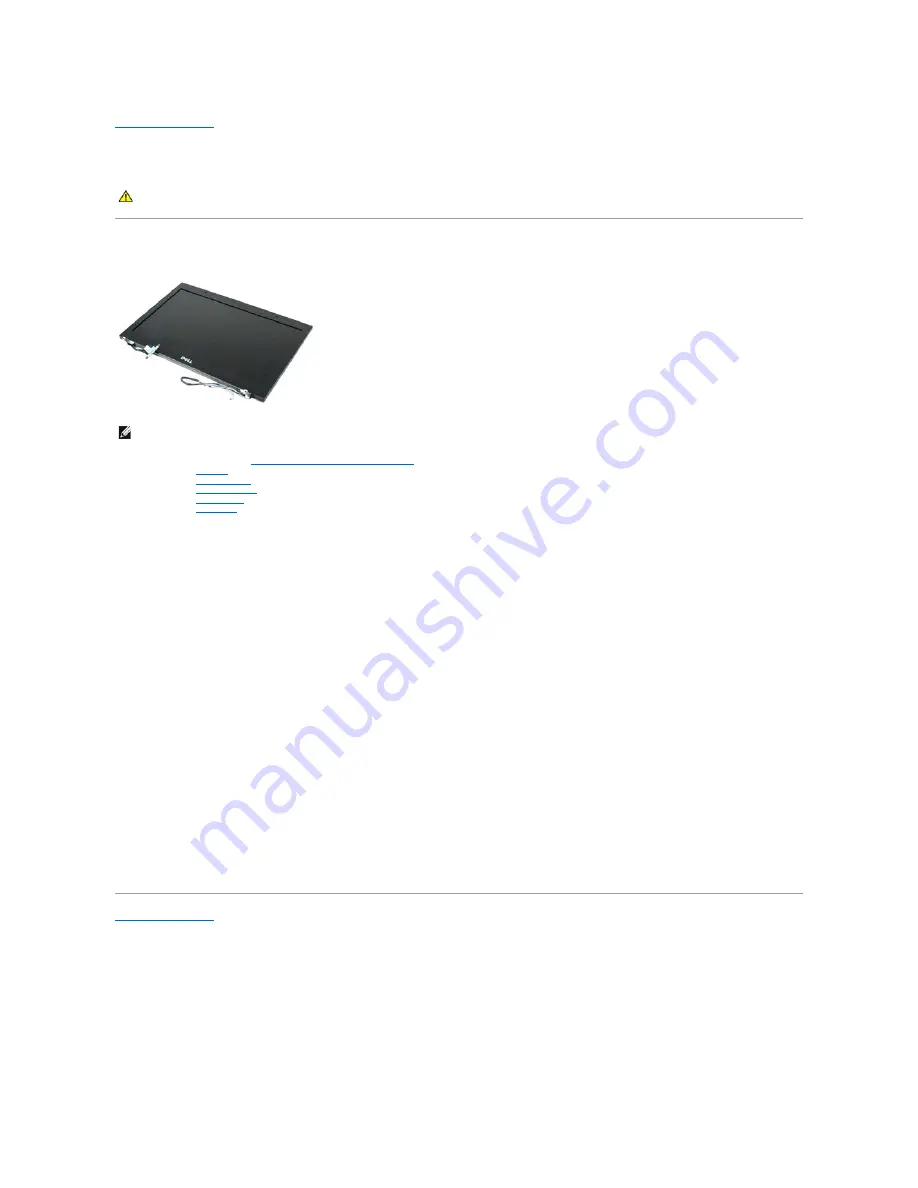
Display Assembly
Dell Latitude E4310 Service Manual
Removing the Display Assembly
1.
Follow the procedures in
Before Working Inside Your Computer
.
2.
Remove the
battery
.
3.
Remove the
hinge covers
.
4.
Remove the
mini card door
.
5.
Remove the
LED covers
.
6.
Remove the
keyboard
.
7.
Remove the screws that secure the display assembly to the computer.
8.
Release the wireless local area network (WLAN) and wireless wide area network (WWAN) antenna cables from their routing guides on the computer.
9.
With the display wide open, push the WLAN and WWAN cables through the opening in the system board.
10.
Turn over the computer, release the WLAN, WWAN, and ultra-wide band (UWB) cables from their routing path on the computer.
11.
Loosen the captive screws that secure the display cable to the computer.
12.
Disconnect the display cable from its connector on the system board.
13.
Lift up and remove the display assembly from the computer.
Replacing the Display Assembly
To replace the display assembly, perform the above steps in reverse order.
Back to Contents Page
WARNING:
Before working inside your computer, read the safety information that shipped with your computer. For additional safety best
practices information, see the Regulatory Compliance Homepage at www.dell.com/regulatory_compliance.
NOTE:
You may need to install Adobe Flash Player from
Adobe.com
in order to view the illustrations below.


