


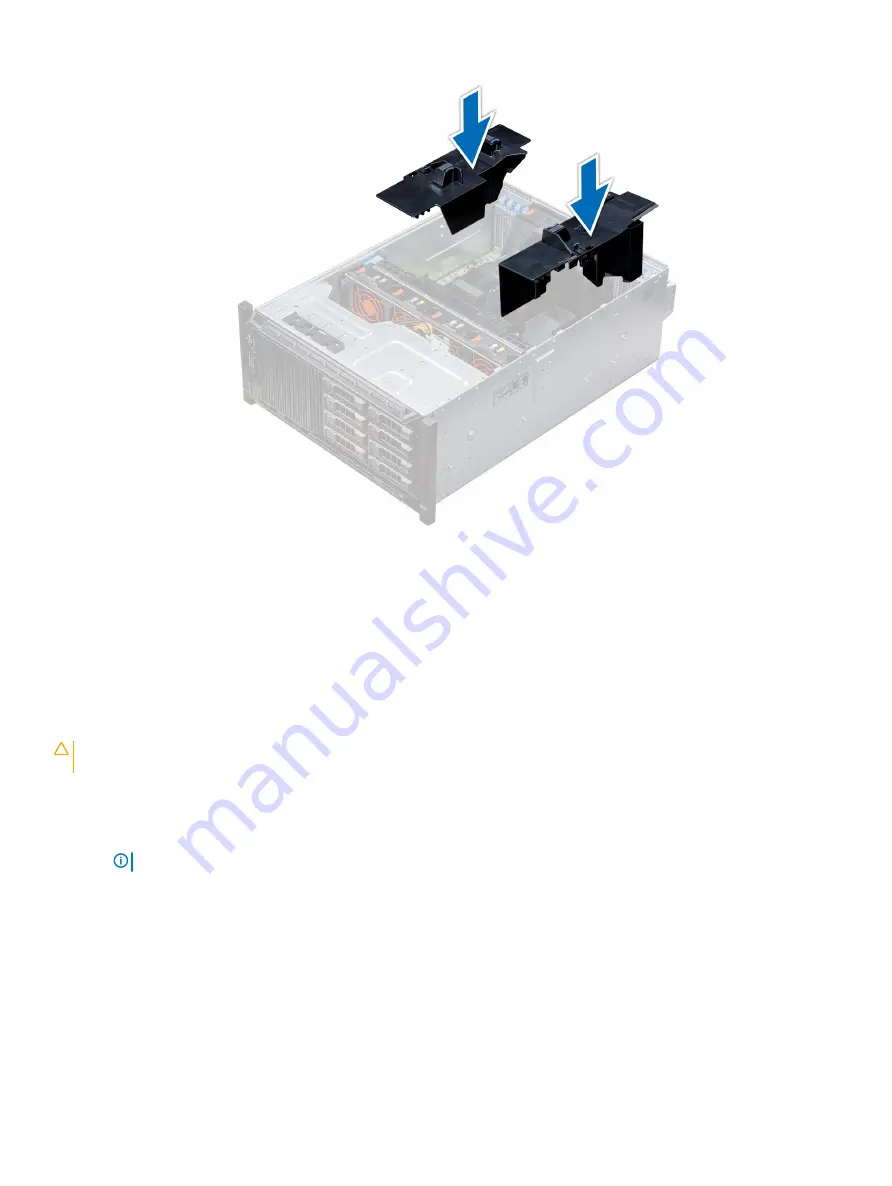
Figure 44. Installing the optional GPU air shrouds
Next step
Follow the procedure listed in
After working inside your system
Removing the air shroud
Prerequisites
CAUTION:
Never operate your system with the air shroud removed. The system may get overheated quickly, resulting in
shutdown of the system and loss of data.
1
Follow the safety guidelines listed in
2
Follow the procedure listed in
Before working inside your system
.
3
If required,
remove the two fans from the air shroud
.
NOTE:
The procedure to remove the cooling fan from the air shroud is similar to removing a cooling fan.
Step
Push the air shroud release tab, and holding the touch points at the center of the air shroud, lift the shroud from the system.
Installing and removing system components
91
Summary of Contents for PowerEdge T640
Page 23: ...Figure 16 Configuration and layout Dell EMC PowerEdge T640 overview 23 ...
Page 24: ...Figure 17 Electrical overview 24 Dell EMC PowerEdge T640 overview ...
Page 25: ...Figure 18 Memory information Dell EMC PowerEdge T640 overview 25 ...


