3
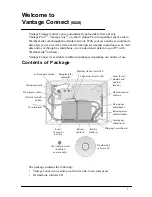
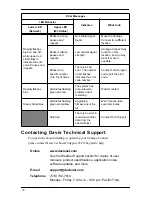
3. Enter the DID and KEY located on the
sticker on the cover of this manual and
on the sticker inside the Vantage
Connect shelter.
4. Create and enter a user name and
password, and enter your e-mail
address to create a new user account.
Note:
Your user name will become part of your web page’s URL. For example if your user
name is JohnSmith, your URL will be www.weatherlink.com/user/JohnSmith
5. Enter your time zone and indicate your Daylight Saving Time preference.
6. Enter the Activation Code received in the e-mail.
7. Click
Continue with Registration
.
8. Agree to the Service Agreement.
9. Click
Create Account
.
Configure and Set Up Your Vantage Connect
You will need to know the transmitter IDs of each transmitting station before you
configure your Vantage Connect.
Follow the prompts to enter setting and configuration:
1. Reporting Stations & Units of Measure
•
Enter the transmitter ID number of each of the transmitters that will be reporting
to your Vantage Connect (up to 8). Choose a station type for each. (For example,
Vantage Pro2 ID: 1, Leaf and Soil Moisture Station: ID 2.) If using repeaters,
check the “Enable Repeaters” box and choose the
final
repeater’s ID letter for
each transmitter using repeaters.
•
Choose your preferred units.
•
Click
Save.
2. Device Settings
•
For accurate barometric pressure data, enter the elevation at which your Vantage
Connect will be mounted. Fine tune this sensor by entering the local barometric
pressure reading. (Sources of this information include your local airport or radio
station)
•
Select your anemometer and rain collector types.
•
For accurate year-to-date rain data, enter the year-to-date rainfall as of today,
and when your rain season starts.
•
Station Alarms (Optional): Set alarms for high and low weather conditions.
Vantage Connect will send up to 20 (counting both activate and deactivate)
alarm notifications per day when these conditions exist.
DID: 0012746AAS00
KEY: 123456


