


52
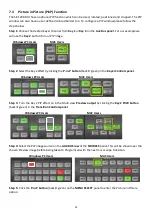
7.3
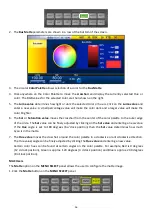
Picture in Picture (PinP) Function
The SE-1200 MU has an optional PIP function which can be sized, rotated, positioned and cropped. The PIP
window can also have a user-defined colored border too. To configure a PIP window please follow the
steps below.
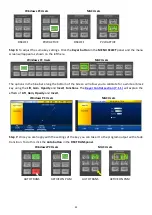
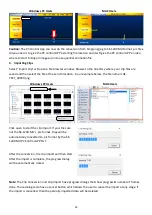
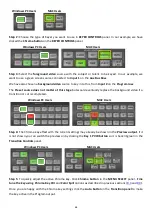
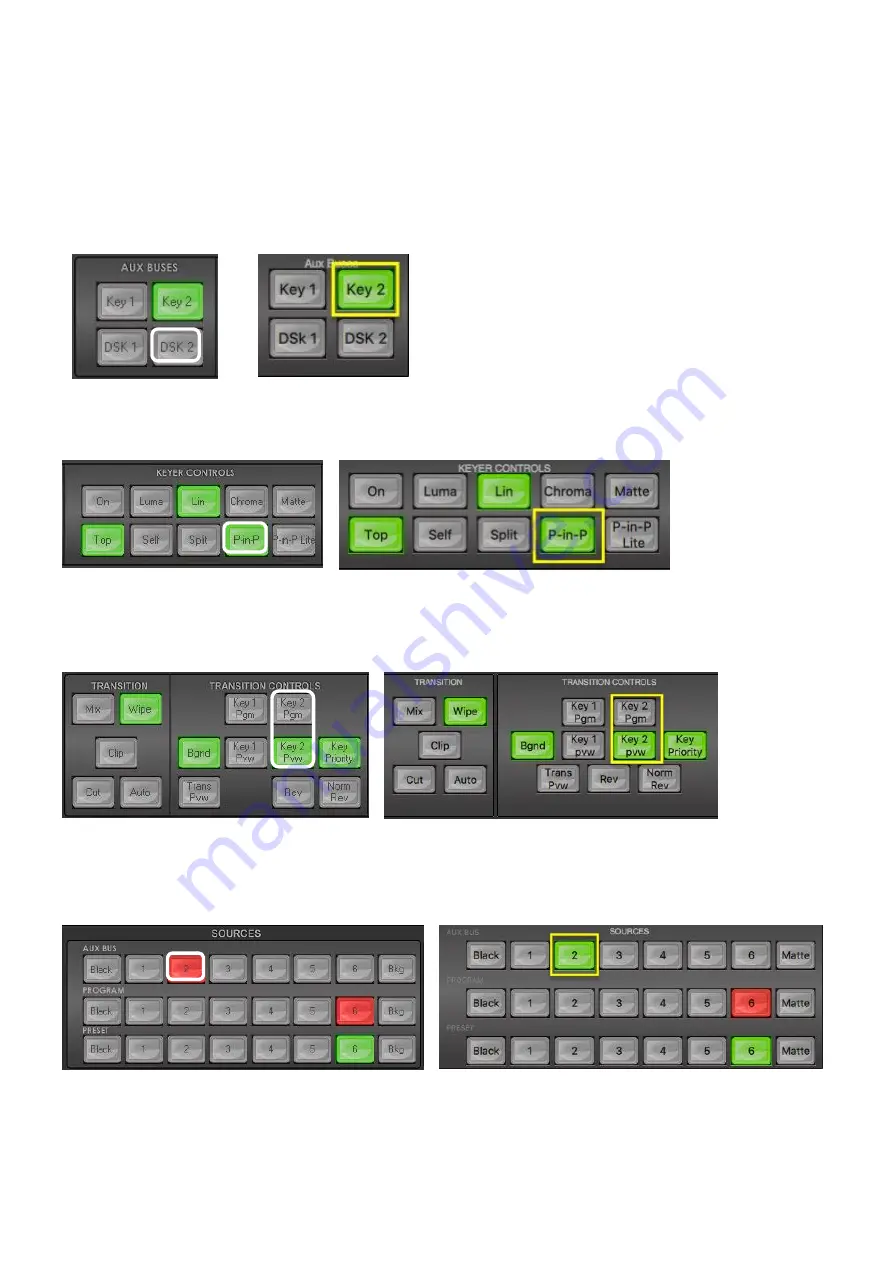
Step 1:
Choose the desired Keyer channel from
Key 1
or
Key 2
on the
Aux Bus panel
. For our example we
will use the
Key 2
button for our PIP image.
Windows PC Users
MAC Users
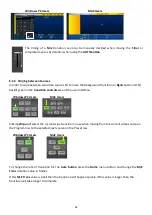
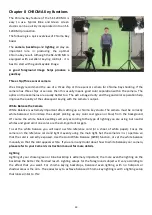
Step 2
: Select the Key 2 effect by clicking the
P-in-P
button
(backlit green) in the
Keyer Controls panel
.
Windows PC Users
MAC Users
Step 3:
Turn the Key 2 PIP effect on in the Multi view
Preview output
by clicking the
Key 2 PVW button
(backlit green) in the
Transition Controls panel
.
Windows PC Users
MAC Users
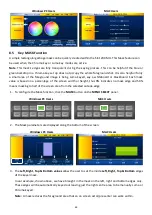
Step 4:
Select the PIP image source on the
AUX BUS row
of the
SOURCES
panel
.
This will be shown over the
chosen Preview image before being taken to Program/air with the next mix or wipe transition.
Windows PC Users
MAC Users
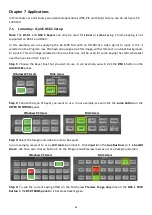
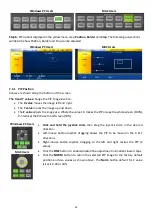
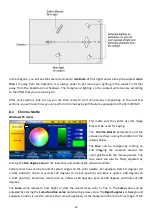
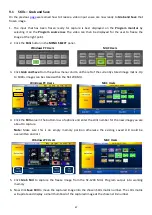
Step 5:
Click
the
P-in-P button
(backlit green) on the
MENU SELECT
panel to enter the Picture in Picture
option.


