22
WIPE Selection Menu
There are 30+ different WIPE effects to choose from when using the SE-3000 mixer. Each WIPE transition
also has flexible user options to tailor the look of the transition.
Example:
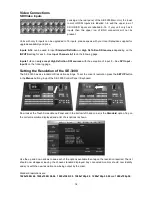
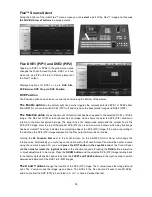
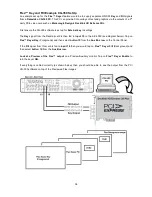
To select a different WIPE transition, press the
WIPE
button in the
Menus
button group of the
Control Panel / Keyboard. Ensure the
WIPE
and
BGND
buttons are ON see page 20
Transitions Group
.
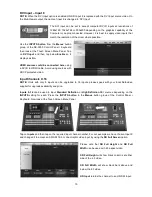
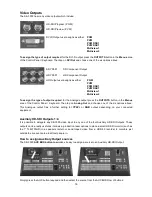
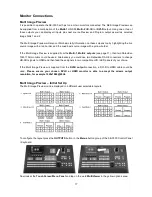
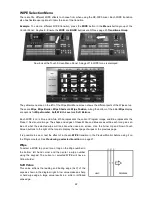
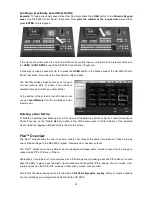
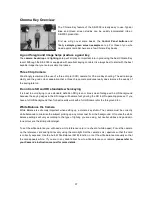
Now look at the Touch Screen Menu Panel. A page of 16 WIPE Icons is displayed.
The yellow menu area on the left of the Wipe Main Menu screen shows the different parts of the Wipe set up.
These are
Wipe
,
Wipe Border
,
Wipe Shade
and
Wipe Position
. Along the bottom of the initial
Wipe
display
are options for
Wipe Number
,
Soft
,
Width
,
Level
and
Soft Balance
.
Each WIPE Icon is blue and white. White represents the current Program image and Blue represents the
Preset / Next source image. The shape and edges of these White and Blue areas within each Icon gives an
idea of what the selected wipe will look like when used on screen. Use the Arrow Up and Down Touch
Screen buttons to the right of the Icons to display the next page of wipes or the previous page.
It is possible to see or test the effect of a chosen
WIPE
transition in the Preview Monitor before using it on
the Program output. See
Previewing a selected transition
on page 21.
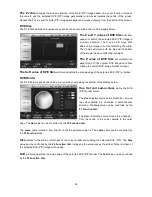
Wipe
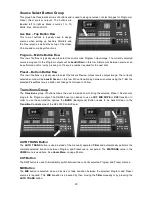
To select a WIPE tap on an Icon or tap on the Wipe number in
the bottom left hand corner and then enter a wipe number
using the keypad. The current or selected WIPE will have a
Yellow border.
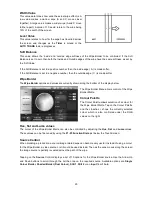
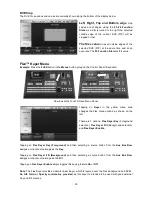
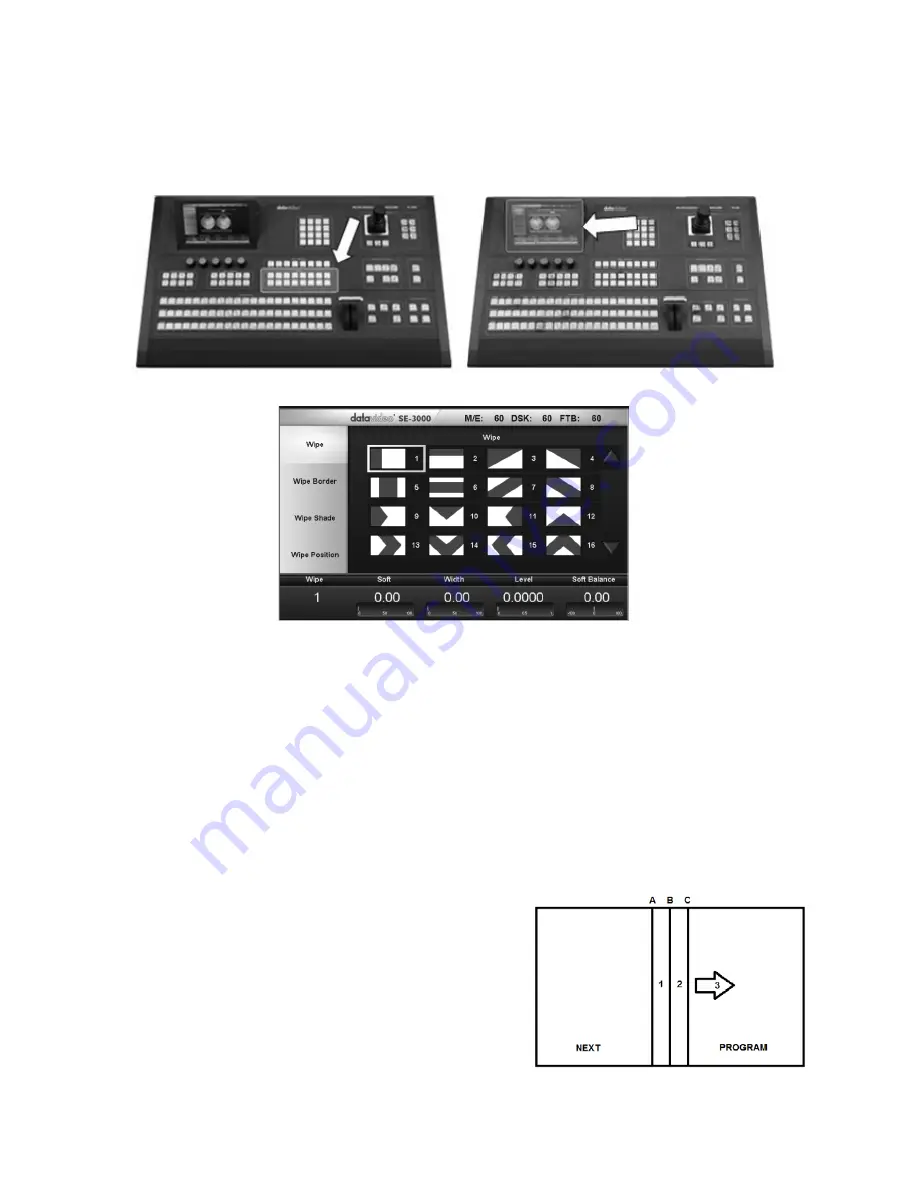
Soft Value
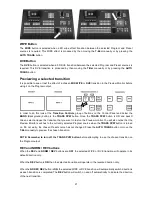
This value softens the leading and trailing edge (A+C) of the
wipe as shown in the diagram right. A low value makes a sharp
or hard wipe edge. A large value results in a softer or diffused
wipe edge.

