9
Chapter 2
Connections and Controls
Various control buttons and connection ports will be introduced in this chapter.
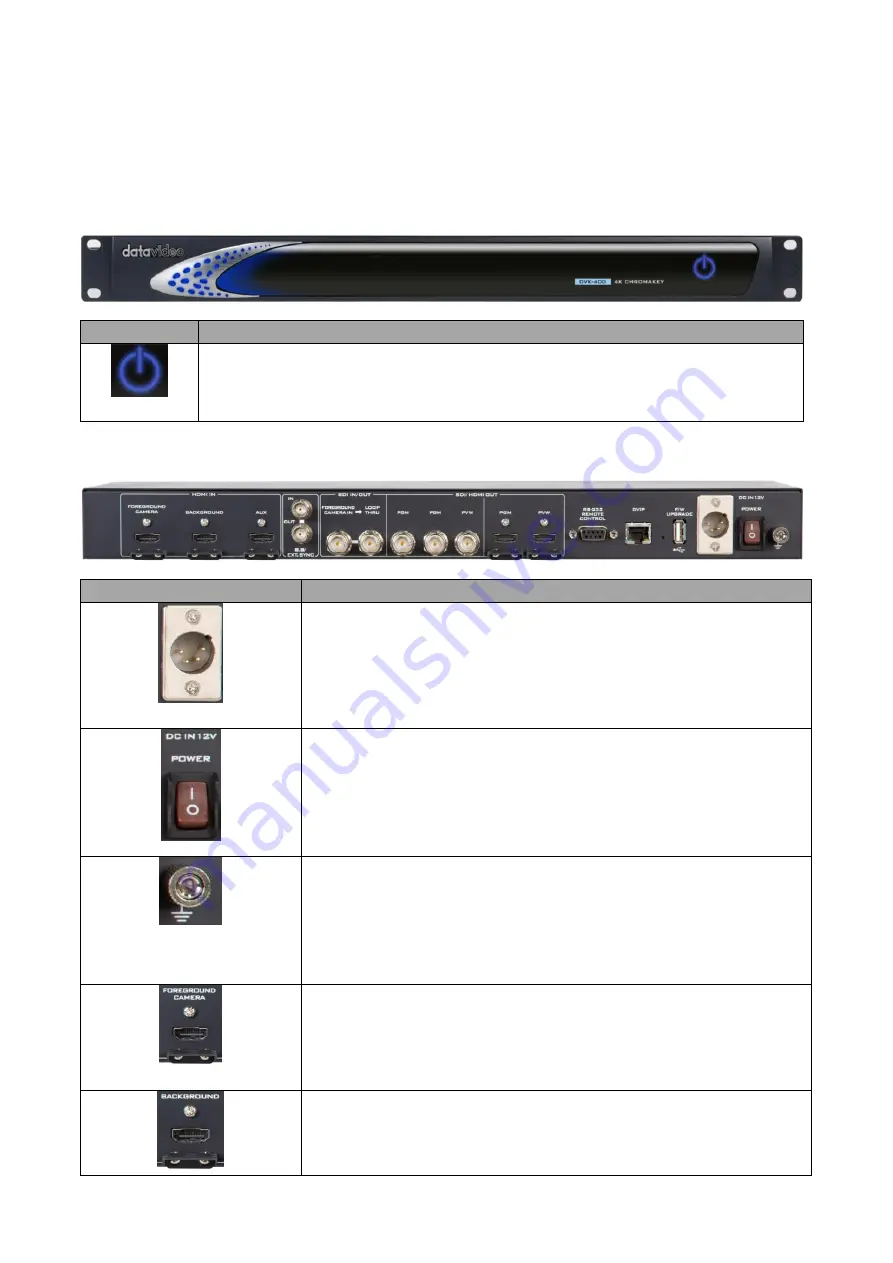
2.1 Front View
Buttons
Descriptions
The power button can be found on the front panel. Before pressing the power
button to turn on your DVK-400, make sure the power switch at the rear of the
device has already been turned on.
2.2 Rear View
Connections
Descriptions
DC IN
DC in socket connects the supplied 12V PSU.
DC IN 12V POWER Switch
Make sure this power switch is turned ON before pressing the
power button on the front panel.
Grounding Terminal
When connecting this unit to any other component, make sure that
it is properly grounded by connecting this terminal to an
appropriate point. When connecting, use the socket and be sure to
use wire with a cross-sectional area of at least 1.0 mm
2
.
FOREGROUND CAMERA
Connect a foreground camera to this HDMI port.
BACKGROUND
Connect a background video source on which the chromakeyed
foreground will be overlaid to this HDMI port.
10
12
13
Summary of Contents for DVK-400
Page 1: ...DVK 400 4K CHROMAKEY Instruction Manual...
Page 8: ...8 1 2 System Diagram...
Page 22: ...22 Bright Enhancement Shadow Enhancement Spill Suppression Edge Fix HD only...
Page 43: ...43 4 In the following image green components of the TV are kept after chromakey is applied...
Page 57: ...57 Appendix 3 Dimensions Unit mm...
Page 59: ...59 Note...


