XM-DVR Pro
Dual Channel DVR Page 15 of 32
December 2009 Manual Rev 3.05
If your DVR is configured to record from the command of a stop/start switch the
unit will start recording based on the state of the switch. If the switch is in the
on
(closed) position upon boot the unit will automatically begin recording. To stop the
recording, simply flip the switch to the
off
(open) position.
Reviewing Events
CAUTION
Never insert or remove a memory card from the XM-DVR Pro while power
is being supplied to the unit. This may damage equipment and render your recordings
useless.
You may review events using one of two methods, DVR Playback or PC
Playback.
•
DVR playback
allows you to view your recordings on a monitor or television.
•
PC playback
allows you to watch your recordings on your PC or burn them
to a DVD.
DVR Playback
Connecting a Monitor
To playback your recordings using the DVR you must first connect a monitor or
television to the AV-OUT on the DVR. If you are using a Datatoys monitor please
follow the setup instructions included with the monitor and skip to the next step. If you
are connecting to your own television or monitor follow the instructions below.
Included with your kit is the AV-OUT cable which
converts the Datatoys 4-PIN connection to a universal
RCA type connection. First connect the 4-PIN
connection of the AV-OUT cable to the AV-OUT
connection on the DVI harness. The AV-OUT lead is
located on the DVI harness which connects to the
back of the DVR as seen on page 9.
Then connect the appropriate RCA connections to the
video input on your television or monitor. This may
require the use of an RCA extension cable which is
available at any electronics store.
XM-DVR Pro
Dual Channel DVR Page 16 of 32
December 2009 Manual Rev 3.05
Event Playback
NOTE
To boot, the DVR must be powered by a 10-32VDC supply capable of
supplying at least 3A at 12VDC.
NOTE
For playback, it is recommended you disconnect all cameras to; halt
recordings, reduce power draw, and reduce processing load on the DVR.
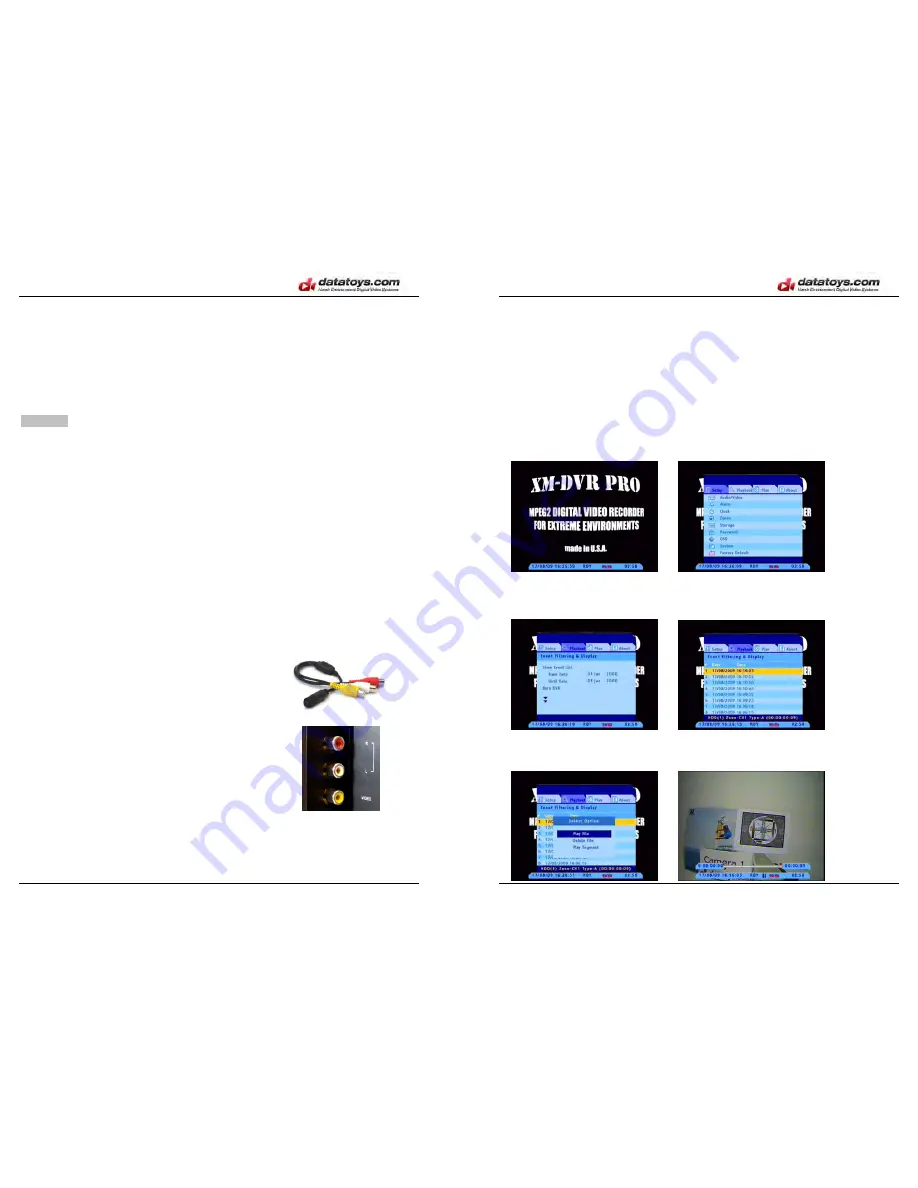
Once a monitor is connected, insert the compact flash card, and boot the DVR.
The DVR will take 20-30 seconds to boot and you will see the splash screen appear
on the monitor. Use the IR remote included with your system and press
Menu
twice to
evoke the main menu.
Navigate to
Playback.
Scroll to
Show Event List
and press the right arrow to
execute. Events will be listed in chronological order. The dark blue bar at the bottom
of the menu will display Zone, Channel, Type and Event length.
To select a recording press
Enter
. Then press PLAY to initiate playback. Use the
remote instruction on page 19 to perform all basic playback functions such as; fast
forward, rewind, stop, and pause. To exit, press
Menu
, or
Cancel
.


