20
Chapter 3 – Printer Operation
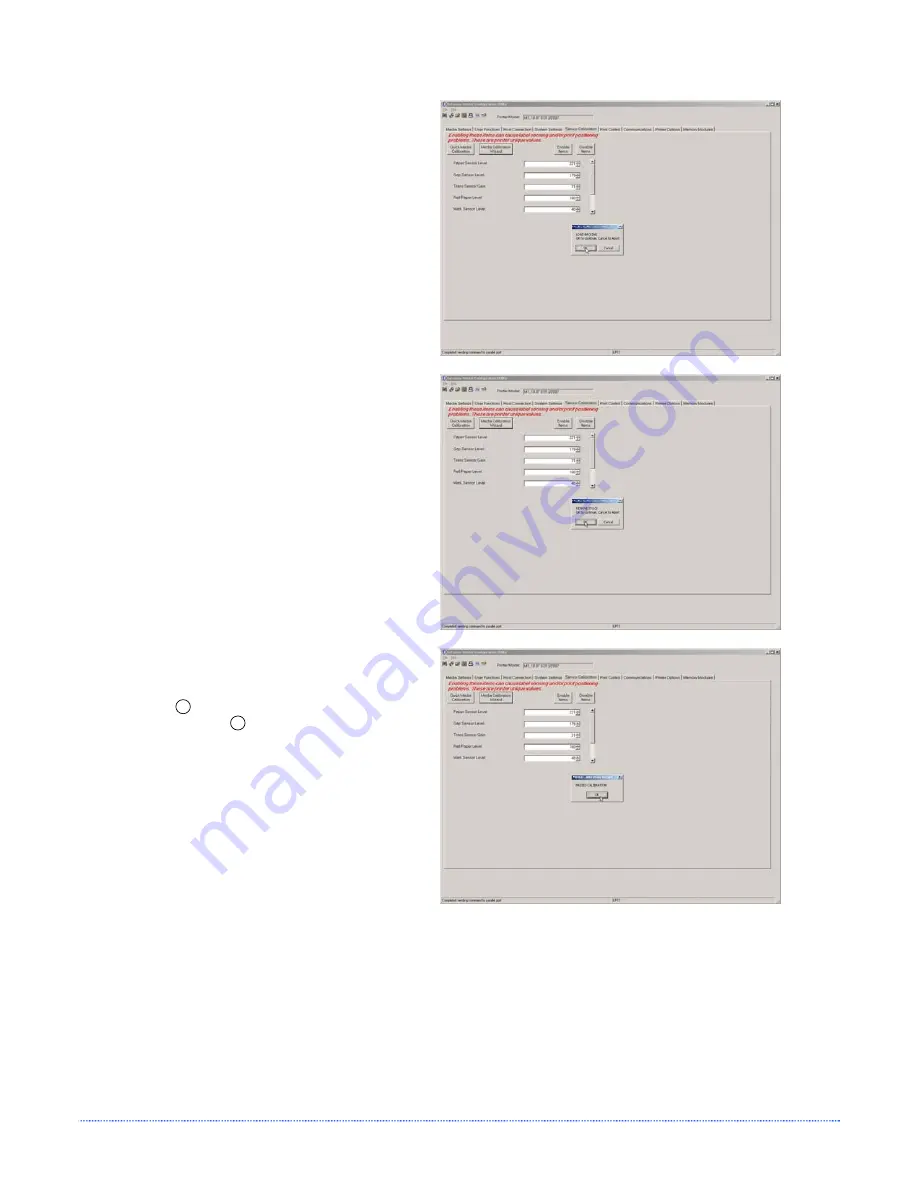
7. The Calibration Wizard will now prompt you to
‘Load Backing’. Peel off a few labels and
position the backing material in the media
sensor. Close the printhead and click “OK”.
8. The Calibration Wizard will now prompt you to
‘Remove Stock’. Remove all media and
backing from the printer. Close the printhead
and click “OK”.
9. The Calibration Wizard will now respond with
‘Passed Calibration’, click “OK” Re-install the
media in the printer. Close the printhead and
press the
F2
button to test the calibration.
Each press of the
F2
button labels should feed
one label.
If the printer was unsuccessful in calibrating.
Retry the procedure beginning at Step 5.
Summary of Contents for E Class
Page 1: ...Operator s Manual ...
Page 2: ......
Page 8: ...2 Chapter 1 Getting Started ...
Page 41: ...Appendix A Specifications 35 ...
Page 56: ...50 Appendix B Internal Menu ...
Page 72: ...Glossary ...


