USING THE SMART-VS WEBAPP
PRODUCT REFERENCE GUIDE 10
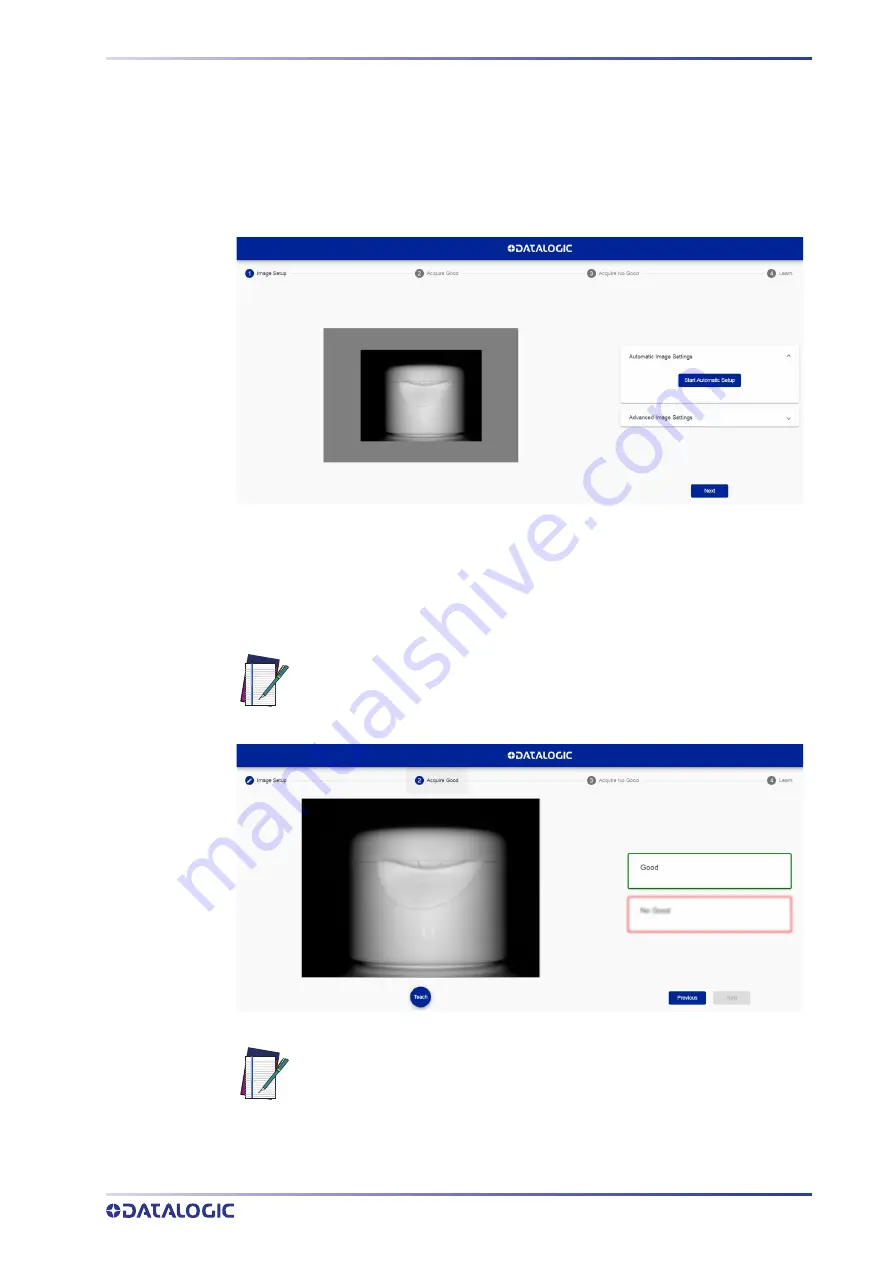
Step 1: Image Setup
On the
Image Setup
page, select the
Start Automatic Setup
to automatically set the
Focus Distance, the Exposure Time, and the Sensor Gain parameters (suggested). Alter
-
natively, select
Advanced Image Settings
to manually set the parameters.
It is also possible to move the Field of View based on the application needs, which can
be useful when objects of different batch formats must be inspected on the same line.
To do this, simply click on the image and drag it throughout the gray area.
After completing image setup, click
Next
.
Step 2: Acquire GOOD
On the
Acquire GOOD
page, one or more GOOD objects can be acquired by clicking on
the
Teach
button. It is recommended to acquire as many GOOD images as the known
number of instances to be treated as GOOD.
After adding at least one object, you can click NEXT and go to the Acquire NO GOOD
page.
NOTE: The GOOD and NO GOOD boxes can store a total of 6 images, of which
at least one per box. This means that each box can have a maximum of 5
images.
NOTE: Click on an acquired object in the GOOD box and select DELETE to
delete it.


