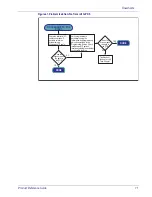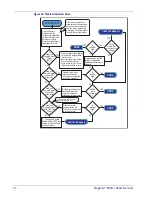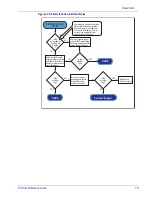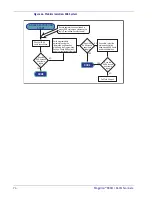
Calibration Verification (Pounds)
Product Reference Guide
81
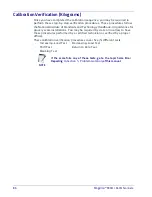
Calibration Verification (Pounds)
Once you have completed the calibration sequence, you may be required to
perform these step-by-step verification procedures. These procedures follow
the National Institute of Standards and Technology Handbook-44 guidelines for
grocery scale installations. You may be required by state or local law to have
these procedures performed by a certified technician or verified by a proper
official.
These calibration verification procedures cover five (5) different tests:
• Increasing-Load Test
• Shift Test
• Blanking Test
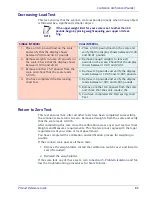
• Decreasing-Load Test
• Return to Zero Test
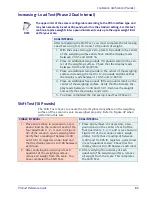
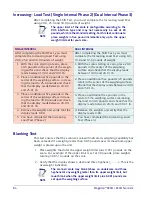
Increasing-Load Test (Phase 1)
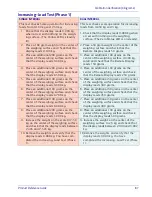
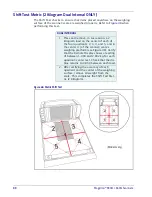
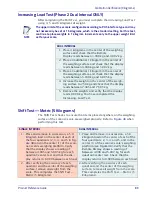
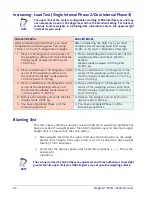
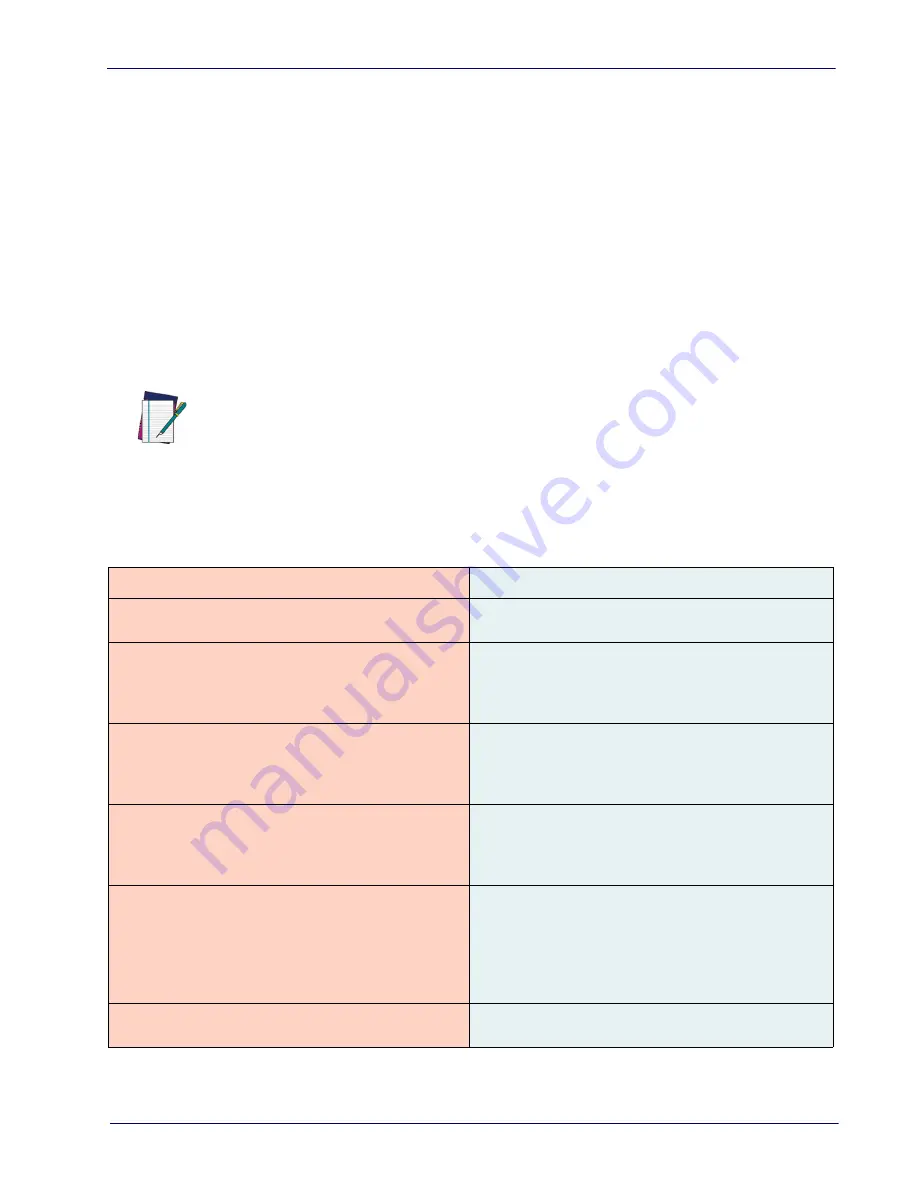
This test checks Scale operation with two, four and six pound weights.
NOTE
If the scale fails any of the following tests, go to
, of
this manual and follow the troubleshooting procedures for SCALE FAILURE.
SINGLE INTERVAL
DUAL INTERVAL
This test checks Scale operation with five, ten
and fifteen pound weights.
This test checks Scale operation with two,
four and six pound weights.
1. Check that the display reads 0.00 lb.
when at rest with nothing on the weigh-
ing surface. (The Zero Status LED is
steadily lit).
1. Check that the display reads 0.00 lb. when
at rest with nothing on the weighing
surface. (The Zero Status LED is on steady).
2. Place a five-pound weight on the center
of the weighing surface and check that
the display reads 5.00 lb.
2. Place a two-pound weight on the center of
the weighing surface. Verify that the
Remote
Display reads 2.00 lb.
3. Place an additional five pounds on the
center of the weighing surface and
check that the display reads between
9.99 and 10.01 lb.
3. Place an additional two pounds (four
pounds total) on the center of the weighing
surface. Verify that the Remote Display
reads between 3.995 and 4.005 lb.
4. Place an additional five pounds on the
center of the weighing surface and
check that the display reads between
14.99 and 15.01. Remove the weights
and verify that the display reads 0.00.
4. Place an additional two pounds (six pounds
total) on the center of the weighing surface.
Verify that the Remote Display reads
between 5.995 and 6.005. Remove the
weights and verify that the display reads
0.00.
5. You have completed the Increasing-
Load Test (Phase 1).
5. You have completed the Increasing-Load
Test (Phase 1).
Summary of Contents for Magellan 9300i
Page 1: ...Magellan 9300i 9400i Scanner and Scanner Scale with Imaging Technology Product Reference Guide...
Page 12: ...x Magellan 9300i 9400i Scanners NOTES...
Page 28: ...16 Magellan 9300i 9400i Scanners NOTES...
Page 60: ...48 Magellan 9300i 9400i Scanners NOTES...
Page 72: ...60 Magellan 9300i 9400i Scanners NOTES...
Page 92: ...80 Magellan 9300i 9400i Scanners Figure 46 EAS antenna EAS Antenna Calibration Switch Cover...
Page 104: ...92 Magellan 9300i 9400i Scanners NOTES...
Page 114: ...102 Magellan 9300i 9400i Scanners NOTES...
Page 136: ...Enter Exit Programming Mode Imaging and CSS Features 124 Magellan 9300i 9400i Scanners NOTES...
Page 214: ...202 Magellan 9300i 9400i Scanners NOTES...
Page 276: ...Enter Exit Programming Mode Interface Related Features 264 Magellan 9300i 9400i Scanners NOTES...
Page 292: ...Enter Exit Programming Mode Data Editing 280 Magellan 9300i 9400i Scanners NOTES...
Page 468: ...456 Magellan 9300i 9400i Scanners NOTES...
Page 472: ...460 Magellan 9300i 9400i Scanners NOTES...
Page 480: ...468 Magellan 9300i 9400i Scanners NOTES...
Page 482: ...470 Magellan 9300i 9400i Scanners NOTES...

