Datacom Systems Inc
4X16SP-1000BT Copper Gigabit SPAN Switch • USER
guide
14
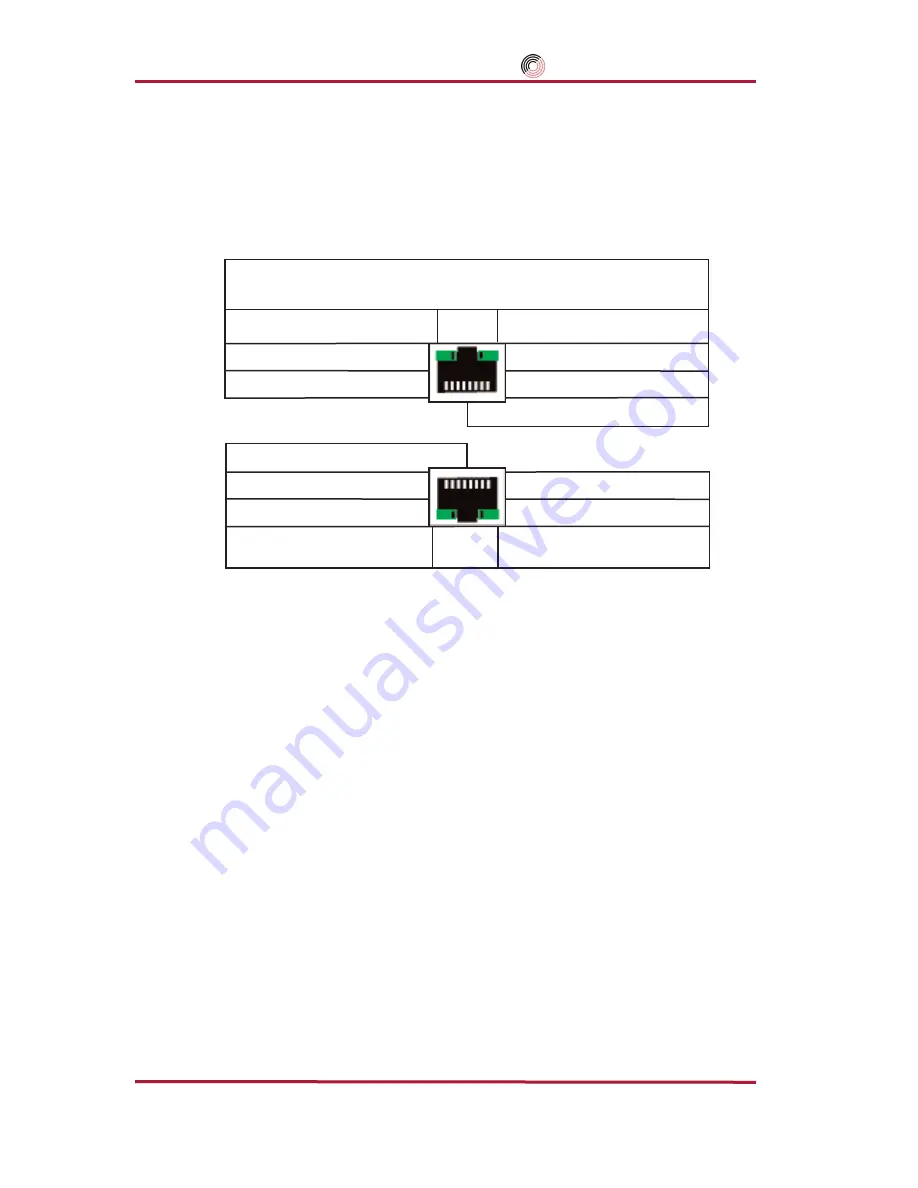
play status of each port. See
Table 2
for LED display. The
NETWORK
PORT
LED illuminates indicating link has been established between the
NETWORK PORT
connector and network device SPAN port.
!!
NOTE: The monitor tool has to match the selected network speed and duplex
!!
Step 3.
Connect the
COMMON A PORT
of the 4X16SP-1000BT RJ45 connector to
the network tool Network Interface Card (NIC) port connector using a
DRL366-3 cable. These connectors have integrated LEDs that display status
of each port. See
Table 2
for LED display. The
COMMON A PORT
link
LED illuminates indicating link has been established between both devices.
Connect
COMMON B
through
COMMON D
connectors to other network
tools as desired. using DRL366-3 cables and noting link LED illuminates indi-
cating link has been established between both devices.
Step 4.
Connect either;
a) the
MANAGEMENT PORT
of the 4X16SP-1000BT RJ45 connector to
the network for remote console control,
OR
b) the
CONTROL
port of the 4X16SP-1000BT USB-style connector to a local
host control console. using the DRL470-6-6-6-6 cable.
Step 5.
After the hardware installation is complete, the REMOTE
agent
and
MAN
Agents
™
switch control software must be configured or reconfigured.
Please refer to the DATACOM
switch
™
SOFTWARE
guide
for details.
Green — 1,000 Mbs
Orange — 100 Mbs
OFF
— 10 Mbs
LED Display
Left LED — Notch Up
Solid Green — Link
Flashing Green — Data
WITH LINK OR DATA
Right LED — Notch Up
Table 2 - LED Display
NOTCH UP
Green — 1,000 Mbs
Orange — 100 Mbs
OFF
— 10 Mbs
Left LED — Notch Down
Solid Green — Link
Flashing Green — Data
WITH LINK OR DATA
Right LED — Notch Down
NOTCH DOWN


