


28
Printer Installation
3.
Insert the 125-card output hopper into the printer and
pedestal until it clicks into place.
4.
Follow the instructions included in the upgrade kit to
complete the installation.
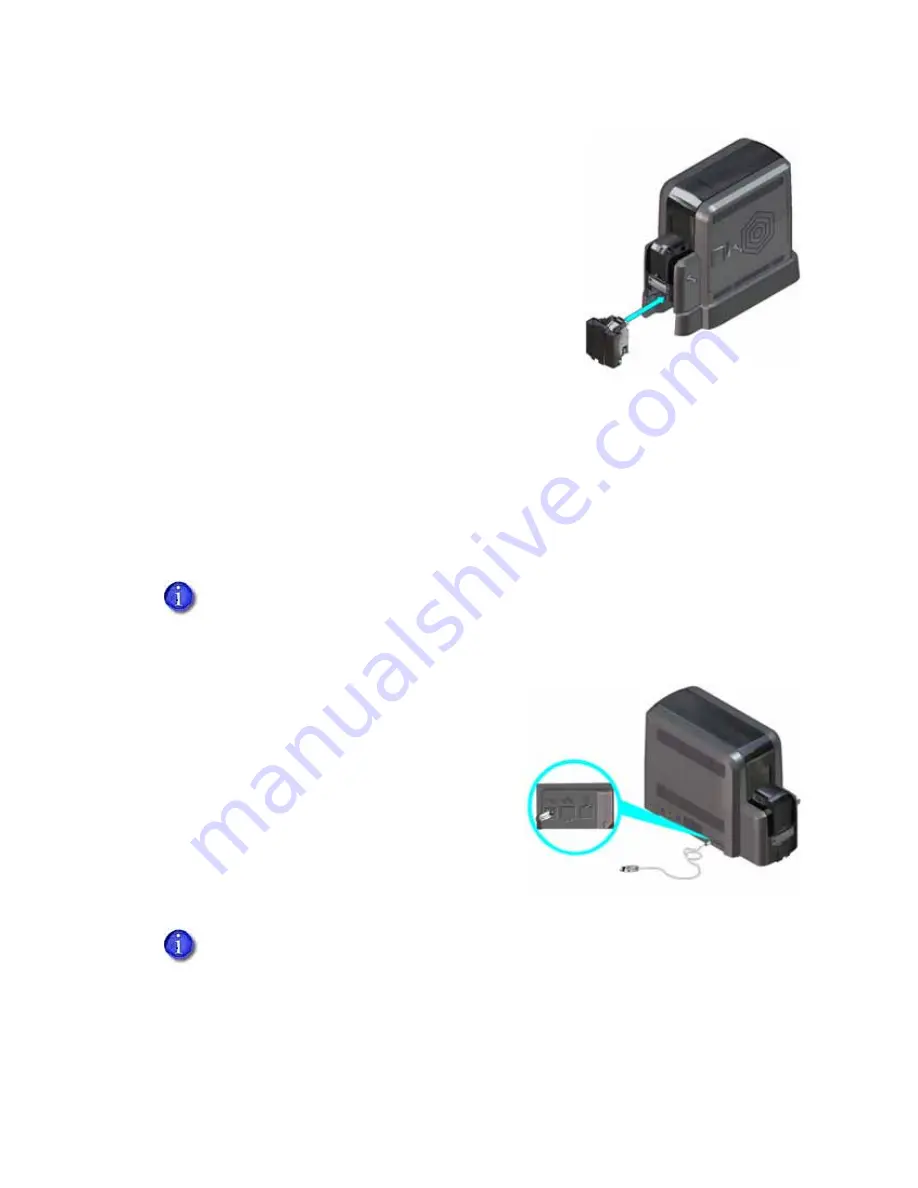
Connect to the Printer
You can connect to the printer from a Windows-based PC either directly through a USB cable, or
through a network (an Ethernet cable is not supplied with the system).
Connect Using a USB Cable
1.
Connect one end of the USB cable to the USB
port of the printer.
2.
Connect the other end to a USB port on the PC
when you are prompted during installation of
the Card Printer Driver.
Do not connect the USB cable to the computer until you are prompted during the
driver installation.
Refer to the printer’s Driver Guide to set up the Card Printer Driver to work with
the printer.
If you plan to use Datacard® TruCredential™ Suite Software with a USB-connected
printer, you must install the Card Printer Driver to establish the initial communication
path to the printer. Refer to the Driver Guide for complete information.
To Computer
Summary of Contents for CR805
Page 8: ...viii ...
Page 10: ...x ...
Page 16: ...xvi ...
Page 20: ...4 Printer Installation Multi Hopper Printer 13 4 in 340 mm 16 2 in 411 mm 25 6 in 651 mm ...
Page 28: ...12 Printer Installation Unpack the Optional Multi Hopper ...
Page 58: ...42 Printer Installation ...
Page 74: ...58 Elements of Card Design ...
Page 152: ...A 20 CLM Laminator ...


