NACE: 610-429-1511 | [email protected] | www.datatronix.biz | DT-IPTV-QAM-12C-SD Manual v1.0 Page 6
Device Programming and Setup
Installation
System Installer must adhere to Article 820-40 of the NEC that provides guidelines for proper grounding and
specifies that the cable ground shall be connected to the grounding system of the building, as close to the point
of cable entry as possible
.
Unpacking and Inspection
Each unit is shipped factory tested. Ensure all items are removed from the container prior to discarding any packing
material.
Thoroughly inspect the unit for shipping damage with particular attention to connectors and controls. If there is any sign of
damage to the unit or damaged or loose connectors contact your distributor immediately. Do not put the equipment into
service if there is any indication of defect or damage.
Hardware Installations and Connections
It is highly recommended that quality cables and connectors be used for all video and audio source connections.
1. The unit is designed to be rack mounted in a standard EIA19” rack.
2. The unit comes standard with CVBS inputs. Repeat this step for each video source connection required.
Be sure the connections for each source are consistent with the unit’s inputs (IN1…IN12).
3. When connecting to an IP network use an IGMP capable and enabled switch. (It is highly recommended an IT
professional who is familiar with IGMP switches assists in setting up the IGMP Switch).
4.
Use a quality 75Ω coaxial cable with “F” connectors from the unit’s
RF OUT jack
to the
distribution system
(combiner or reverse splitter) or directly to a television.
5. Connect the included power cord to the unit’s
POWER
plug.
6. Connect the power cord to an appropriately rated AC power outlet.
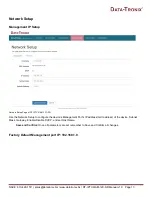
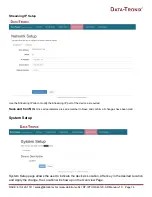
Connecting to the GUI Interface
Factory Default IP: 192.168.1.9
1.
Connect an Ethernet cable directly (
no Cross Over cable required
) to the Web Management Port on the rear
panel of the encoder or connect the Ethernet cable to an Ethernet switch. Connect an Ethernet Cable to your
PC/Laptop.
2.
Modify your PC/Laptop IP address to 192.168.1.11.
3.
Enter ‘192.168.1.9’ into your web browser.
4.
Enter GUI and make required device changes.
5.
Save all changes as required, upload and reboot changes.
6.
Verify parameters then end web session.


