background image


NACE: 610-429-1511 | [email protected] | www.datatronix.biz | DT-IPTV-QAM-12C-SD Manual v1.0  Page 16


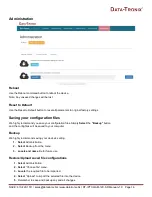
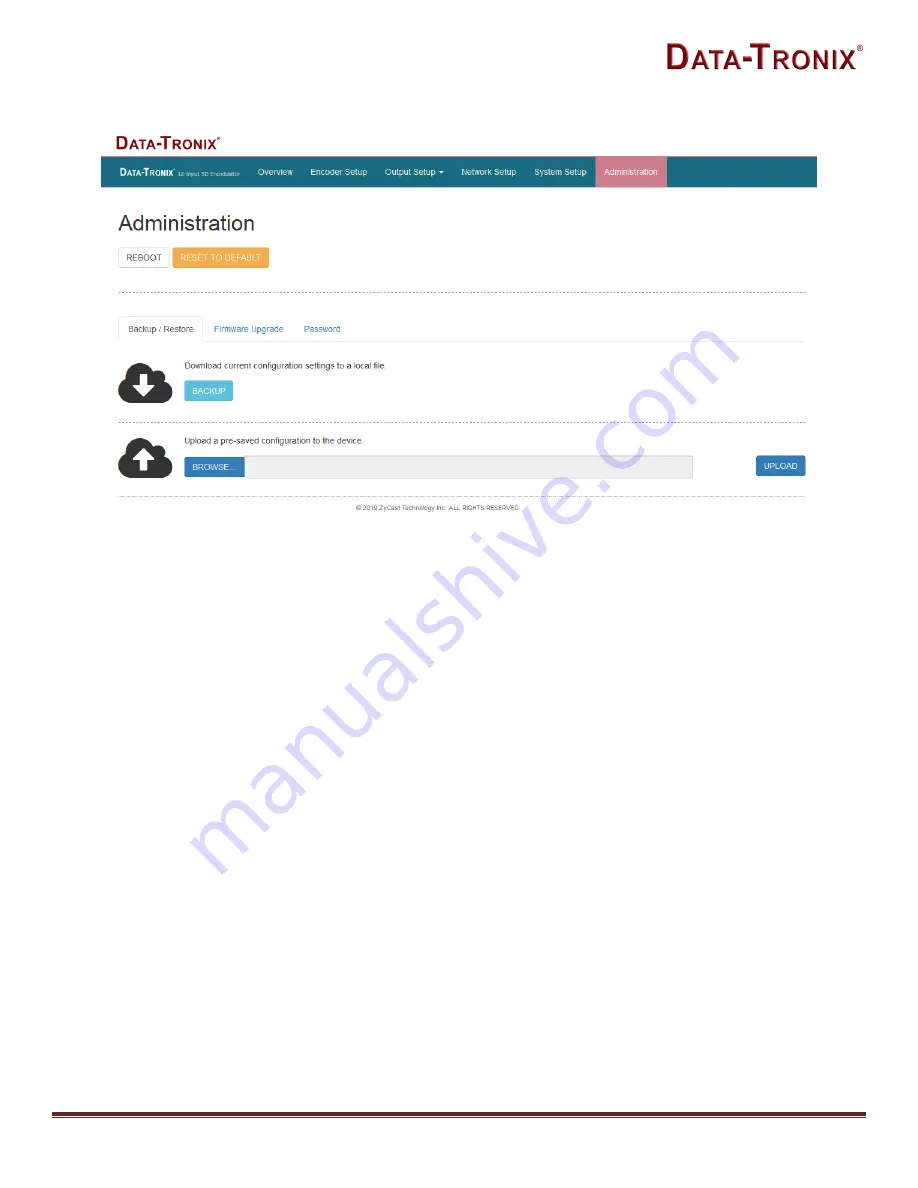
Administration 


Reboot 

Use the Reboot command button to reboot the device. 
Note: Any unsaved changes will be lost. 

Reset to Default 

Use the Reset to Default button to reset all parameters to original factory settings. 


Saving your configuration files


We highly recommend you save your configuration files.


Simply

 Select 

the

 “Backup” 

button   

and the config files will be saved to your computer. 


Backup 

We highly recommend saving your device’s setting.


1.  Select

 Administration.


2.  Select

 Backup from the menu.


3.  Locate and name

 file for future use. 

Restore/Upload saved file configurations 

1.  Select 

Administration.


2.  Select

 “Choose file” menu.


3.  Locate

 the required file to be imported.


4.  Select

 “Upload” to import the selected file into the device. 

5. 

Remember to save and backup any and all changes. 

Summary of Contents for DT-IPTV-QAM-12C-SD

Page 1: ...USER GUIDE INSTALLATION MANUAL DT IPTV QAM 12C SD 12 Input DVB C ANNEX B SD Encoder Modulator ...

Page 2: ...pection 6 Hardware Installations and Connections 6 Connecting to the GUI Interface 6 Factory Default IP 192 168 1 9 6 Overview 7 Encoder Setup 8 Output Setup 10 IP Streaming Setup 10 RF Output Setup 11 Network Setup 13 Management IP Setup 13 Streaming IP Setup 14 System Setup 14 Administration 16 Reboot 16 Reset to Default 16 Backup 16 Restore Upload saved file configurations 16 Firmware Upgrade 1...

Page 3: ...ld cause damage and invalidate the manufacturer s warranty DO NOT connect the power cord to the device if the power cord is damaged DO NOT cut the power cord DO NOT plug the power cord into an AC outlet until all cables and connections to the device have been properly connected The device should be installed in an environment consistent with its operating temperature specifications Placement next ...

Page 4: ...dulator is a feature rich Digital Encoding platform allowing it to be deployed in a variety of installations This space saving design delivers up to 12 Standard Quality SD QAM channels in a single 1RU space Features 4 Frequency Independent QAM outputs 3 video programs per QAM Typical 3 VCN Virtual Channel Number modes GUI for easy setup and control MPEG 2 or H 264 AVC Video selectable output 40dB ...

Page 5: ... x 44 4mm Weight 9 7 lbs Language English Output QAM Numbers of Connector 1x F Female QAM 4 Independent QAM B Standard J 83 Annex B RF Mode Normal Inverted Channel Type J 83B STD HRC IRC Interleaver I 128 J 1 8 I 64 J 2 I 32 J 4 I 16 J 8 I 8 J 16 Frequency Range Under STD Mode 57 000 MHz to 861 000MHz Ch 2 to Ch 135 Constellation Output Bitrate Max 64 QAM 26 970Mbps 256 QAM 38 810Mbps Virtual Chan...

Page 6: ...unted in a standard EIA19 rack 2 The unit comes standard with CVBS inputs Repeat this step for each video source connection required Be sure the connections for each source are consistent with the unit s inputs IN1 IN12 3 When connecting to an IP network use an IGMP capable and enabled switch It is highly recommended an IT professional who is familiar with IGMP switches assists in setting up the I...

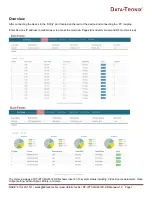
Page 7: ... Utility port located on the rear of the device and connecting to a PC Laptop Enter Device s IP address in web browser to access the Overview Pages Encoder Overview and RF Out Overview The Overview page of DT IPTV QAM 12C SD shows inputs 1 12 system status including Video Source parameter Video Output setting Audio Output Bitrate and more ...

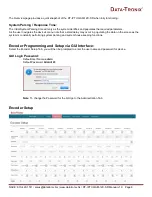
Page 8: ... parameters As the user navigates the device s menu note that a small delay may occur in populating the data on the screen as the system is constantly performing system parsing and system house keeping functions Encoder Programming and Setup via GUI Interface Select the Encoder Setup Tab you will then be prompted to enter the user name and password for device GUI Login Password Default User Name a...

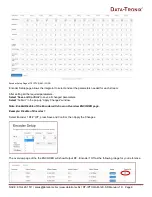
Page 9: ...eam After setting all the required parameters Select Save and Confirm to save all changed parameters Select Submit in the pop up Apply Changes window Note Enable Disable of the Encoder will show on Overview ENCODER page Example Disable of Encoder 1 Select Encoder 1 RF Off press Save and Confirm then Apply the Changes The overview page of the the ENCODER will show Output RF Encoder 1 Off as the fol...

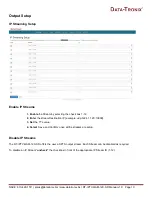
Page 10: ...ecting the check box 1 12 2 Enter the stream Destination IP example udp 224 1 1 20 10000 3 Set the TTL value 4 Select Save and Confirm once all the streams are setup Disable IP Streams The DT IPTV QAM 12C SD offers the user a SPTS output stream Each Stream can be disabled as required To disable an IP Stream uncheck the checkbox in front of the appropriate IP Stream ID 1 12 ...

Page 11: ...e integrator greater flexibility for placing video streams within the system Each RF QAM 3 streams per RF by default can be allocated independently RF Output Setup 1 Select RF Output Setup from the menu 2 Enable Disable RF1 RF4 by checking or unchecking Checkbox as required 3 Modify the RF Output TS ID as required 4 Select and Set RF Type 5 Select and Set Channel Type 6 Select and Set Channel Freq...

Page 12: ... disabled the frequency will not be occupied If a stream is disabled the stream will occupy the channel frequency even if not present in the RF diagram Enable Disable of the RF Output will show on the Status ACTIVE OFF Disable RF QAM The DT IPTV QAM 12C SD offers the integrator the ability to disable a RF QAM To disable a RF QAM output uncheck the checkbox associated with the RF QAM Application No...

Page 13: ...etwork Setup Page of DT IPTV QAM 12C SD Use the Network Setup to configure the device s Management Port s IP address GUI address of the device Subnet Mask Gateway Enable Disable DHCP and set Host Name Save and Confirm Once all parameters are set remember to Save and Confirm all changes Factory Default Management port IP 192 168 1 9 ...

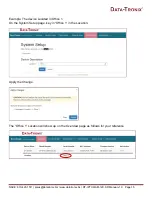
Page 14: ... to modify the Streaming IP port of the device as required Save and Confirm Once all parameters are set remember to Save and confirm all changes have been mad System Setup System Setup page allows the user to indicate the device s Location After key in the desired Location and Apply the change the Location will show up on the Overview Page ...

Page 15: ...tronix biz DT IPTV QAM 12C SD Manual v1 0 Page 15 Example The device Located in Office 1 On the System Setup page key in Office 1 in the Location Apply the Change The Office 1 Location will show up on the Overview page as follows for your reference ...

Page 16: ...n files We highly recommend you save your configuration files Simply Select the Backup button and the config files will be saved to your computer Backup We highly recommend saving your device s setting 1 Select Administration 2 Select Backup from the menu 3 Locate and name file for future use Restore Upload saved file configurations 1 Select Administration 2 Select Choose file menu 3 Locate the re...

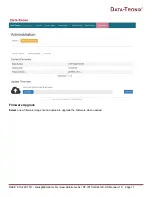
Page 17: ...NACE 610 429 1511 sales datatronix biz www datatronix biz DT IPTV QAM 12C SD Manual v1 0 Page 17 Firmware Upgrade Select a new firmware image file and upload to upgrade the Firmware when needed ...

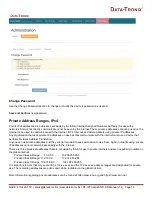
Page 18: ...at communicate with the internet must use a device that performs Network Address Translation Anyone can us private addresses and they are not required to seek permission to use them Again networks using private IP addresses cannot communicate directly with the internet There are three blocks of addresses that are set aside by IANA for use in private internets and are not publicly routable on the g...

Page 19: ...NACE 610 429 1511 sales datatronix biz www datatronix biz DT IPTV QAM 12C SD Manual v1 0 Page 19 Product Notes ...

Reviews: