dCS
Vivaldi One Digital Playback System User Manual
Software Issue 1.0x
September 2017
Vivaldi One Manual v1_0x
Page 26
English version
STEP 6 – Using the USB2 input
You can play compatible music files that are stored on a flash drive or low-power USB HDD, formatted
as FAT16, FAT32 or non-encrypted NTFS. Drives in other formats are not compatible.
•
Connect the drive to the
USB2
port.
When the Player is connected to a network, you can use the Vivaldi 2.0 App to control
playback from the flash drive. Go to the Home page, select the USB option, then select
tracks as from a NAS drive - see
Step 2
for details.
Alternatively, you can select files to play from the front panel as described below.
•
Hold
down
the
Menu
button for 2 seconds to open the browser.
Please Wait
may be displayed for a
few seconds, depending on the capacity of the drive, then the drive name. Press the
Menu
button.
•
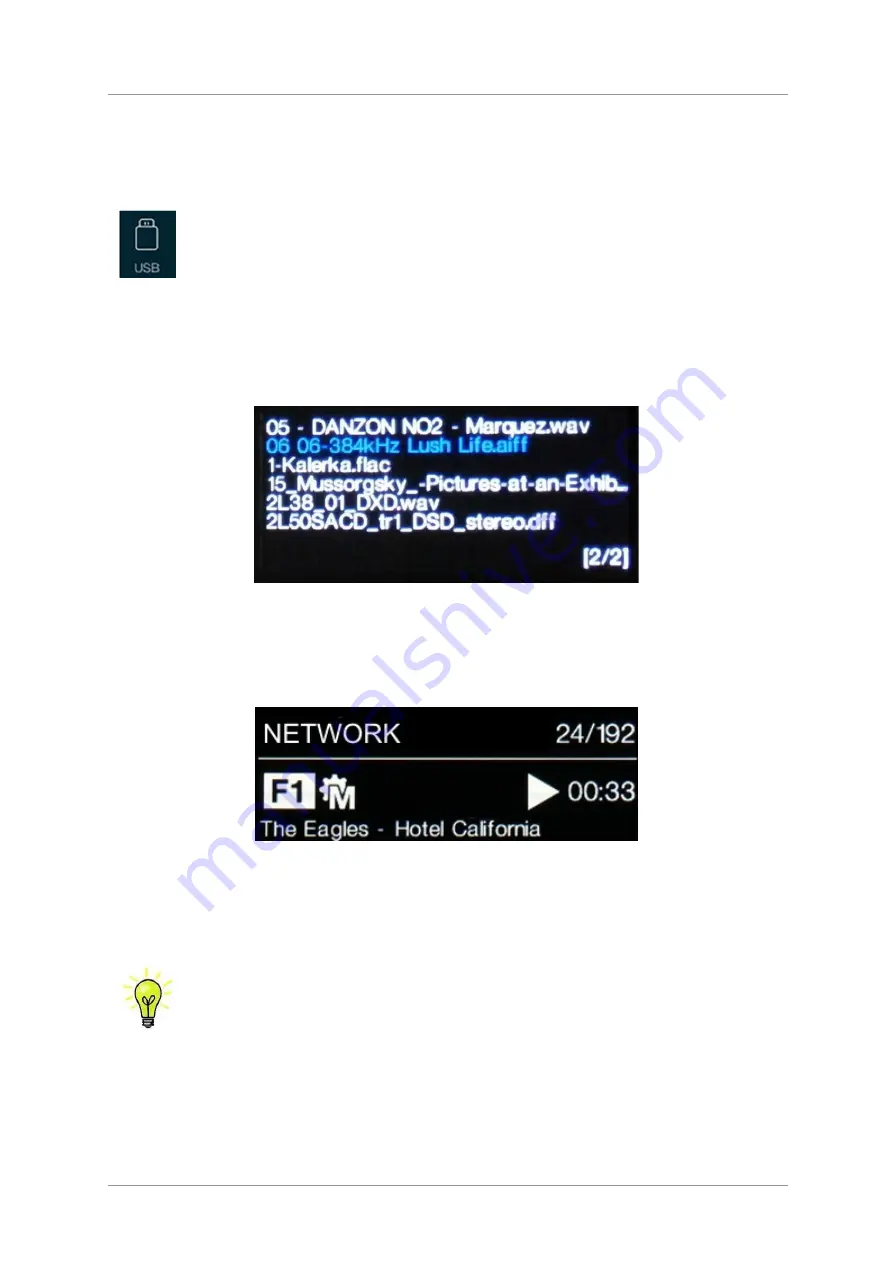
The files and folders in the root folder will be listed on the display. Use the
►
and
◄
buttons to move
the blue highlight. (The blue highlight is a cursor, it does not move when the next track starts
playing.)
•
Press
the
Menu
button to either start playing a file or to move into a sub-folder.
•
If you need to navigate back up the folder structure, press the
Stop/Eject
button.
•
Press
the
Power
button briefly to close the browser.
The operation of the front panel controls returns to normal. The name of the track, the play icon and the
track elapsed time will be displayed.
The Player will play all the files in that folder in the sequence they appear on the flash drive and then
stop.
•
Use the front panel or remote control’s
Previous Track
,
Next Track
,
Play/Pause
and
Stop/Eject
buttons to control playback.
•
To select a different directory or re-start playback, open the browser again.
The
USB2
port can 5V DC at up to 2.1A to power a USB HDD or to charge a
mobile device.


