background image


11


DCP-26 

Productcode: D2084 


InA        Limiter    

 rel.:    50   
       

Switch the currently selected parametric EQ on or off by dialing the 

jogwheel (8)

. Click the 

jogwheel (8) 

to proceed to the next parameter. Or push the 

item up button (2)

 to select the next item. In our case PEQ 


Adjust the PEQ 2 parameters in the same way as described for PEQ 1. Repeat this for PEQ 3 to PEQ 5 if 
desired. 


Pushing the 

item up (2) 

button after PEQ 5 is selected, let’s you adjust the limiter parameters for input A.


Adjust the limiter threshold by dialing the 

jogwheel


(8)

. Click the 

jogwheel


(8)

 to proceed with the next 

parameter. 


Adjust the limiter release time (in ms) by dialing the 

jogwheel


(8)

.  

 
IMPORTANT!  
Enabling the limiter on a specific output also changes the way in which the level is displayed on the 
corresponding LED VU meter: The level shown on this meter is no longer the “absolute” output level, but 
the level of the signal at -24dB, -12dB, -6dB, -3dB compared to the limiter’s threshold (orange limit LED), 
no matter what the threshold value is. 

 
Now you’ve completed setting up input channel A. If the input channels are not linked, you have to push 
the 

channel up (3)

 button and set up input channel B the same way as shown for channel A.  


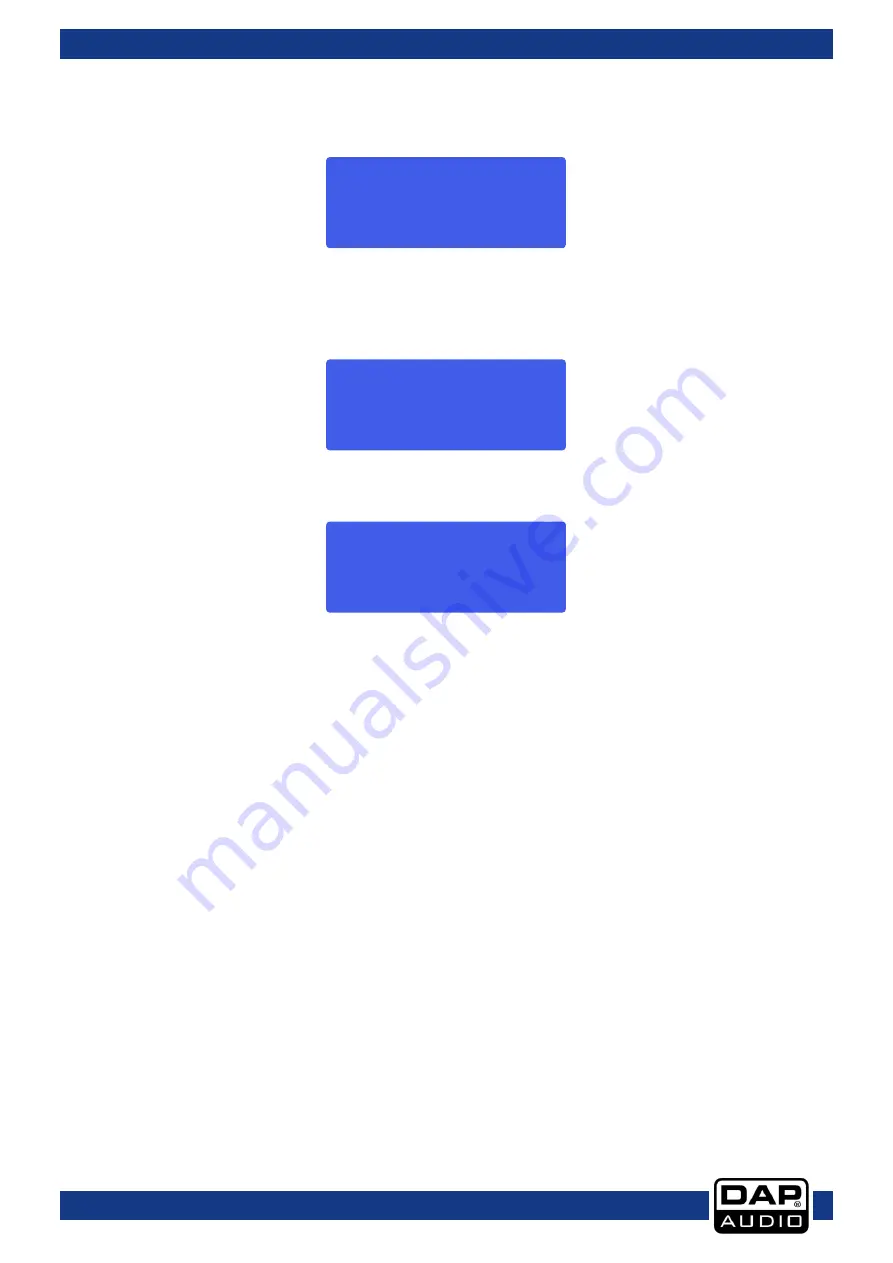
InA        Peq 2    

 freq:    20hz   


InA        Limiter    

 Thr.:    0dbu   
       

Summary of Contents for DCP-26

Page 1: ...DCP 26 Highlite International B V Vestastraat 2 6468 EX Kerkrade the Netherlands Ordercode D2084 MANUAL ENGLISH...

Page 2: ...Input setup 9 Output setup 12 Loading and saving files 15 Access level menu 16 Software version menu 16 Digital Speaker Manager software installation 17 Software Installation 17 Setting up a connectio...

Page 3: ...U meters 27 Display 27 Gain fader VU meter 28 Mute 28 Invert 28 Delay 28 Limiter 28 PEQ 29 High Pass Filter and Low Pass Filter 29 Out 2 menu 29 Out 3 menu 29 Out 4 menu 29 Connection Cables 30 Mainte...

Page 4: ...on operation and maintenance of this system has to be qualified follow the instructions of this manual Before you initial start up please make sure that there is no damage caused by transportation Sho...

Page 5: ...ch out for the so called ground loops The best way even if not always feasible to avoid ground loops is to connect the electric ground of all the equipment to a single central point star system In thi...

Page 6: ...e mains with the power plug Always pay attention that the right color cable is connected to the right place International EU Cable UK Cable US Cable Pin L BROWN RED YELLOW COPPER FASE N BLUE BLACK SIL...

Page 7: ...en be considered if the client has so far complied with all parts of the agreement regardless of the agreement of which the obligation is resulting Description of the device Features The DCP 26 is a 2...

Page 8: ...irection In A In B Out 1 Out 2 Out 3 Out 4 Out 5 Out 6 If two channels are linked both channels can only be selected and edited together E g if the display shows Out 12 output channel 1 and output cha...

Page 9: ...y USB port USB port for linking the unit with your computer XLR Input Sockets XLR female balanced input Installation Remove all packing materials from the DCP 26 Check that all foam and plastic paddin...

Page 10: ...would destroy your HF speakers Input setup Push the Channel Up button to select the channel you wish to edit In the example below input channel A is selected Adjust the gain by dialing the jogwheel 8...

Page 11: ...the jogwheel 8 to return to the lowpass filter frequency for re adjusting or push the Item up button to proceed with the next item in our example the parametric EQ 1 Adjust the frequency by dialing th...

Page 12: ...jogwheel 8 Click the jogwheel 8 to proceed with the next parameter Adjust the limiter release time in ms by dialing the jogwheel 8 IMPORTANT Enabling the limiter on a specific output also changes the...

Page 13: ...our example the mixer Adjust the mix volume for input A by dialling the jogwheel 8 Pushing the item Up 2 button allows you to proceed with the mixer menu Note the mixer menu is only enabled if the inp...

Page 14: ...tz R iley 12dB But terworth 18dB Bes sel 18dB But terworth 24dB and Bes sel 24dB Once selected the correct filter type click the jogwheel 8 to re adjust the lowpass frequency or push the item up 2 but...

Page 15: ...the jogwheel 8 Click the jogwheel 8 to proceed with the next parameter Adjust the limiter release time by dialing the jogwheel 8 Push the item up 2 button to proceed with the next item IMPORTANT Enab...

Page 16: ...ts Clicking the jogwheel 8 will load the currently selected preset The bottom row in the display displays the preset s name If you want to continue loading the preset Select Yes by dialing the jogwhee...

Page 17: ...it 10 button Now your preset is saved in the selected location Access level menu Push the menu 9 button three times to enter the access level menu This menu allows you to protect your settings by a pa...

Page 18: ...re installation Software Installation If the CD doesn t start automatically open the CD and double click the setup exe icon Now the setup window as shown in the figure below will pop up Click the next...

Page 19: ...18 DCP 26 Productcode D2084 Now click the Next button If you re ok with the installation path recommended click the next button Click the install button Wait until the next screen pops up...

Page 20: ...19 DCP 26 Productcode D2084 Make sure to check the confirmation box to install Microsoft VisualC Runtime Click the finish button in order to install the VisualC Runtime program...

Page 21: ...20 DCP 26 Productcode D2084 Click the next button Check the confirmation box to accept the license terms Click the Install button Wait until the installation is finished...

Page 22: ...21 DCP 26 Productcode D2084 Now you ve successfully installed the DAP All control software which can be used to manage and edit your sounds for the DAP DCP 24 DCP 26 and or DCL 22...

Page 23: ...26 with your PC Setting up a connection between the All Control software and your DCP 26 Connect your DCP 26 to your PC using the included USB cable Start the All Control software The software starts...

Page 24: ...ton allows you to load a preset from your computer s hard disk or other storage medium into the all control software s working memory The Unit preset s store button allows you to store the current set...

Page 25: ...d dragging faders For in depth editing we suggest using the Out 2 menu 6 Output 3 zone The output 3 zone gives you an overview of all the settings for output 3 You can change all parameters by typing...

Page 26: ...5 Gain fader Channel VU meter The gain fader shows the actual channel gain setting The text block beneath the gain fader shows the exact gain value Allows you to adjust the overall gain of each outpu...

Page 27: ...r can be configured as an Allpass Bell High shelving Low shelving or a Notch filter Select the filter type using the roll down menu Adjust the gain frequency and Q factor by typing the value in the bo...

Page 28: ...djust the gain by typing the value in the box or by clicking and dragging the fader Range 48dB to 0dB Mute a channel by typing off in the value box The VU meters next to the faders show the input leve...

Page 29: ...lows you to invert the phase of the corresponding channel Delay You can change the delay time by typing the value directly into the value box Or by dialing the delay time knob using your mouse Delay t...

Page 30: ...or 0 20 to 25 Range gain 12dB to 12dB Switch the filter on or off by clicking the On button High Pass Filter and Low Pass Filter Each output channel has a Lowpass and a Highpass filter which can be co...

Page 31: ...eir life and reliability Periodically check your cables A great number of problems faulty contacts ground hum discharges etc are caused entirely by using unsuitable or faulty cables Unbalanced Balance...

Page 32: ...ctric power Troubleshooting Dap Audio DCP 26 This troubleshooting guide is meant to help solve simple problems If a problem occurs carry out the steps below in sequence until a solution is found Once...

Page 33: ...slope from 3 dB oct to 25 dB oct in 0 1 dB oct steps Low Shelf gain form 12 dB to 12 dB in 0 01 dB steps High Shelf SEQ Shelf slope from 3 dB oct to 25 dB oct in 0 1 dB oct steps Low Shelf gain form 1...

Page 34: ...vidually muted Display 2x 16 dot matrix characters Latency 1 27 mS USB Interface Back Power Supply 6V DC adapter included for 100 240 Volt AC 50 60 Hz Power Consumption 4 Watt Dimensions W x H x D 483...

Page 35: ...34 DCP 26 Productcode D2084 Notes...

Page 36: ...2013 DAP Audio...

Reviews: