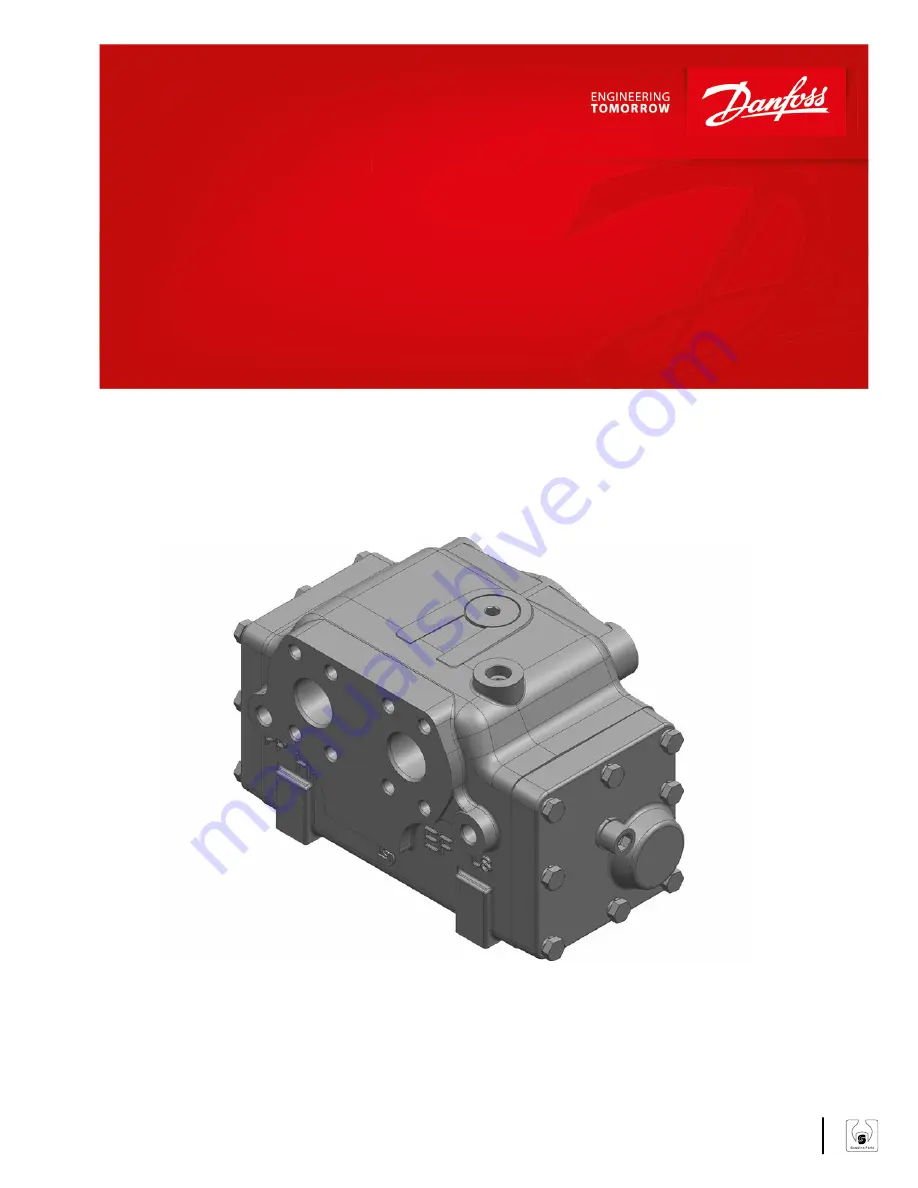
Service Manual
Flow amplifier
OSQA/OSQB
powersolutions.danfoss.com
Page 1: ...Service Manual Flow amplifier OSQA OSQB powersolutions danfoss com ...
Page 2: ...Revision history Table of revisions Date Changed Rev July 2016 First edition 0101 Service Manual OSQA OSQB 2 Danfoss July 2016 HN25D293 AX00000127en US0101 ...
Page 3: ...rity valve spool 18 Dismantling amplifier spool 19 Shock and suction valves 23 Cleaning 24 Inspection and replacement 24 Lubrication 24 Assembly Assembling shock suction and check valve 25 Assembling amplifier spool 26 Assembling priority valve spool 28 Assembling directional spool 29 Installing orifice and throttle check valve 29 Installing shock valves 30 Assembling pressure relief valve 31 Inst...
Page 4: ... hoses fittings gauges or components Never use your hand or any other body part to check for leaks in a pressurized line Seek medical attention immediately if you are cut by hydraulic fluid W Warning Personal Safety Protect yourself from injury Use proper safety equipment including safety glasses at all times W Warning Product Safety Steering valves are safety components and therefore it is extrem...
Page 5: ...rvice literature is valid for OSQA Flow Amplifier without back pressure valve in HT OSQB Flow Amplifier with back pressure valve in HT Service Manual OSQA OSQB Introduction Danfoss July 2016 HN25D293 AX00000127en US0101 5 ...
Page 6: ...arts list OSQA and OSQB parts list Parts list Part Number per unit Item Tightening torque Housing 1 1 Priorty valve spool 1 2 Plug 1 3 10 3 N m Throttle check valve 1 4 10 3 N m Compress spring 1 5 Throttle check valve 1 6 10 3 N m Plug 1 7 BSP 40 5 N m UNF 15 3 N m Orifice LS 1 9 10 3 N m Spring stop 1 10 Orifice dynamic 1 11 5 1 N m Outer spool amplifier 1 12 Compress spring 1 13 Service Manual ...
Page 7: ... 5 1 N m Compress spring 1 37 2 O ring Ø10 3 x 2 4 mm 1 37 3 Valve seat 1 37 4 Ball 1 37 5 Pin 2 38 Locking ring 2 39 Plug 1 40 Orifice 1 41 5 1 N m Compress spring OSQB only 1 45 Piston OSQB only 1 46 Compress spring OSQB only 1 47 Ball OSQB only 1 48 Plug OSQB only 1 49 25 3 N m O ring Ø23 3 x 2 4 mm OSQB only 1 49 2 O ring Ø35 x 2 mm 4 57 O ring Ø40 x 2 mm 4 58 O ring Ø10 x 2 mm 2 59 Cover 1 65...
Page 8: ... 20 11 Shock and suction valves complete 215 235 bar 150F0283 20 20 11 Shock and suction valves complete 230 250 bar 150F0284 20 20 11 Shock and suction valves complete 270 290 bar 150F0285 20 20 11 Tools Tools needed for assembly disassembly Hexagon keys 4 5 6 8 and 10 mm Ratchet for socket spanners Hexagon socket for external hexagon 6 13 17 and 19 mm Hexagon socket for internal hexagon 8 and 10...
Page 9: ...the unit on a work bench Dismantling counter pressure valve 1 Screw out the plug with O ring 49 using an 8 mm Hex key 2 Take out the small spring 47 using a hook Service Manual OSQA OSQB Disassembly Danfoss July 2016 HN25D293 AX00000127en US0101 9 ...
Page 10: ...8 using a magnetic rod 4 Take out the piston 46 using a hook 5 Take out the spring 45 using a hook Dismantled counter pressure valve Service Manual OSQA OSQB Disassembly 10 Danfoss July 2016 HN25D293 AX00000127en US0101 ...
Page 11: ...embled on the top of the pilot relief valve In such cases use a 24 mm socket spanner 2 Screw out the adjusting screw 23 using a 6 mm Hex key O ring 23 2 is fitted to the screw 23 3 Remove the spring 22 2 with cone 22 using a hook or magnet rod Service Manual OSQA OSQB Disassembly Danfoss July 2016 HN25D293 AX00000127en US0101 11 ...
Page 12: ...w screws 8x81 with spring washer 8x80 using a 13 mm socket spanner and screw 83 with spring washer 82 using a 10 mm Hex key 2 Remove end cover 66 Spring stop 30 and springs 28 29 and 13 will follow the end cover Service Manual OSQA OSQB Disassembly 12 Danfoss July 2016 HN25D293 AX00000127en US0101 ...
Page 13: ...s 8x81 with spring washer 8x80 using a 13 mm socket spanner and screw 83 with spring washer 83 using a 10 mm Hex key 2 Remove end cover 65 Spring stops 10 and 30 and springs 28 and 29 will follow the end cover Service Manual OSQA OSQB Disassembly Danfoss July 2016 HN25D293 AX00000127en US0101 13 ...
Page 14: ... Remove spring stop 27 for directional spool 25 4 Remove spring 5 for priority spool 2 5 Remove directional spool 25 Service Manual OSQA OSQB Disassembly 14 Danfoss July 2016 HN25D293 AX00000127en US0101 ...
Page 15: ... amplifier spool 12 7 Remove priority valve spool 2 8 Remove shock valves 2x20 with screwdriver and hexagon key or mandrel Service Manual OSQA OSQB Disassembly Danfoss July 2016 HN25D293 AX00000127en US0101 15 ...
Page 16: ...ing a 6 mm Hex key 2 Unscrew throttle check valve 6 if present in PP connection using a 6 mm Hex key 3 Unscrew orifice 36 in housing using a 4 mm Hex key Housing and end cover with accessories Service Manual OSQA OSQB Disassembly 16 Danfoss July 2016 HN25D293 AX00000127en US0101 ...
Page 17: ... static with external PP the priority valve spool has no orifice OSQ static with internal PP the priority valve spool has throttle check valve 4 OSQ dynamic with external PP the priority valve spool has plug 3 and orifice dynamic 11 OSQ dynamic with internal PP the priority valve spool has throttle check valve 4 and orifice dynamic 11 As shown in Dismantling priority valve spool on page 18 Service...
Page 18: ... mm Hex key and multigrip pliers 2 Unscrew orifice dynamic 11 using a 4 mm Hex key and multigrip pliers Dismantled priority valve spool 25 with throttle check valve 4 and orifice dynamic 11 Service Manual OSQA OSQB Disassembly 18 Danfoss July 2016 HN25D293 AX00000127en US0101 ...
Page 19: ...ing ring 39 from the recess using a 3 mm screwdriver a Carefully guide the locking ring 39 back 2 Be careful not to damage the locking ring Carefully take the other locking ring 39 from the recess and guide it back using a 3 mm screwdriver Service Manual OSQA OSQB Disassembly Danfoss July 2016 HN25D293 AX00000127en US0101 19 ...
Page 20: ...a Press out pin 38 using a 3 mm screwdriver or mandrel b Take out the plug 40 c Take out the spring 15 Service Manual OSQA OSQB Disassembly 20 Danfoss July 2016 HN25D293 AX00000127en US0101 ...
Page 21: ...he other pin 38 using a 3 mm screwdriver or mandrel e Take out the inner spool 14 3 Be careful not to damage the spool surface Service Manual OSQA OSQB Disassembly Danfoss July 2016 HN25D293 AX00000127en US0101 21 ...
Page 22: ...ng a 13 mm socket spanner and a mandrel in the pin hole 4 Unscrew orifice 41 from plug 40 using a 4 mm Hex key and a mandrel in the pin hole Service Manual OSQA OSQB Disassembly 22 Danfoss July 2016 HN25D293 AX00000127en US0101 ...
Page 23: ...alves Shock valves are assembled into the OSQ and cannot be adjusted Preadjusted shock valves can be bought as spare parts see OSQ spare parts list on page 8 Replace shock and suction valves if polluted Replacing O rings is recommended Shock and suction valve assembly left with O ring dismantled right Service Manual OSQA OSQB Disassembly Danfoss July 2016 HN25D293 AX00000127en US0101 23 ...
Page 24: ...on and replacement Replace all seals and washers Check all parts carefully and make any replacements as is necessary Lubrication Before assembling lubricate all parts with hydraulic oil Service Manual OSQA OSQB Disassembly 24 Danfoss July 2016 HN25D293 AX00000127en US0101 ...
Page 25: ... in a 17 mm socket spanner b Place ball 37 5 spring 37 2 and plug 37 1 in housing 37 4 and tighten using a 4 mm Hex key and a 17 mm socket spanner 5 1 N m 45 10 lbf in 3 Place orifice 41 in plug 40 and tighten in the pin hole using a 4 mm Hex key and a mandrel 5 1 N m 45 10 lbf in Service Manual OSQA OSQB Assembly Danfoss July 2016 HN25D293 AX00000127en US0101 25 ...
Page 26: ...ng OSQA 5 and OSQB 5 there are two ways of placing the inner spool only one is correct The pilot channel which faces upwards must be lined up with one of the 5 amplification holes in the outer spool Inner spool in correct position 1 Guide inner spool 14 into outer spool 12 2 Place the pin 38 through outer 12 and inner 14 spool Service Manual OSQA OSQB Assembly 26 Danfoss July 2016 HN25D293 AX00000...
Page 27: ... ring into the recess with end facing away from pin holes 3 Place spring 15 on end of the inner spool 14 a Place plug 40 b Place pin 38 through outer spool 12 and plug 40 Service Manual OSQA OSQB Assembly Danfoss July 2016 HN25D293 AX00000127en US0101 27 ...
Page 28: ...away from pin holes Assembling priority valve spool The priority valve spool has throttle check valve 4 and orifice dynamic 11 1 Screw in orifice dynamic 11 using a 4 mm Hex key and a multigrip pliers 5 1 N m Service Manual OSQA OSQB Assembly 28 Danfoss July 2016 HN25D293 AX00000127en US0101 ...
Page 29: ...rew in orifices 2x 26 in directional spool 25 using a 4 mm Hex key and mandrel for holding the spool 5 1 N m 45 10 lbf in Installing orifice and throttle check valve 1 Screw orifice 36 in housing using a 4 mm Hex key 5 1 N m 45 10 lbf in Service Manual OSQA OSQB Assembly Danfoss July 2016 HN25D293 AX00000127en US0101 29 ...
Page 30: ...th internal PP plugs for PP port 1 4 BSP female in PP connection Fit washer and plug Tightening torque 40 5 N m 354 44 lbf in 7 16 20 UNF in PP connection Fit O ring and plug Tightening torque 15 3 N m 133 27 lbf in Installing shock valves Guide shock valves 2x 20 with O rings 2x 20 11 in and then secure it by hand Service Manual OSQA OSQB Assembly 30 Danfoss July 2016 HN25D293 AX00000127en US0101...
Page 31: ... 3 Place O ring on adjusting screw 23 then screw in using a 6 mm Hex key After entire assembly of the steering valve make the pressure setting on a test panel according to valve setting specification see Testing on page 40 a Insert plastic protection plug 24 Service Manual OSQA OSQB Assembly Danfoss July 2016 HN25D293 AX00000127en US0101 31 ...
Page 32: ...assembled piston and spring 2 Place in ball 48 in the piston 46 3 Place O ring 49 2 on plug 49 a Fit spring 47 in plug 49 with Vaseline b Screw in assembled plug and spring using an 8 mm Hex key 25 3 N m 221 27 lbf in Service Manual OSQA OSQB Assembly 32 Danfoss July 2016 HN25D293 AX00000127en US0101 ...
Page 33: ...ition against LS connection Guide priority valve spool 2 into place 2 Place spring 5 on priority valve spool 2 3 The orifice must be placed in correct position against LS connection Service Manual OSQA OSQB Assembly Danfoss July 2016 HN25D293 AX00000127en US0101 33 ...
Page 34: ...de directional spool 25 into place Installing PP end cover 1 Place spring stop 27 on the directional spool 25 2 The spring must be fitted at the PP connection Service Manual OSQA OSQB Assembly 34 Danfoss July 2016 HN25D293 AX00000127en US0101 ...
Page 35: ...amplifier spool 12 3 Place O rings 2x 57 2x 58 and 2x 59 and spring stop 30 in end cover 66 a Place large spring 29 and small spring 28 in end cover 66 Service Manual OSQA OSQB Assembly Danfoss July 2016 HN25D293 AX00000127en US0101 35 ...
Page 36: ...lace The two screws must screw in with fingers only so that the end cover stays in parallel with flange area of the housing only with distance for compressing the O rings less than 1 mm b Screw in screw 83 with washer 82 using a 10 mm Hex key until end cover is in place Service Manual OSQA OSQB Assembly 36 Danfoss July 2016 HN25D293 AX00000127en US0101 ...
Page 37: ... 221 44 in lbf or 80 10 N m 708 89 in lbf for the 10 mm Hex key Installing LS end cover 1 Place spring stop 27 on the directional spool 25 2 Place O rings 2x 57 and 2x 58 and spring stop 10 in end cover 65 Service Manual OSQA OSQB Assembly Danfoss July 2016 HN25D293 AX00000127en US0101 37 ...
Page 38: ...ure that all O rings stay in place It must be possible to screw in the 2 screws using a 13 mm socket spanner with very light torque so that the end cover stays in parallel with flange area of the housing and only with distance for compressing the O rings less than 1 mm b Screw in screw 83 with washer 82 using a 10 mm Hex key until end cover is in place Service Manual OSQA OSQB Assembly 38 Danfoss ...
Page 39: ...n lbf or 80 10 N m 708 89 in lbf for the 10 mm Hex key Plastic plugs Place or screw in the plastic plugs after testing or if storage is needed between assembly and testing Plastic plugs placed or screwed into ports Service Manual OSQA OSQB Assembly Danfoss July 2016 HN25D293 AX00000127en US0101 39 ...
Page 40: ...p 5 Connect pressure gages to all ports of OSQ 6 Connect steering column and steering wheel to the input shaft of the OSPBX steering unit T pressure should not exceed approximately 5 bar Maximum allowed T pressure is 15 bar Pump supply circuit must be adjusted not to exceed 240 bar P T Steering test using steering unit type OSPBX LS During the testing the following must not occur motor effect dist...
Page 41: ... pressure is the pressure on the HP port minus the HT port of OSQ Neutral positioning After adjusting the pilot relief valve the steering wheel must be able to go to neutral position by itself no later than approximately 1 second after the activation of the steering wheel has been stopped The steering unit and OSQ are properly in neutral position when the pressure drop HP HT of OSQ is no higher th...
Page 42: ...Service Manual OSQA OSQB 42 Danfoss July 2016 HN25D293 AX00000127en US0101 ...
Page 43: ...Service Manual OSQA OSQB Danfoss July 2016 HN25D293 AX00000127en US0101 43 ...
Page 44: ... DK 6430 Nordborg Denmark Phone 45 7488 2222 Danfoss Power Solutions US Company 2800 East 13th Street Ames IA 50010 USA Phone 1 515 239 6000 Danfoss Power Solutions Trading Shanghai Co Ltd Building 22 No 1000 Jin Hai Rd Jin Qiao Pudong New District Shanghai China 201206 Phone 86 21 3418 5200 Danfoss can accept no responsibility for possible errors in catalogues brochures and other printed material...