English
Français
Español
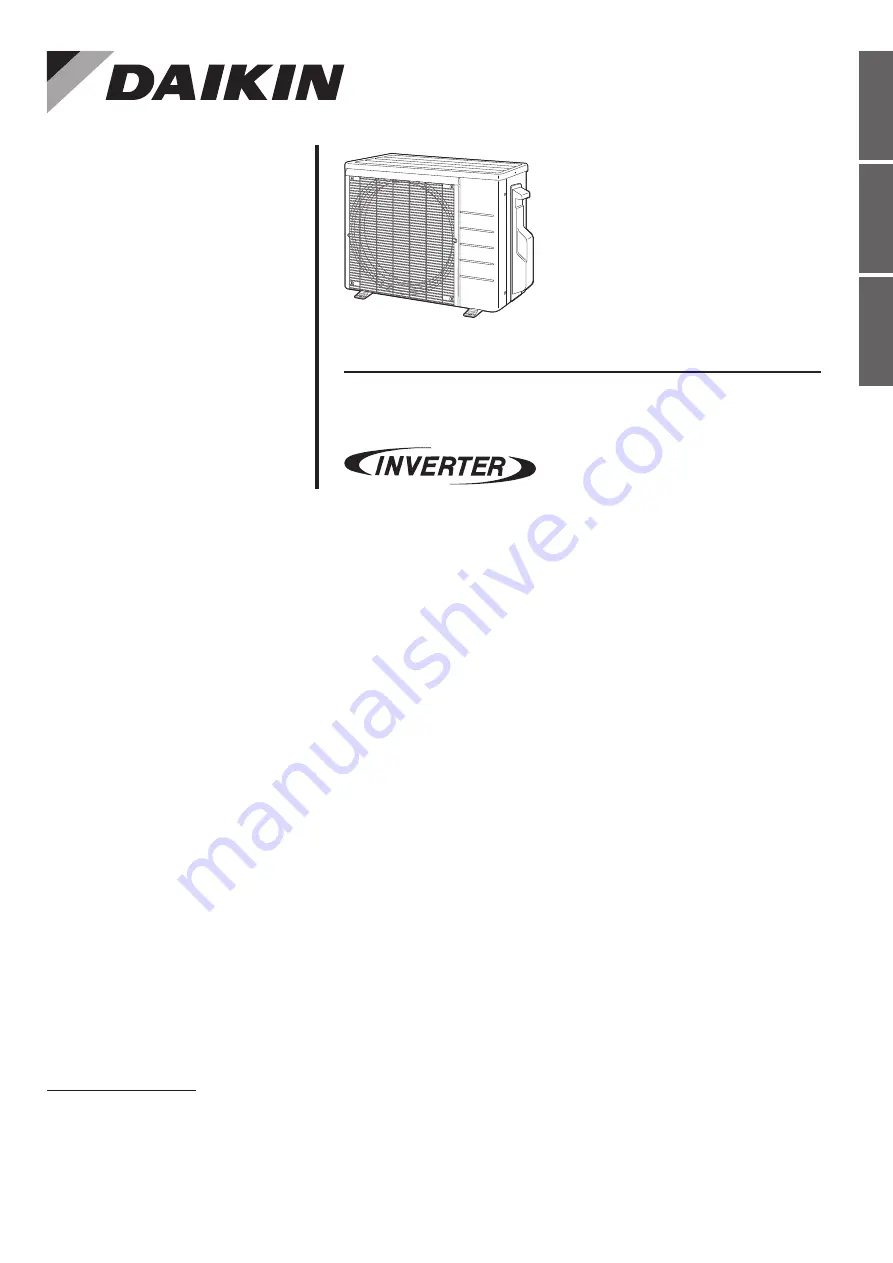
MODELS
RX09RMVJU9A
RX12RMVJU9A
RXL09QMVJUA
RXL12QMVJU9A
DAIKIN ROOM AIR CONDITIONER
INSTALLATION MANUAL
R410A Split Series
Installation manual
Manuel d’installation
Manual de instalación
00_CV_3P658798-1.indd 1
2021/08/04 11:17:26


