


3-3-1 To set the clock
Note:
If the time is NOT set
, , and
blink.
1.
Press
.
Result:
and blink
2.
Press
or
to set the current day of the week.
Note:
Holding down
or
increases or decreases the time
setting rapidly.
Display
Day of the week
Monday
Tuesday
Wednesday
Thursday
Friday
Saturday
Sunday
3.
Press
.
Result:
blinks.
4.
Press
or
to set the correct time.
5.
Press
.
Result:
Setting is complete. blinks.
3-4 Brightness of the indoor unit display
Adjust the brightness of the indoor unit display as desired, or
turn OFF the display.
3-4-1 To set the brightness of the indoor unit display
1.
Press
for at least 2 seconds.
Result:
The menu appears on the display. is blinking.
2.
Press
.
3.
Press
or
to change the setting as follows:
…is blinking
Brightness is…
High
Low
Off
4.
To confirm the selected setting, press
.
Result
: The brightness setting is changed.
Note:
The display automatically returns to the default screen
after 60 seconds. To return to the default screen sooner, press
twice.
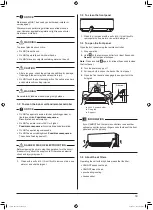
3-5
To turn on the power supply
1.
Turn the circuit breaker on.
Result:
The flap of the indoor unit will open and close to set the
reference position.
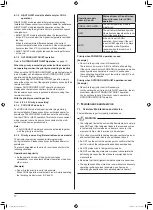
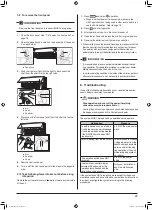
3-6 To change indoor unit position setting
Set the indoor unit position to avoid direct airflow to walls.
1.
Press
for at least 2 seconds.
Result:
The menu appears on the display.
2.
Press
or
to change the menu to .
Result:
The menu appears on the display. blinks.
3.
Press
to select the menu.
Result:
blinks.
4.
Press
or
to change the setting as follows:
If the unit is...
Symbol
Blinks
Result
In the middle of the wall
(factory default setting)
≤500 mm from the wall
on right
≤500 mm from the wall
on left
Result:
The airflow range will be adjusted to avoid direct
contact with the wall.
6
01_EN_3P620957-1.indd 6
26-Jun-20 10:17:24 AM


