


22
Switch “Enable Status” to
.
3.
Add fence station.
Press
to switch to sub VTO setting interface.
1.
Select device type to be “fence station”; enter sub VTO name (fence station name),
2.
VTO middle no. (fence station middle no.), “User Name” and “Password”.
Fence station middle no. consists of “1+00+0+fence station no.”; building no. is 00,
unit no. is 0 and VTO no. has 4 digits, so middle no. has 8 digits in total. For
example, 10006901.
Switch “Enable Status” to
.
3.
Click [OK] to save the settings.
Step 9
2.2.3 VTH Settings (Version 4.0)
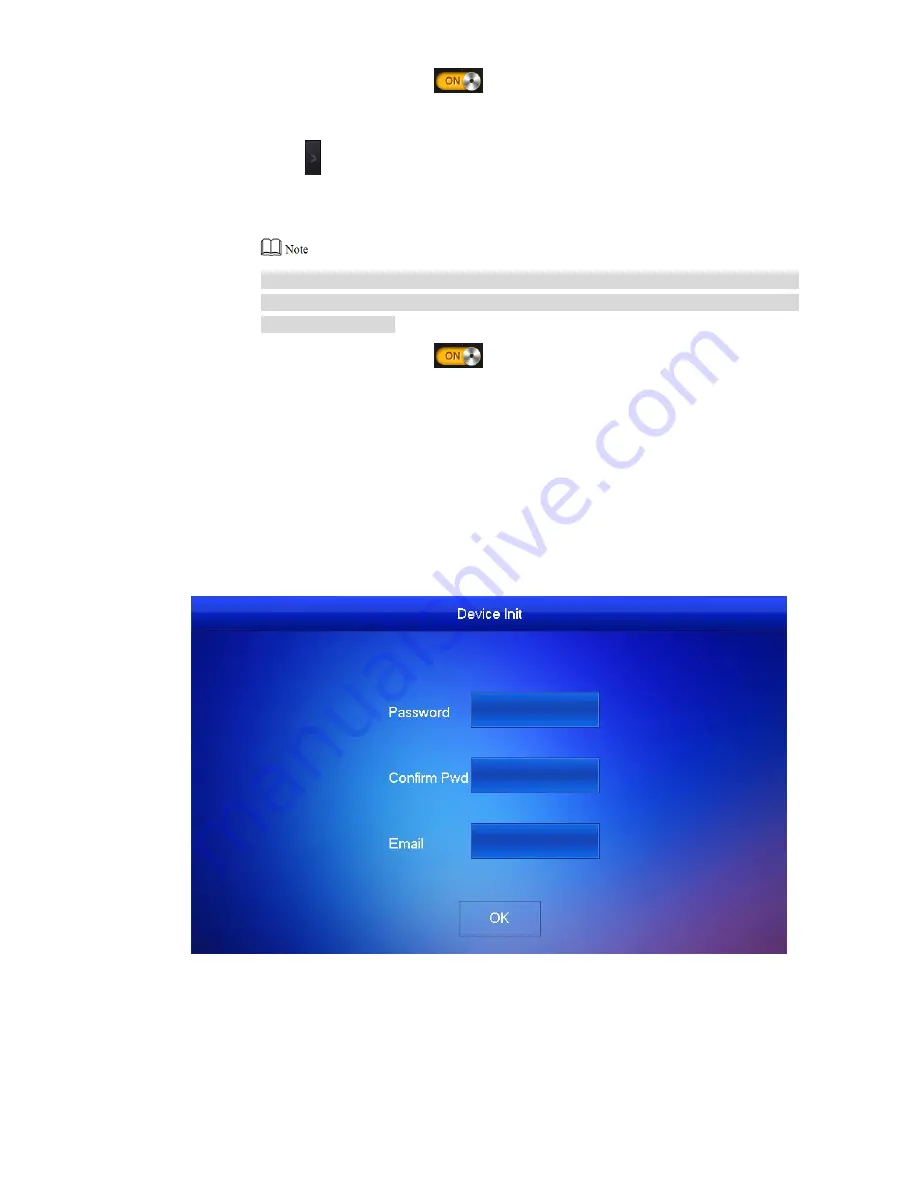
For the first time, please initialize the password and bind Email. Password is used to enter
project setting interface, while Email is used to retrieve your password when you forget it.
Power on the device.
Step 1
The sys
tem displays “Welcome” and enters “Device Initialization” interface, as shown in
Figure 2-15.
Figure 2-15
Enter “Password”, “Confirm Pwd” and “Email”. Click [OK].
Step 2
Press [Setting] for more than 6 seconds.
Step 3
The system pops up “Password” prompt box.
Enter the password set during initialization, and click [OK].
Step 4
Click [Network].
Step 5


