


23
IP address: Here you can input IP address and then set corresponding subnet mask and default
gateway.
DHCP: It is to auto search IP. When enable DHCP function, you cannot modify IP/Subnet
mask /Gateway. These values are from DHCP function. If you have not enabled DHCP
function, IP/Subnet mask/Gateway display as zero. You need to disable DHCP function to
view current IP information. You must set IP-related parameters again if you disabled
DHCP. Besides, when PPPoE is operating, you cannot modify IP/Subnet mask /Gateway.
TCP port: Default value is 37777. You may set this port.
UDP port: Default value is 37778. You may set this port.
HTTP port: Default value is 80.
RTSP port: Default value is 554. You may set this port.
Max connection: connections: 0-128. System supports maximal 128 users. 0 means there is
no connection allowed.
Preferred DNS server: Set DNS server IP address.
Alternate DNS server: Set DNS server alternate IP address.
Transfer mode: Here you can select the priority among fluency/video qualities/self-adaption.
LAN download: Under sufficient bandwidth, system can process the downloaded data first if
you enable this function. The download speed is 1.5X or 2.0X of the normal speed.
Master IP: Master server IP address.
User Name: server username.
Password: server password.
Small box: shows status of server registration.
Red: registration failed.
Green: registration succeeded.
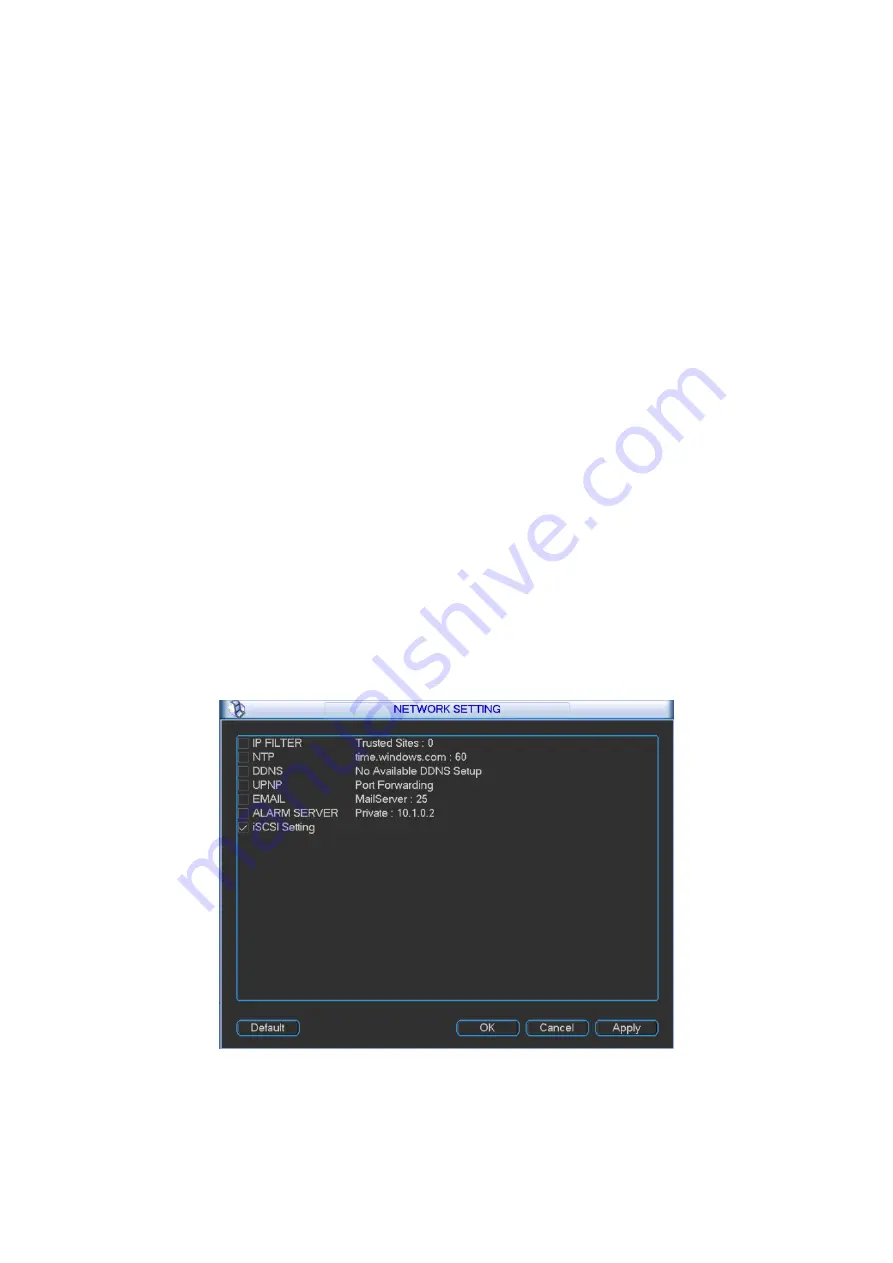
Network Setting: Click to enter LAN service setting as shown in Figure 3- 4. Refer to Ch
3.2.4.5.1 to Ch 3.2.4.5.8.
Figure 3- 4
Summary of Contents for DH-M70-D-0204HO
Page 1: ...i Distributed Decoding System User s Manual V 2 0 1 ...
Page 27: ...21 Figure 3 2 3 2 Network Network interface is shown below as in Figure 3 3 ...
Page 35: ...29 Figure 3 12 3 2 9 Shutdown ...
Page 51: ...45 Figure 4 25 4 5 2 System Config 4 5 2 1 General ...
Page 59: ...53 Figure 4 34 4 5 2 8 NTP ...
Page 71: ...65 Figure 4 46 ...
Page 81: ...75 Figure 4 58 Group setting is as follows please see Figure 4 59 and Figure 4 60 ...
Page 87: ...81 Figure 4 67 ...
Page 90: ...84 Figure 4 71 4 5 3 7 Snapshot ...
Page 93: ...87 Figure 4 74 Figure 4 75 ...
Page 100: ...94 Figure 4 86 Step 4 Click Add See Figure 4 87 Figure 4 87 ...


