


6
Tel: +44 (0)1457 874 999 | Fax: +44 (0)1457 829 201 | Email: [email protected] | Online: www.cop-eu.com
Confi guring the access control system requires a computer with the ACS tool installed.
To install the ACS tool on a PC follow the steps listed below.
1. Go to www.cop-eu.com
2. Click on the Access Control category
3. Go to Controllers > click on your model of controller
4. Select the Downloads tab from underneath the product picture,
then click on Dahua toolbox and run the installer
Once the Toolbox has been installed an account must be registered before the confi guration tools can be installed.
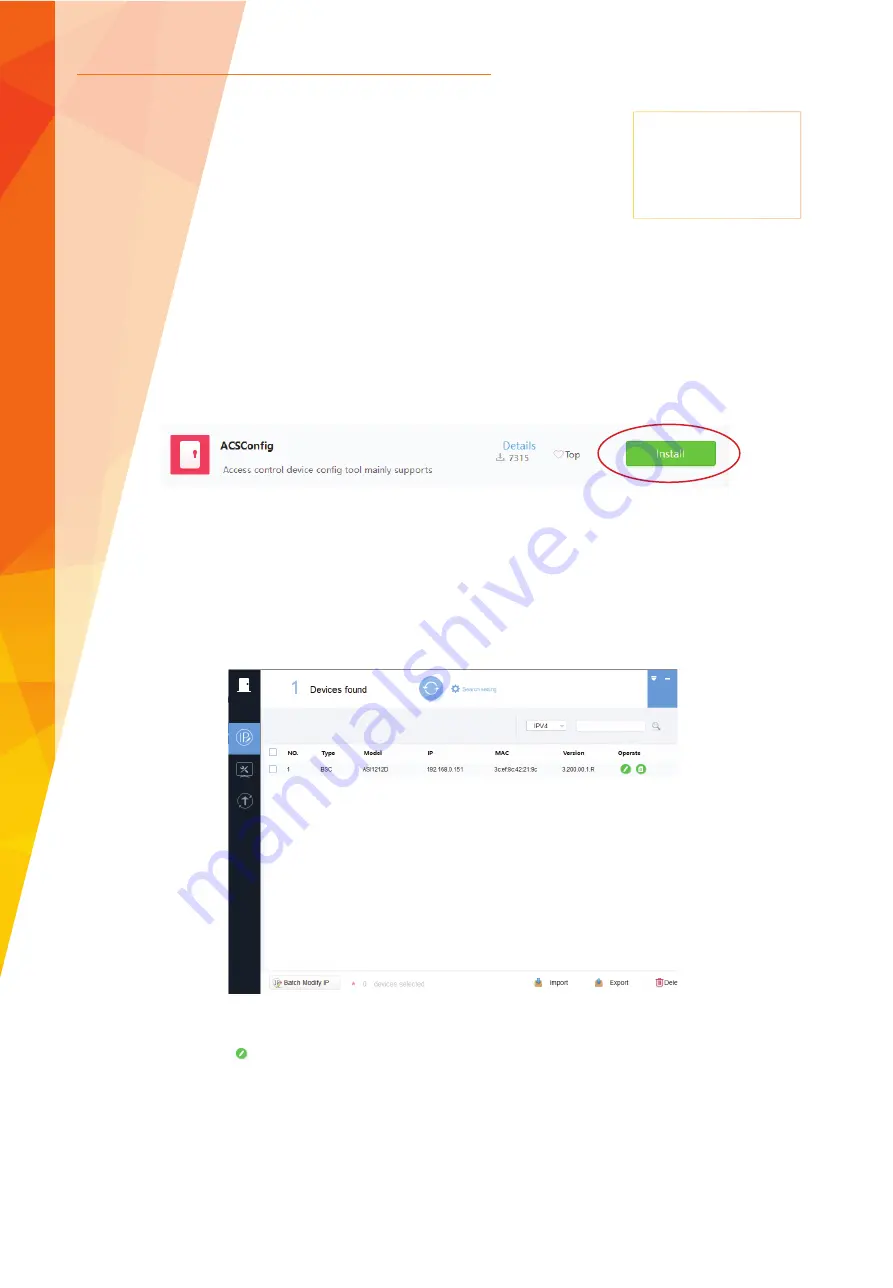
After installing and registering an account on Dahua toolbox, scroll down the list of applications and fi nd
ACSConfi g
. Click the
install buttton to install the tool on your computer.
Once the Toolbox has been installed an account must be registered before the confi guration tools can be installed.
After installing and registering an account on Dahua toolbox, scroll down the list of applications and fi nd
ACSConfi g
. Click the
install buttton to install the tool on your computer, once installed click open to launch the tool.
Note: Make sure the computer running the tool is connected to the same LAN network as the ACS controller.
Any ACS controllers discoverable on the network will now be displayed within the search results, to modify the network confi guration
of the ACS controller, click to enter the new network confi guration. Click
OK
to save the setting.
Default Settings
Username:
admin
Password:
123456
IP Address:
192.168.0.2
ACS NETWORK CONFIGURATION


