background image

PLAYBACK

31

30

On-Screen Display Overview

You can change the TV audio using the [AUDIO] button.

Press [AUDIO] repeatedly to change the TV audio, according to the Broadcast audio signal as shown below.

•  STEREO Audio Signal : 

Stereo 

➝ 

Mono 

➝ 

Stereo

•  MONO Audio Signal : 

Mono

• BIL Audio Signal : 

BIL1 

➝ 

BIL2 

➝ 

BIL1

The current audio channel is displayed on-screen.

•  If the sound is poor quality when set to Stereo, you can often improve it by changing to Mono.
•  When an external input is selected, the audio channel can be switched only to Stereo.

Changing the TV Audio Channel

Changing TV Channels

If no disc is playing, you can change TV channels using the [0-9] or [PR+/-] buttons on the remote control or
[PR+/–] buttons on the front panel.

While watching TV, press [DISPLAY] to display/remove the on-screen display.
You would see a screen like the following:

Displaying TV Information

PR 1 : - - - -

STEREO

PDC

12:30

SP

DVD Playback

DVD Playback

When a DVD+RW or unfinalized DVD+R (-R, -RW)is inserted, no title is played automatically but the current TV
channel displays on the screen. 

1

If you want to play a title on the DVD+R (+RW, -R, -RW), you must press

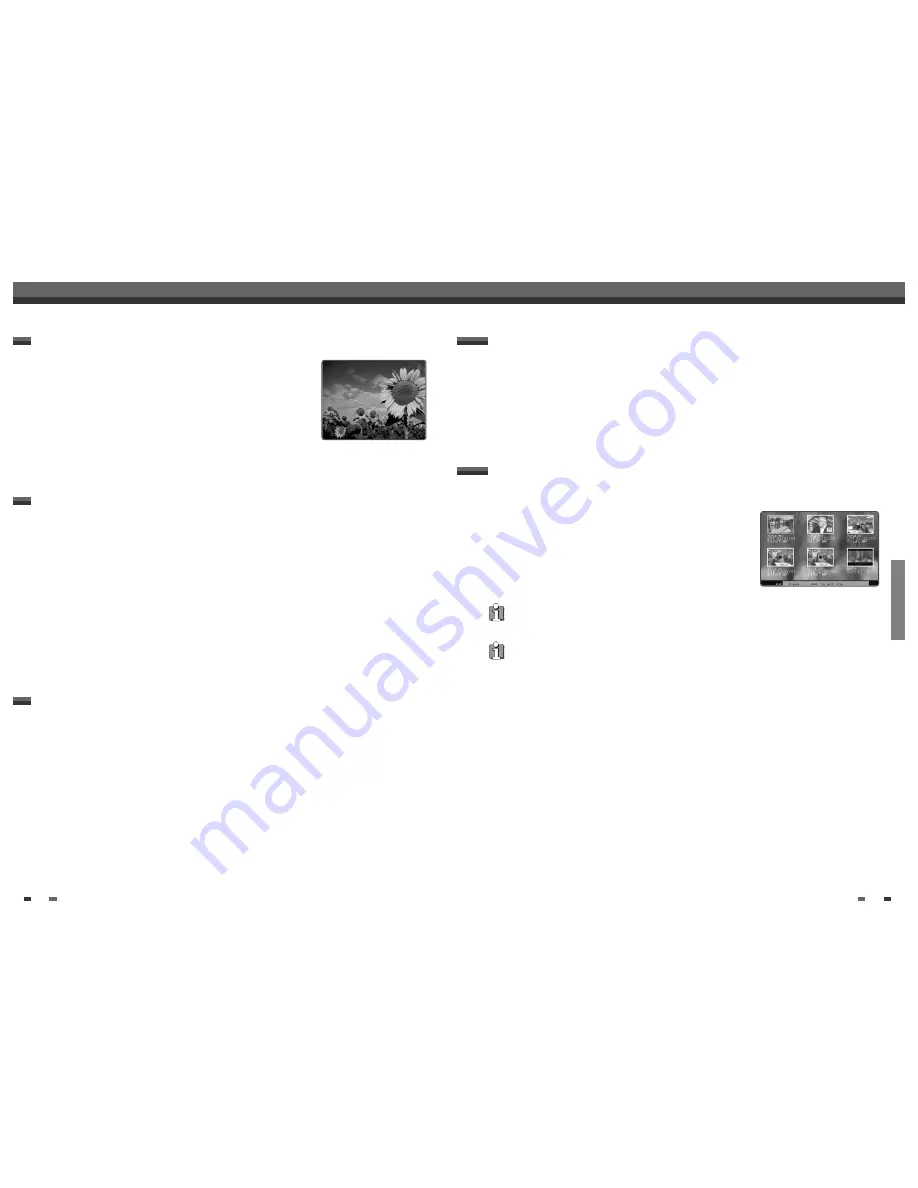
[MENU] or [PLAY] to display the disc menu of a thumbnail index for each

recorded title on the disc. 

The index picture screen of the title will be displayed.  Also title
information (name of recording, recorded day, time, recording quality)
will be displayed.

2

Select a title to play using [

œ √

] then press [ENTER] or [PLAY].

Playing a DVD+R (+RW, -R, -RW)

If a Disc menu is displayed

• A Disc menu may be displayed when you load a DVD. Use the [

œ √…†

] buttons to select the title/chapter you

want to view, then press [ENTER] to start playback. Press [TITLE] or [MENU] to return to the Disc menu.

• If the Parental Level feature is set and the disc is below the current Parental Level setting, the 4-digit code must

be entered and/or the disc must be authorized; see ‘Set Parental Level‘ on page 25.

• The DVD RVCR will not play discs with Region codes different from the DVD RVCR. The Region

code for this DVD RVCR is 2 (two).

• Unless stated otherwise, all operations described below use the remote control. Some features may also be

available in the Setup menu.

• A disc which is recorded by computer at high speeds (greater than or equal to 2x) may not be recognized.
• A disc which is recorded with unauthorized movie material may not be played.
• A disc which is recorded by other recorder or not recorded correctly may not be recognized or played.

1

Press [EJECT] to open the disc tray.

2

Load your disc in the tray with the playback side down (label side up).

3

Press [EJECT] to close the tray.

4

‘LOAD’ appears on the front panel display, and playback starts automatically. If playback does not start,
press [PLAY (

)]. In some cases, the Disc menu might appear instead.

Playing a DVD/VCD

Still Picture and Frame-by-Frame Playback
1

Press [PLAY/PAUSE] during playback. The DVD RVCR will go into Pause mode.

2

You can back up or advance the picture frame-by-frame by pressing [FF (

√√

)] repeatedly during Pause

mode.

Fast Forward/Backward
1

Press [REW (

œœ

)] or [FF (

√√

)] during playback. The DVD RVCR will go into Search mode.

2

Press [REW] or [FF] to select the desired speed: 

√√

X2, 

√√

X4, 

√√

X8, 

√√

X16, 

√√

X32, 

(forward) or

œ

œœ

X2, 

œœ

X4, 

œœ

X8, 

œœ

X16, 

œœ

X32 (backward).

Summary of Contents for DF-4501P

Page 1: ...DVD Recorder VCR DVD Recorder VCR DF 4501P User Manual...

Page 2: ...for it to reach room temperature Make sure the product is placed at least 10 cm apart from other home appliances or obstacles to ensure sufficient ventilation The apparatus should not be exposed to dr...

Page 3: ...followed 5 CLEANING Unplug this unit from the wall outlet before cleaning Do not use liquid cleaners or aerosol cleaners Use a damp cloth for cleaning 6 ATTACHMENTS Do not use attachments unless recom...

Page 4: ...If the unit does not operate normally by following the operating instructions Adjust only those controls that are covered by the operating instructions Improper adjustment of other controls may resul...

Page 5: ...rwritten The deleted recordings titles are marked deleted title Before a DVD R can be played in a DVD player it must be finalized in the DVD Recorder VCR Once this process is complete no further recor...

Page 6: ...tains interference the recording times may be shorter Discs recorded at high speeds equal to or greater than 2X may not be recognized If you record still pictures or audio only the recording time may...

Page 7: ...R Advances the tape during Stop mode Press during Play mode for fast forward picture search Front Panel Display Shows the current status of the DVD Recorder VCR 1 COPY Copies from DVD to VCR or from V...

Page 8: ...ing Stop mode Press during Play mode for fast reverse forward picture search Press and hold for 3 seconds to switch between Progressive Scan and Interlace Scan mode Front Panel Display Channel Identif...

Page 9: ...er track title or the entire disc Repeats playback between two points A and B Displays the Timer Recording menu Switches between the DVD Recorder VCR tuner and your TV tuner Increases or decreases the...

Page 10: ...DVD Recorder VCR to the left right audio in jacks on your TV using the supplied audio cables Connecting a TV Be sure to set the DVD Recorder VCR to Progressive Scan mode by pressing and holding P SCAN...

Page 11: ...er Dolby Digital MPEG 2 or DTS 1 Connect the DVD Recorder VCR s DIGITAL AUDIO OUT jack COAXIAL X to the corresponding in jack on your amplifier Use an optional digital coaxial audio cable 2 You will n...

Page 12: ...ial installation Initial Installation Initial Installation You must follow the initial installation process to set the time date channels and language preferences for the DVD Recorder VCR Initial Setu...

Page 13: ...he program is encoded and you have a decoder connected to socket EURO AV2 press to select On 10 Select Store Channel using Use to select program number to store and press ENTER 11 Select Program Name...

Page 14: ...set only 10 min or 15 min To turn off automatic chapter marking select Off Follow the same procedure as DVD Record Quality DVD Record Quality You can set the default DVD recording quality to HQ High Q...

Page 15: ...ubmenu is displayed TV Aspect Ratio 1 Use to select TV Aspect while the Video submenu is displayed 2 Press to go to the second level 3 Use to select the desired TV Aspect 4 Press ENTER to confirm your...

Page 16: ...r to have certain discs played with alternative scenes You can set the parental level from ADULT to KID SAFE 1 Press SETUP The Setup menu appears While Init Setup is selected press ENTER to go to the...

Page 17: ...s Select OK OK Cancel ENTER 0 9 1 Press SETUP The Setup menu appears While Init Setup is selected press ENTER to go to the initial setup page 2 Use to select Preferences 3 While Preferences is selecte...

Page 18: ...title number and total number of titles and skips to the desired title number Chapter Shows the current chapter number and total number of chapters and skips to the desired chapter number Time Elapsed...

Page 19: ...layed when you load a DVD Use the buttons to select the title chapter you want to view then press ENTER to start playback Press TITLE or MENU to return to the Disc menu If the Parental Level feature i...

Page 20: ...ark the end point press A B Press A B again to repeat the scene DVD Playback A B You can repeat a scene between two points A and B 1 Press PLAY PAUSE play to the start of the desired scene 2 Press A B...

Page 21: ...34 VCR Playback VCR Playback Notes on special playback features Horizontal lines noise bars will appear on the TV screen This is normal The audio is automatically muted during special playback modes s...

Page 22: ...der tree appears 2 If there are folders which contain JPEG files e g pictures on a Kodak Picture CD select the desired folder using and press ENTER 3 Select the thumbnail you want to display using and...

Page 23: ...ime by 15 minutes DVD within the available space or 30 minutes VCR to a maximum of 10 hours The recording time is displayed on the front panel display One Touch Record OTR The DVD Recorder can play Di...

Page 24: ...el display Checking the Recording Time 1 Press PLAY PAUSE to pause the disc or tape during recording 2 When you want to continue recording press PLAY PAUSE or REC in DVD mode and press REC in VCR mode...

Page 25: ...s ENTER to confirm 5 The decoded information appears after confirmation You can change the information by selecting the appropriate input field using If required change the information using If all th...

Page 26: ...y not complete successfully even if the Check field shows Rec OK Timer Recording Troubleshooting You can clear a Timer Recording any time before the recording actually starts Use to select the program...

Page 27: ...r disc You can also make it compatible with most other DVD players At first go to Disc Operation mode 1 Press SETUP The Setup menu appears 2 While Disc Oper is selected press ENTER to go to the Disc O...

Page 28: ...M EP 233 M SEP 438 M Title NO Media Status Close Remainder Make Compatible can take up to 3 4 minutes depending on the type of disc how much is recorded on the disc and the number of titles on the di...

Page 29: ...j k l m n o p q r Space s t u v w x y z _ Backspace A a Symbol Edit TITLE CH 10 10 20 am 12 21 04 SEP Select Exit Confirm Prev Page Next Page ENTER SETUP Label Erase Divide Protect Chap Edit Index Pic...

Page 30: ...c type colour system and regional code Place the disc with the playback side down Place the disc on the disc tray correctly inside the guide Clean the disc Cancel the Parental Control function or chan...

Page 31: ...time Timer has been programmed incorrectly TIMER indicator light does not appear after programming timer TV is not Stereo compatible Broadcast program is not in stereo format DVD Recorder VCR A V Out...

Page 32: ...frequency 48kHz Compression format MPEG1 Layer2 VCR Specifications Head system 4 Head Video 2 Head Hi Fi helical scan azimuth system Timer 24 hour display type Tape speed SP 23 39 mm sec LP 11 70 mm s...

Reviews: